講到權限之前,我們必須談談spring security的Filter Chain(過濾器鏈)
Key filters in the chain are (in the order)
- SecurityContextPersistenceFilter (restores Authentication from JSESSIONID)
- UsernamePasswordAuthenticationFilter (performs authentication)
- ExceptionTranslationFilter (catch security exceptions from FilterSecurityInterceptor)
- FilterSecurityInterceptor (may throw authentication and authorization exceptions)
SecurityContextPersistenceFilter: 會將登入後的SecurityContext存入HttpSession裡面,
之後的filter會依賴這個SecurityContext獲取登入的狀態,
但是我們因為是API,所以希望每次的請求都是無狀態的,因此我們會禁用HttpSession產生。
UsernamePasswordAuthenticationFilter: 會去驗證 request 裡 username&password 的屬性名,
然後去判斷是不是走/login路徑進來的,這其實是給form表單驗證使用的,對我們現在這個API無效。
我們會自己實作過濾器,當登入成功之後把Authentication物件存到SecurityContext裡面。
FilterSecurityInterceptor: 拋出與驗證有關的錯誤。只要要前往的requestUrl是受保護的話,都會判斷是否已經驗證過,來決定能不能pass。
ExceptionTranslationFilter: 捕捉FilterSecurityInterceptor 拋出的錯誤。
好的,讓我們開始實作權限認證的功能吧
修改一下我們User的建構子
package com.stockAPI.model;

import lombok.Getter;
import lombok.Setter;

@Getter
@Setter
public class User {

	private Integer id;

	private String account;

	private String name;

	private String password;

	private String authority;

	public User() {

	}


	public User(String account,String name,String password,String authority) {
		this.account=account;
		this.name=name;
		this.password=password;
		this.authority=authority;
	}

}
首先,讓我們實作JWTCheckFilter 這個驗證過濾器
package com.stockAPI.filter;

import java.io.IOException;
import java.util.Map;

import javax.servlet.FilterChain;
import javax.servlet.ServletException;
import javax.servlet.http.HttpServletRequest;
import javax.servlet.http.HttpServletResponse;

import org.springframework.beans.factory.annotation.Autowired;
import org.springframework.http.HttpHeaders;
import org.springframework.security.authentication.UsernamePasswordAuthenticationToken;
import org.springframework.security.core.Authentication;
import org.springframework.security.core.context.SecurityContextHolder;
import org.springframework.stereotype.Component;
import org.springframework.web.filter.OncePerRequestFilter;

import com.stockAPI.model.StockUser;
import com.stockAPI.model.User;
import com.stockAPI.service.JWTService;

@Component
public class JWTCheckFilter extends OncePerRequestFilter {

	@Autowired
    private JWTService jwtService;


	@Override
	protected void doFilterInternal(HttpServletRequest request, HttpServletResponse response, FilterChain filterChain)
			throws ServletException, IOException {
		//取得標頭的authorization屬性
		String authHeader = request.getHeader(HttpHeaders.AUTHORIZATION);
	    if (authHeader != null) {
	        String accessToken = authHeader.replace("Bearer ", "");

	        Map<String, Object> claims = jwtService.parseToken(accessToken);

	        Integer user_id = (Integer) claims.get("user_id");
	        String account = (String) claims.get("account");
	        String name = (String) claims.get("name");
	        String authority = (String) claims.get("authority");

	        User user = new User(account,name,null,authority);
	        user.setId(user_id);
	        StockUser stockUser =new StockUser(user);

	        Authentication authentication =
	                new UsernamePasswordAuthenticationToken(user, null, stockUser.getAuthorities());
	        SecurityContextHolder.getContext().setAuthentication(authentication);
	    }

	    filterChain.doFilter(request, response);

	}

}
然後修改一下SecurityConfig設定
package com.stockAPI.config;

import org.springframework.beans.factory.annotation.Autowired;
import org.springframework.context.annotation.Bean;
import org.springframework.security.authentication.AuthenticationManager;
import org.springframework.security.config.annotation.authentication.builders.AuthenticationManagerBuilder;
import org.springframework.security.config.annotation.web.builders.HttpSecurity;
import org.springframework.security.config.annotation.web.configuration.EnableWebSecurity;
import org.springframework.security.config.annotation.web.configuration.WebSecurityConfigurerAdapter;
import org.springframework.security.config.http.SessionCreationPolicy;
import org.springframework.security.crypto.bcrypt.BCryptPasswordEncoder;
import org.springframework.security.web.authentication.UsernamePasswordAuthenticationFilter;

import com.stockAPI.filter.JWTCheckFilter;
import com.stockAPI.service.StockUserService;

@EnableWebSecurity
public class SecurityConfig extends WebSecurityConfigurerAdapter {

	@Autowired
	StockUserService stockUserService;

	@Autowired
	JWTCheckFilter jWTCheckFilter;

		@Override
    protected void configure(AuthenticationManagerBuilder auth) throws Exception {
			auth.userDetailsService(stockUserService).
			passwordEncoder(new BCryptPasswordEncoder());
	    }


    @Override
    protected void configure(HttpSecurity http) throws Exception {
    	http
    		.authorizeRequests()
    		.antMatchers("/user/create").hasAuthority("ADMIN") //管理員可以新增使用者資料
    		.antMatchers("/user/testUnblock").permitAll()
    		.antMatchers("/user/login").permitAll()
    		.antMatchers("/user/search/**").permitAll() //大家都可以查詢資料
    		.and()
				//新增過濾器設定
    		.addFilterBefore(jWTCheckFilter, UsernamePasswordAuthenticationFilter.class)
        .sessionManagement()
				//關閉HttpSession的建立狀態
        .sessionCreationPolicy(SessionCreationPolicy.STATELESS)
    		.and()
    		.csrf().disable();

    }

    //加密器註冊容器
    @Bean
    public BCryptPasswordEncoder bCryptPasswordEncoder() {
        return new BCryptPasswordEncoder();
    }

    //驗證類別註冊容器
    @Override
    @Bean
    public AuthenticationManager authenticationManagerBean() throws Exception {
        return super.authenticationManagerBean();
    }
}
再來我們要寫postman的測試,首先我們要先儲存我們登入所獲得的JWT,然後把JWT放入postman的環境變數,
標頭名稱Authorization 會放置 token 變數,然後我們再去請求其他帶有權限驗證的的連結,
來測試我們新加的過濾器是否有效。
postman設置環境變數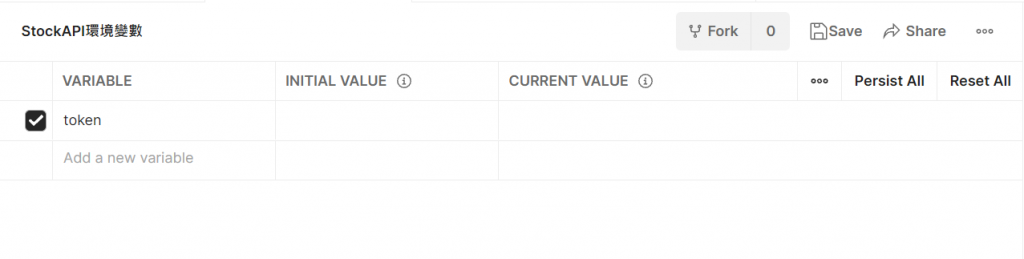
撰寫測試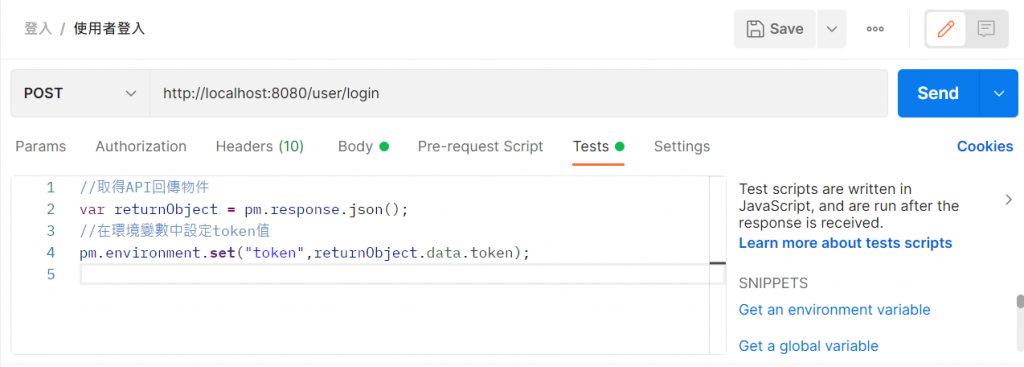
接著點選你的collection,把Type改成Bear Token
將Token欄位改成 { { token } } ,postman會自動幫我們把環境變數塞進去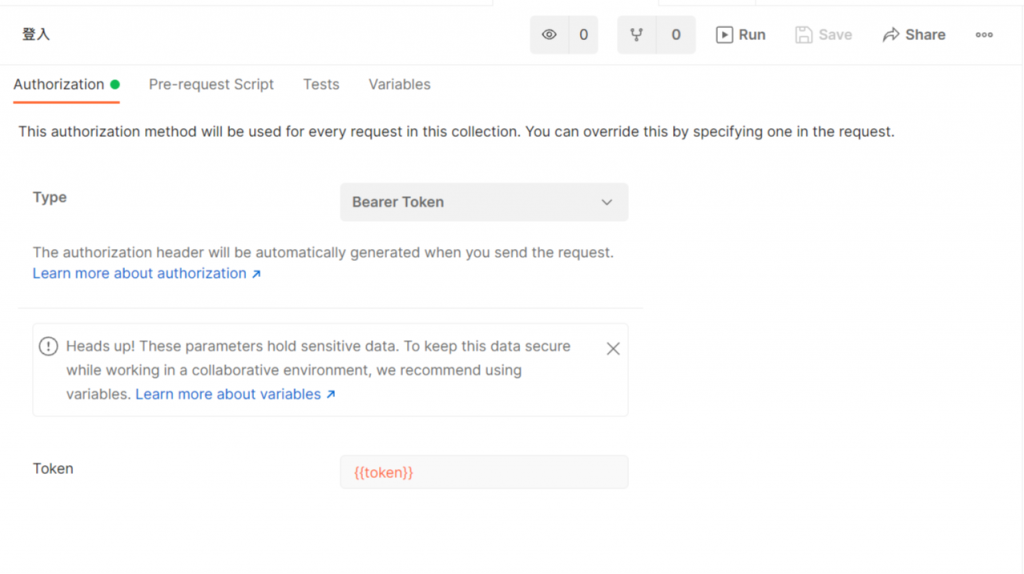
接著按送出,查看環境變數是否成功儲存token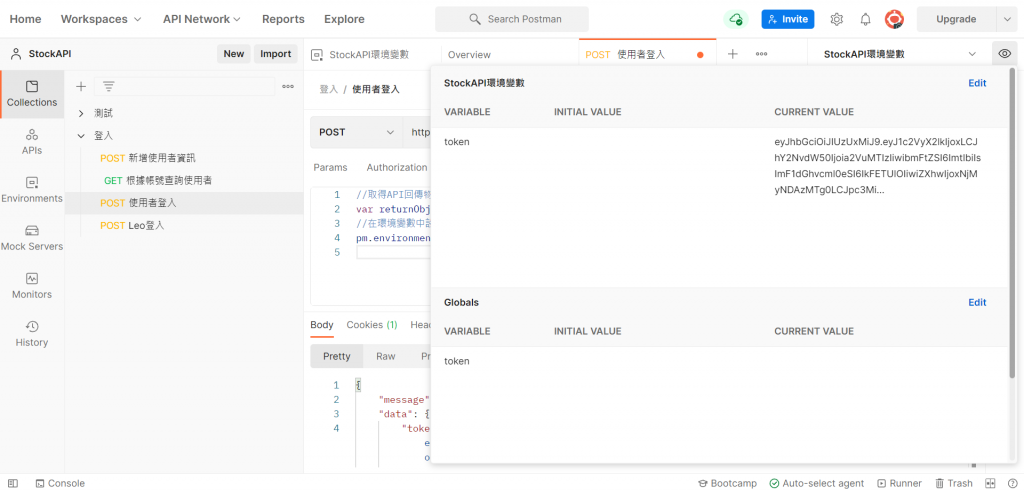
再來檢查我們ken123的使用者權限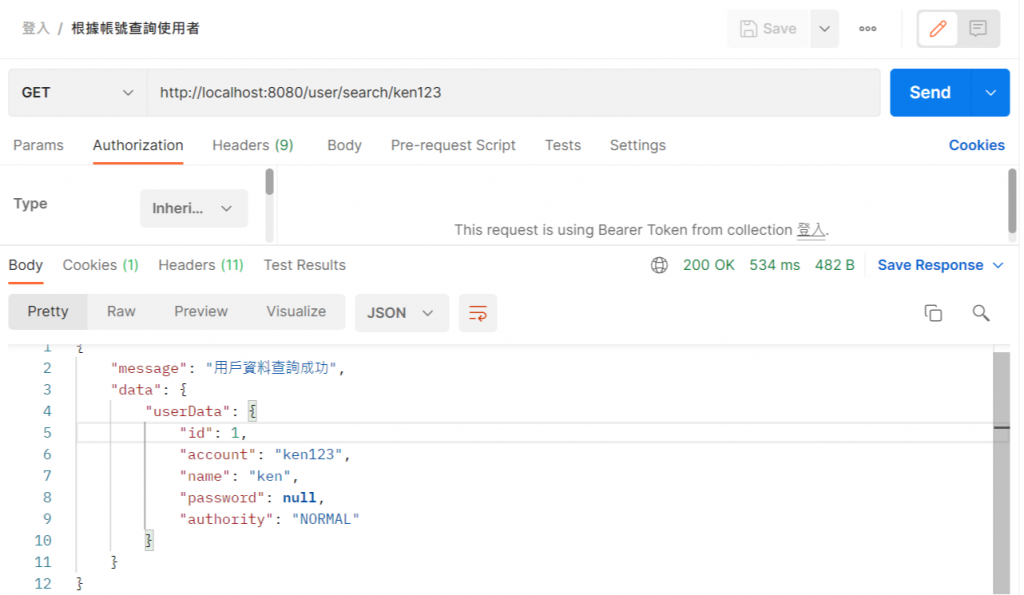
可以發現我們目前的權限是Normal,所以當我們去請求創建使用者連結時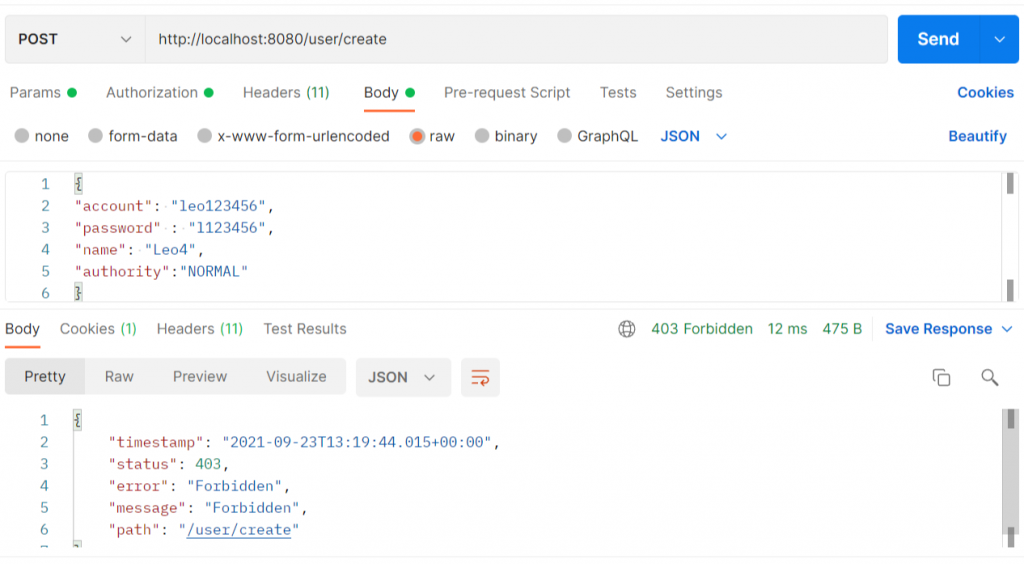
此時我們修改SQL資料庫中 ken123的權限欄位 NORMAL→ADMIN
UPDATE `stockapi`.`users` SET `AUTHORITY` = 'ADMIN' WHERE `ACCOUNT` = 'ken123' ;
重新登入取得token後再重新請求一次創造使用者的連結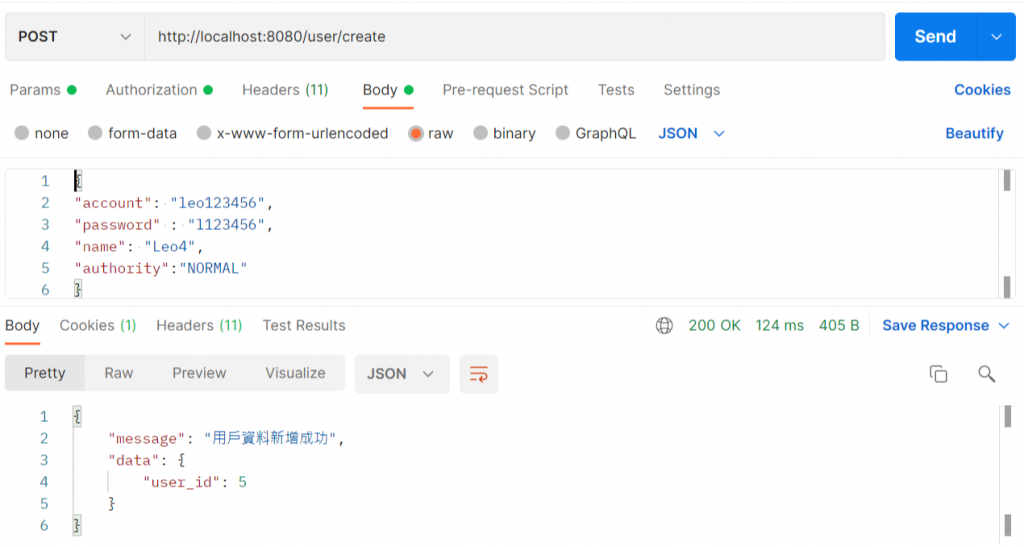
就會發現請求成功囉!
參考資料:
https://stackoverflow.com/questions/41480102/how-spring-security-filter-chain-works
https://medium.com/@yovan/spring-security-architecture-6dbac2a16bda