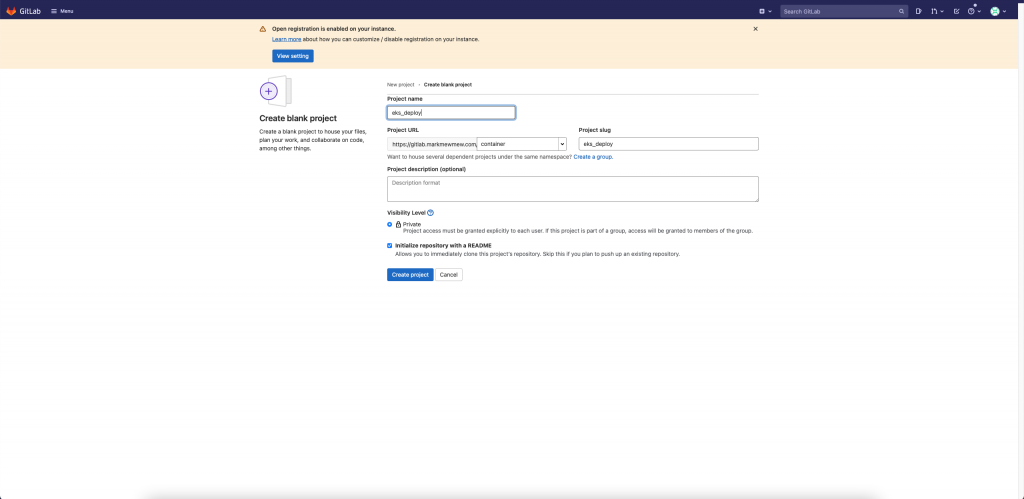
之前我們自動部署的時候,
沒有在 Jenkins Server 上 config aws,
而是起一個 Docker 去做各項 aws 的操作,
今天我們部署到 EKS,
也打算如法炮製,
製作一個部署用的容器,
透過這容器在部署的時候可以自動部署到 EKS。
撰寫容器時要注意
一般來說
也不建議在建置的時候
將帳號密碼這類機敏資訊包進去
而是要另外 mount 上去
這也是為什麼我們另外包一層的時候
也沒有順便包進去
怕的就是我們包了一個過高權限的 iam 進容器
結果容器落到有心人手裡
而造成其他問題

因為我們有 container,所以下面兩個也要勾選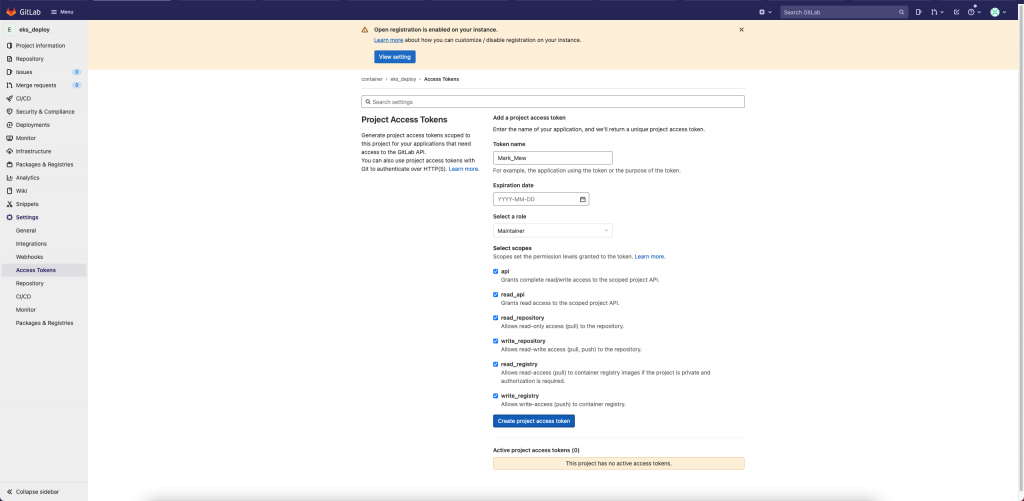
Build when a change is pushed to GitLab.Generate 產生 Token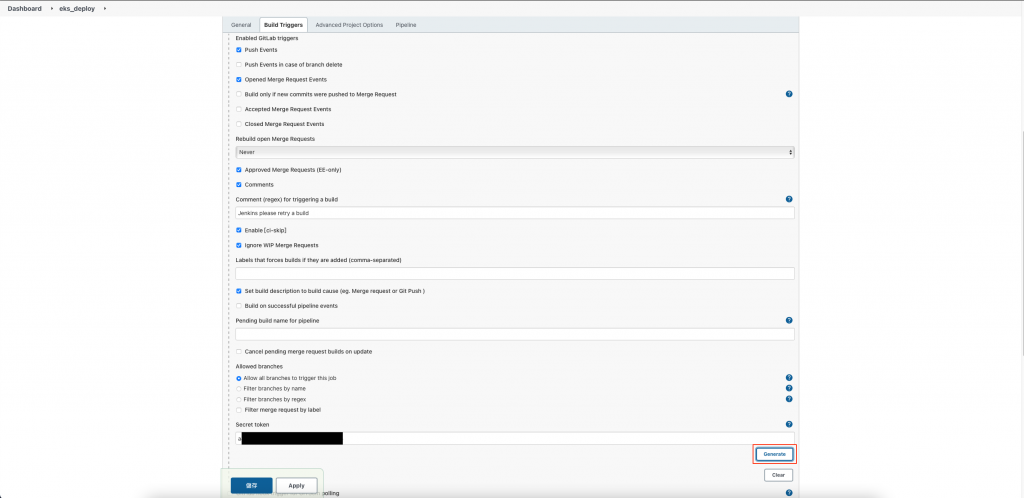
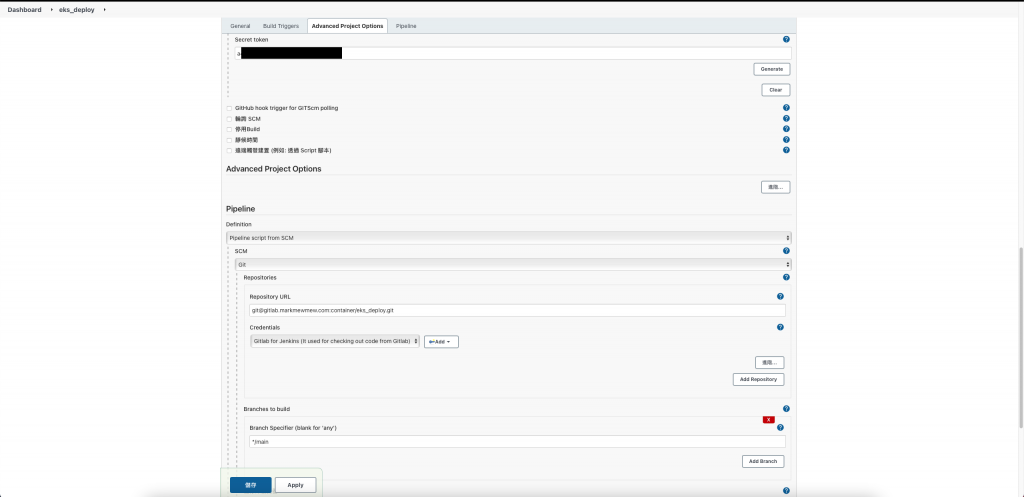
Add hook
因為我們只會在 Jenkins Server 上使用
所以就先沒有 push 上 ECR
只要 Jenkins Server 上有執行過
在部署的時候
就可以抓取 local(Jenkins)上的 eks-deploy 直接執行
cd /vagrant_data/project/
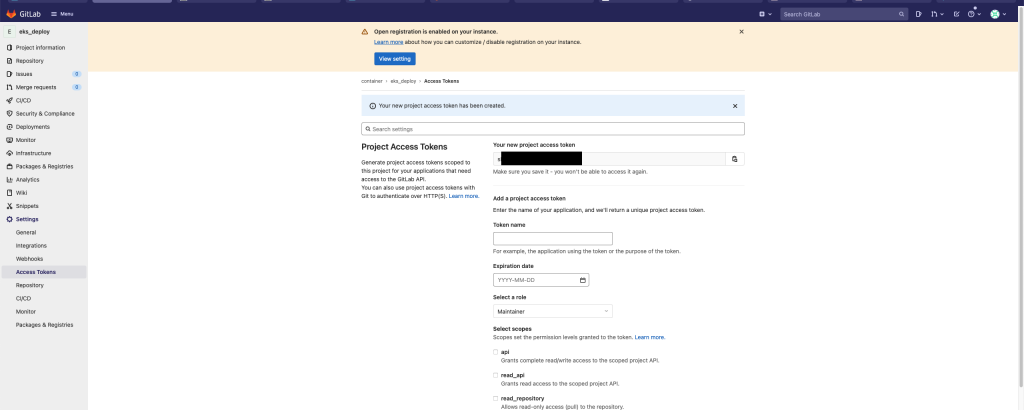
git clone https://[使用者名稱]:[Access Token]@[Git Repository]
FROM mikesir87/aws-cli
MAINTAINER Mark_Mew

RUN sed -i 's/stable\/updates/stable-security/g' /etc/apt/sources.list \
  && apt-get update -qq \
  && apt-get install -y curl \
  && apt-get upgrade -y \
  && apt-get clean

RUN curl -LO "https://dl.k8s.io/release/$(curl -L -s https://dl.k8s.io/release/stable.txt)/bin/linux/amd64/kubectl" \
  && install -m 0755 kubectl /usr/local/bin/kubectl
pipeline {
    agent any
    stages {
        stage('Build Docker Image') {
            steps {
                echo 'Building...'
                script {
                    def customImage = docker.build("eks-deploy:${env.BUILD_ID}", "./")
                }
            }
        }
        stage('Clean Workspace') {
            steps {
                echo 'Cleaning....'
                cleanWs()
            }
        }
    }
    post {
        // Clean after build
        always {
            cleanWs(cleanWhenNotBuilt: false,
                    deleteDirs: true,
                    disableDeferredWipeout: true,
                    notFailBuild: true,
                    patterns: [[pattern: '.gitignore', type: 'INCLUDE'],
                               [pattern: '.pyc', type: 'INCLUDE'],
                               [pattern: '.propsfile', type: 'EXCLUDE']])
        }
    }
}
git add Dockerfile
git add Jenkinsfile
git commit -m "add container and p
git push
之前我們在電腦中手動部署
因為是 administrator 的關係
因此可以任意操作
但是當我們是使用 IAM 的話
就需要再另外加權限上去了
stage/main.tf
resource "aws_iam_user_policy" "jenkins_update_kube_config" {
    name = "JenkinsUpdateKubeConfig"
    user = aws_iam_user.jenkins.name

    policy = <<EOF
{
  "Version": "2012-10-17",
  "Statement": [
    {
      "Action": "eks:DescribeCluster",
      "Effect": "Allow",
      "Resource": "arn:aws:eks:ap-northeast-1:[你的AWS Account數字]:cluster/*"
    }
  ]
}
EOF
}
stage/main.tf
其實這功能非必要
只是覺如果只是 read only 權限
是可以放一下
resource "aws_iam_policy" "eks_limit_access" {
    name        = "EKSLimitAccess"
    path        = "/"
    description = ""

    policy = jsonencode({
      Version = "2012-10-17"
      "Statement": [
        {
          "Action": [
            "eks:ListNodegroups",
            "eks:DescribeFargateProfile",
            "eks:UntagResource",
            "eks:ListTagsForResource",
            "eks:ListAddons",
            "eks:DescribeAddon",
            "eks:ListFargateProfiles",
            "eks:DescribeNodegroup",
            "eks:DescribeIdentityProviderConfig",
            "eks:ListUpdates",
            "eks:DescribeUpdate",
            "eks:TagResource",
            "eks:AccessKubernetesApi",
            "eks:DescribeCluster",
            "eks:ListClusters",
            "eks:DescribeAddonVersions",
            "eks:ListIdentityProviderConfigs"
          ],
          "Effect": "Allow",
          "Resource": "*"
        }
      ]
    })
}

resource "aws_iam_user_policy_attachment" "jenkins_eks_limit_access" {
    user       = aws_iam_user.jenkins.name
    policy_arn = aws_iam_policy.eks_limit_access.arn
}
terraform apply
增加 Deploy to EKS 這個 stage
也因為我們之前有另外建一個資料夾
在資料底下做事情
但...其實它也沒有非一定要的存在
也可以順便把它移除了
pipeline {
  agent any

  stages {
    stage('Run Test') {
        steps {
            echo 'Run Python Unittest ...'
            script {
                withDockerContainer(image: 'python:3.7.10-buster', args: '-u root:root') {
                    sh """
                    apt-get install libpq-dev
                    pip install --user -r requirements.txt
                    python manage.py test
                    rm -rf __pycache__
                    rm -rf */__pycache__
                    rm -rf */*.pyc
                    """
                }
            }
        }
    }
    stage('Archieve Project') {
        steps {
            echo 'Archieve...'
            sh 'git archive --format=tar.gz --output ./portal.tar.gz HEAD'
        }
    }
    stage('Upload to S3') {
        steps {
            echo 'Upload...'
            sh "docker run --rm -v ${WORKSPACE}:/app -v /usr/local/src/aws_docker_file/.aws:/root/.aws mikesir87/aws-cli aws s3 cp /app/portal.tar.gz s3://ithome-ironman-markmew-jenkins/portal/stage/portal-${env.BUILD_ID}.tar.gz"
        }
    }
    stage('Build and Push Docker Image') {
        steps {
            script {
                echo 'Building...'
                def customImage = docker.build("portal:${env:BUILD_ID}", "./")
                echo 'Validating... aws'
                sh 'docker run --rm -v /usr/local/src/aws_docker_file/.aws:/root/.aws mikesir87/aws-cli aws ecr get-login-password --region ap-northeast-1 | docker login --username AWS --password-stdin [你的 AWS 10 碼 ID].dkr.ecr.ap-northeast-1.amazonaws.com'
                echo 'Tag docker image'
                sh "docker tag portal:${env:BUILD_ID} [你的].dkr.ecr.ap-northeast-1.amazonaws.com/portal:${env:BUILD_ID}"
                sh "docker tag portal:${env:BUILD_ID} [你的 AWS 10 碼].dkr.ecr.ap-northeast-1.amazonaws.com/portal:latest"
                echo 'Push docker image'
                sh "docker push [你的 AWS 10 碼 ID].dkr.ecr.ap-northeast-1.amazonaws.com/portal:${env:BUILD_ID}"
                sh "docker push [你的 AWS 10 碼 ID].dkr.ecr.ap-northeast-1.amazonaws.com/portal:latest"
            }
        }
    }
    stage('Deploy to EKS') {
        steps {
            echo 'Applying portal to eks ...'
            script {
                withDockerContainer(image: 'eks-deploy:latest',
                                    args:"-u root:root -v /usr/local/src/aws_docker_file/.aws:/root/.aws -v ${WORKSPACE}/deploy.yaml:/aws/deploy.yaml") {
                    sh 'aws eks --region ap-northeast-1 update-kubeconfig --name aws-stage-cluster'
                    sh 'kubectl apply -f deploy.yaml'
                }
            }
        }
    }
    stage('Deploy') {
        steps {
            echo 'Deploy ...'
            sh "docker run --rm -v /usr/local/src/aws_docker_file/.aws:/root/.aws mikesir87/aws-cli aws deploy create-deployment --application-name ithome-ironman-portal --deployment-config-name CodeDeployDefault.OneAtATime --deployment-group-name ithome-ironman-portal --description \"codedeploy test\" --s3-location bucket=ithome-ironman-markmew-jenkins,bundleType=tgz,key=portal/stage/portal-${env.BUILD_ID}.tar.gz"
        }
    }
  }
}
Jenkinsfile 來源改成 SCM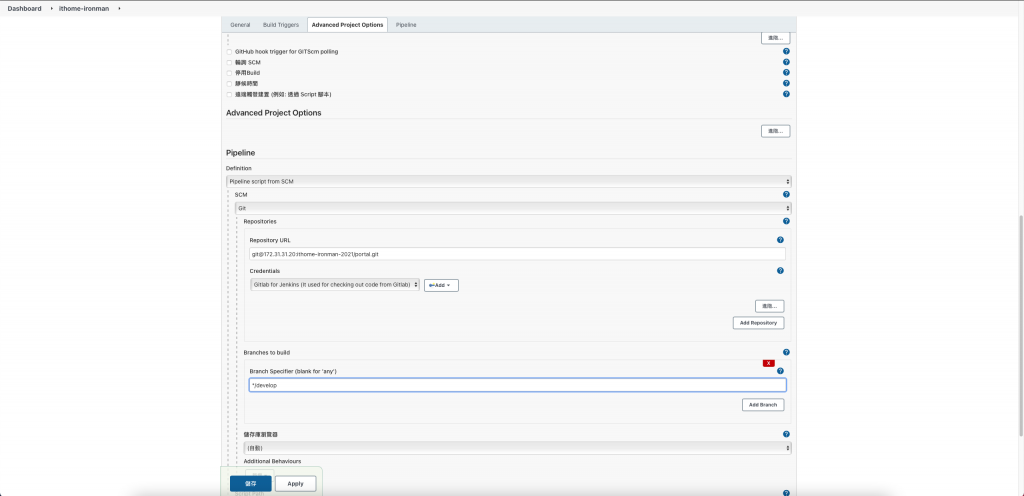
git add deploy.yaml
git add Jenkinsfile
git commit -m "add Jenkinsfile for CI"
git push
昨天我們嘗試手動部署到 EKS
今天更近一步
使用容器將我們需要的東西包起來去執行 kubectl 的指令
通常來說只要能做到手動部署
其實自動部署也就差不多了
這邊會多做一步
另外包一層 docker 去執行
主要是因為我們沒有特別做乾淨的 Jenkins AMI
就算有可能也意義不大
現實中不太有機會時常從乾淨的環境開始重建
比較多會是做災難演練
因此在做完備份後
從備份中復原
之前我們有提過如何復原 Snapshot
未來有機會會再提如何建立備份
大致上陽春版的部署已經完成
我們有了陽春版的 EC2 部署
也有了陽春版的 EKS 部署
明天我們會提高難度
進行不同的部署


 iThome鐵人賽