今天要開始實作登入頁面,首先我們先新增一個login元件
ng generate component login
接著將在網路上找到的登入的html樣式放入
在login.component.html新增
<h1>{{title}}</h1>
<form method="post">
  <div class="container">
    <label for="uname"><b>Username</b></label>
    <input type="text" placeholder="Enter Username" name="uname" required>

    <label for="psw"><b>Password</b></label>
    <input type="password" placeholder="Enter Password" name="psw" required>
    <button type="submit">Login</button>
  </div>
</form>
在login.component.css
/* Bordered form */
form {
    border: 3px solid #f1f1f1;
  }

  /* Full-width inputs */
  input[type=text], input[type=password] {
    width: 100%;
    padding: 12px 20px;
    margin: 8px 0;
    display: inline-block;
    border: 1px solid #ccc;
    box-sizing: border-box;
  }

  /* Set a style for all buttons */
  button {
    background-color: #04AA6D;
    color: white;
    padding: 14px 20px;
    margin: 8px 0;
    border: none;
    cursor: pointer;
    width: 100%;
  }

  /* Add a hover effect for buttons */
  button:hover {
    opacity: 0.8;
  }

  /* Extra style for the cancel button (red) */
  .cancelbtn {
    width: auto;
    padding: 10px 18px;
    background-color: #f44336;
  }

  /* Center the avatar image inside this container */
  .imgcontainer {
    text-align: center;
    margin: 24px 0 12px 0;
  }

  /* Avatar image */
  img.avatar {
    width: 40%;
    border-radius: 50%;
  }

  /* Add padding to containers */
  .container {
    padding: 16px;
  }

  /* The "Forgot password" text */
  span.psw {
    float: right;
    padding-top: 16px;
  }

  /* Change styles for span and cancel button on extra small screens */
  @media screen and (max-width: 300px) {
    span.psw {
      display: block;
      float: none;
    }
    .cancelbtn {
      width: 100%;
    }
  }
在login.component.ts 新增title的值
import { Component, OnInit } from '@angular/core';

@Component({
  selector: 'app-login',
  templateUrl: './login.component.html',
  styleUrls: ['./login.component.css']
})
export class LoginComponent implements OnInit {
  title = "登入"
  constructor() { }

  ngOnInit(): void {
  }

}
在app.component.html放入login的模板標籤
<app-login></app-login>
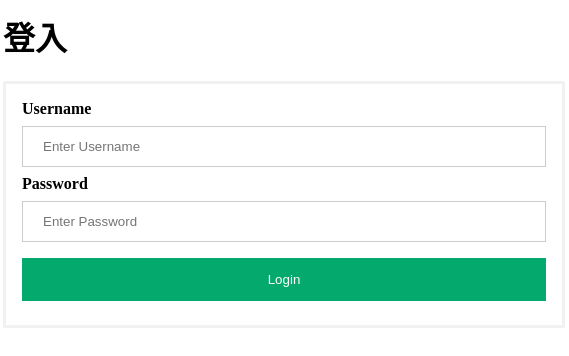
就可以看到畫面囉~
OnInit: 初始化介面
A lifecycle hook that is called after Angular has initialized all data-bound properties of a >directive. Define an ngOnInit() method to handle any additional initialization tasks.
lifecycle hook: 生命週期鉤子,主要是用來偵測元件的生成、與元件繫結的資料改變、更新....等等,
會在Angular起始化所有元件後被呼叫。
以下是在生命週期可以觸發的功能
ngOnChanges: When an input/output binding value changes.ngOnInit: After the first ngOnChanges.ngDoCheck: Developer's custom change detection.ngAfterContentInit: After component content initialized.ngAfterContentChecked: After every check of component content.ngAfterViewInit: After a component's views are initialized.ngAfterViewChecked: After every check of a component's views.ngOnDestroy: Just before the directive is destroyed.ngOnInit:
A callback method that is invoked immediately after the default change detector has checked the >directive's data-bound properties for the first time, and before any of the view or content >children have been checked. It is invoked only once when the directive is instantiated.
ngOnInit屬於全域初始化,意指這個方法只會在第一次執行完 ngOnChanges方法後被呼叫,
且只會被呼叫一次,通常會將取得初始資料的功能放在ngOnInit執行。
今天先做到這邊~ 明天再繼續囉!


 iThome鐵人賽