之前提過在 Azure Machine Learning 裡面,提供了模型註冊的功能。這樣子的功能很重要,在當代 MLOps 的工具裡面都會有這類的功能,因為好好的管理每個版本的模型是現代企業導入 AI 最重要的事情之一。我們今天就來講怎麼用 AML SDK 註冊模型和部署吧!
from azureml.core import Model

classification_model = Model.register(workspace=ws,
                       model_name='mnist_model',
                       model_path='mnist.h5', # local path
                       description='mnist 的模型')
run.register_model( model_name='mnist_model',
                    model_path='outputs/mnist.h5', # run outputs path
                    description='A classification model')
我們進到圖形化介面,可以看到已經被註冊進去囉!如下圖: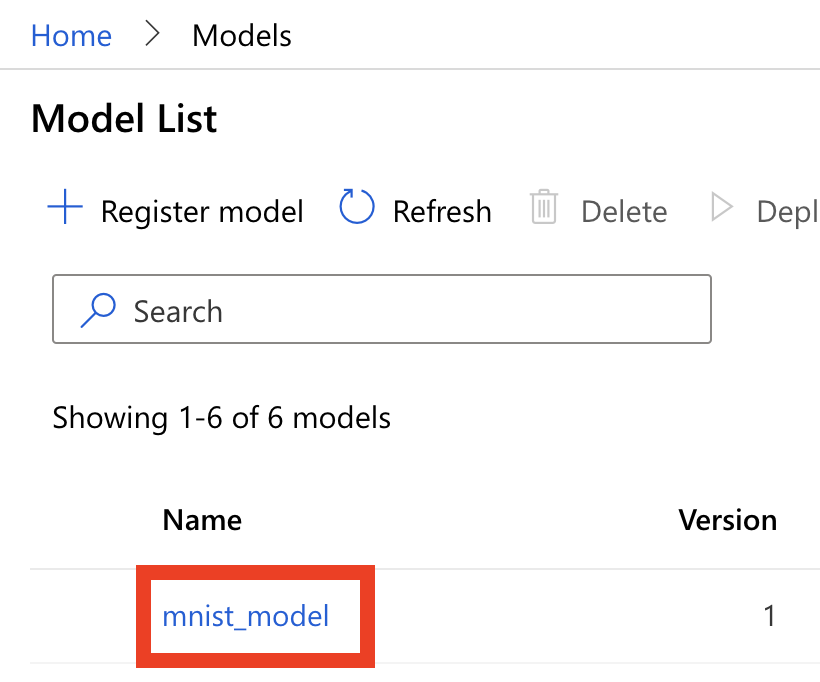
當然也可以用 SDK 的方式來取得:
for model in Model.list(ws):
    print(model.name)
score.py。這個 script 至少要有兩個 function:根據 MNIST 的 model,程式碼參考如下:
import json
import numpy as np
import os
from tensorflow.keras.preprocessing import image
from tensorflow.keras.models import load_model

def init():
    global model
    # AZUREML_MODEL_DIR 是環境變數
    model_path = os.path.join(os.getenv('AZUREML_MODEL_DIR'), 'mnist.h5')
    model = load_model(model_path)

def run(raw_data):
    data = np.array(json.loads(raw_data)['data'])

    predictions = model.predict(pred_img)

    return predictions.tolist()
from azureml.core import Environment, Workspace
from azureml.core.model import InferenceConfig

ws = Workspace.from_config()

env = Environment.get(ws,"AzureML-tensorflow-2.4-ubuntu18.04-py37-cuda11-gpu")
env.inferencing_stack_version='latest'

mnist_inference_config = InferenceConfig(source_directory = '.',
                                              entry_script="score.py",
                                              environment=env)
from azureml.core.compute import ComputeTarget, AksCompute

cluster_name = 'MnistAksCluster'
compute_config = AksCompute.provisioning_configuration(location='westus2')
production_cluster = ComputeTarget.create(ws, cluster_name, compute_config)
production_cluster.wait_for_completion(show_output=True)
from azureml.core.webservice import AksWebservice

classifier_deploy_config = AksWebservice.deploy_configuration(cpu_cores = 2,
                                                              memory_gb = 1,
                                                              enable_app_insights = True)
from azureml.core.model import Model

model = ws.models['mnist_model']
service = Model.deploy(workspace=ws,
                       name = 'mnist-classification',
                       models = [model],
                       inference_config = mnist_inference_config,
                       deployment_config = classifier_deploy_config,
                       deployment_target = production_cluster)
service.wait_for_deployment(show_output = True)

今天我們就講完了模型的註冊和部署了,明天我們來講 Pipeline 吧!