v-bind 可以讓 template 內的標籤去綁定 script 內定義的變數,舉個例子
<template>
  <div>
    <el-radio label="1" >Option 1</el-radio>
  </div>
</template>
可以改寫成這樣
<template>
  <div>
    <el-radio v-bind:label="label1" >Option 1</el-radio>
  </div>
</template>

<script lang="ts" setup>
let label1="1"
</script>
最後效果是一樣的,在標籤內 v-bind 可以簡寫成 :
<template>
  <div>
    <el-radio :label="label1" >Option 1</el-radio>
  </div>
</template>

<script lang="ts" setup>
let label1="1"
</script>
上一篇已經提到了,就是可以透過網頁上的操作去改變資料的值,比方說表單、輸入欄等等。
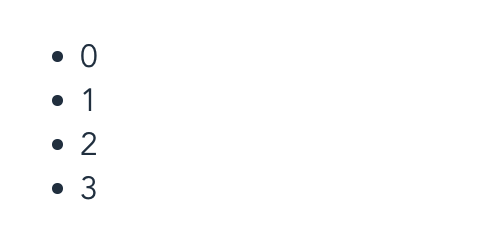
迴圈,比方說你想重複什麼元件在網頁上,就可以用這個。馬上來示範一下
<template>
  <div>
    <ul>
      <li v-for="(item,index) in list1" :key="index">
        {{item}}
      </li>
    </ul>
  </div>
</template>

<script lang="ts" setup>
let list1=[0,1,2,3]
</script>
v-for 語法是 v-for="(陣列元素,陣列 index) in 陣列",然後元件標籤內要用 v-bind 綁定 key="index"

這個是綁定事件的指令,比方說想要按下按鈕有什麼行為,滑鼠移到某個元件上有什麼行為,語法是 v-on:事件="行為",舉例一下
<template>
  <div>
    <el-button
      v-on:click="print()"
    >
      button
    </el-button>
  </div>
</template>

<script lang="ts" setup>
const print=()=>{
  console.log('hello')
}
</script>
v-on: 可以簡寫成 @
<el-button
 @click="print()"
>
  button
</el-button>
判斷指令,當符合什麼條件時,這個標籤才顯示,語法是 v-if="條件"
<template>
  <div>
    <div v-if="true">hello</div>
  </div>
</template>
另外提醒一下 v-for 和 v-if 不要在同一個標籤內一起使用,這樣每次迭代都會判斷一次,比較浪費效能
