昨天我們已經初步驗證了 k6 testing 的 pipeline 是可行的,今天讓我們來做些優化吧。
artifact: 在各個 CI 工具裡 artifact 是非常常見的,用來儲存我們在 pipeline 執行時/後的產物。在 Jenkinsfile 中的使用方式如下:
archiveArtifacts artifacts: 'ithome-sample.html', followSymlinks: false
則我們可以將我的 pipeline 改成
pipeline {
    agent any
    environment {
        K6_SCRIPT = "${WORKSPACE}/jobs/ithome-day9-sample-k6-testing/ithome-sample.js"
    }
    stages {
        stage('Sample request'){
            steps {
                sh "k6 run ${K6_SCRIPT}"
            }
        }
    }
    post {
        always{
            archiveArtifacts artifacts: 'ithome-sample.html', followSymlinks: false
        }
    }
}
當我們執行 Pipeline 後可以看到在 Job 的頁面多了一個 Last Successful Artifacts,我們點開下面的 ithome-sample.html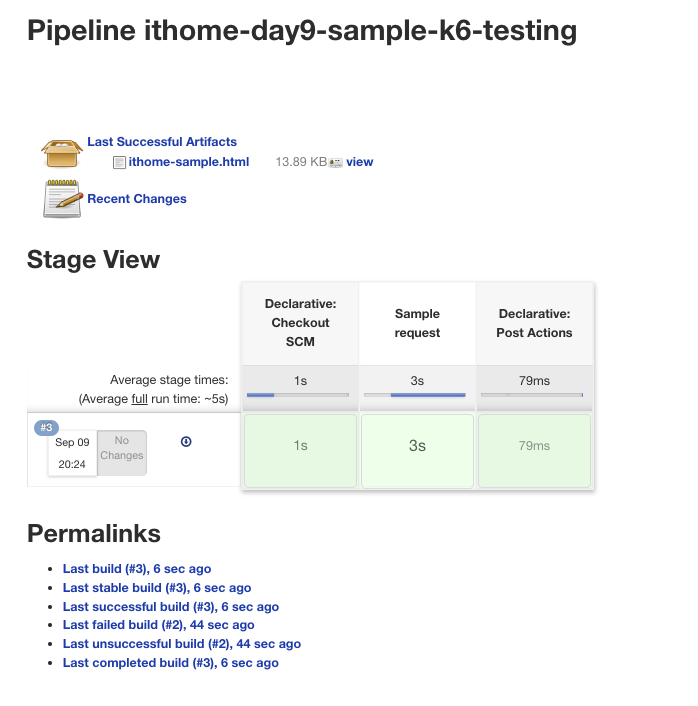
即可發現他幫我們指向了 html 以及其內容http://ithome-jenkins/job/ithome-day9-sample-k6-testing/lastSuccessfulBuild/artifact/ithome-sample.html
而且可以觀察到他是一個固定的 URL ,意思是不會隨著 build_id 而重新去生成新的 route ,但是會永遠是最新一次 build 產生的 ithome-sample.html。 如果我們想看特定 build_id 的 html 的話可以改成http://ithome-jenkins/job/{{ PIPELINE_NAME }}/{{ BUILD_ID}}/artifact/ithome-sample.html
對於使用 k6 產生報告主要有幾種方式
再來就是我想介紹給大家的 Saas 服務 - k6 cloud ,他提供了一個精美的 UI 可以清楚的顯示你的 k6 testing。
初始設定流程如下:
k6 cloud login -t {{ K6_TOKEN }}
export const options = {
  ext: {
    loadimpact: {
      projectID: 3600288,
      name: "ithome-day9-sample-k6-testing"
    }
  }
};
k6 cloud 提供兩種模式,第一種,在本地跑 k6 testing 然後將結果上傳 k6 run sample.js -o cloud; 第二種是直接在 k6 託管的服務上跑 k6 testing k6 cloud sample.js
如果你是測試內部的 API (無對外開放) 非常推薦第一種執行方式。
將我們的範例 k6 script 改成
// ithome-sample.js
import http from 'k6/http';
import { htmlReport } from "https://raw.githubusercontent.com/benc-uk/k6-reporter/main/dist/bundle.js";

export const options = {
  stages: [
    { duration: '5s', target: 10 },
    { duration: '1m', target: 10 },
    { duration: '5s', target: 0 },
  ],
  thresholds: {
    http_req_duration: ['p(99)<1500'],
  },
  ext: {
    loadimpact: {
      projectID: 3600288,
      name: "ithome-day9-sample-k6-testing"
    }
  }
};

export default function () {
  http.get('https://test.k6.io');
}

export function handleSummary(data) {
  return {
	    "ithome-sample.html": htmlReport(data),
  	};
}
Jenkinsfile 改成
pipeline {
    agent any
    environment {
        K6_SCRIPT = "${WORKSPACE}/jobs/ithome-day9-sample-k6-testing/ithome-sample.js"
    }
    stages {
        stage('K6 cloud login'){
            steps {
                withCredentials([string(credentialsId: 'ithome-k6-cloud-token', variable: 'K6_CLOUD_TOKEN')]) {
                    sh "k6 login cloud -t ${K6_CLOUD_TOKEN}"
                }
            }
        }
        stage('Sample request'){
            steps {
                sh "k6 run ${K6_SCRIPT} -o cloud"
            }
        }
    }
    post {
        always{
            archiveArtifacts artifacts: 'ithome-sample.html', followSymlinks: false
        }
    }
}
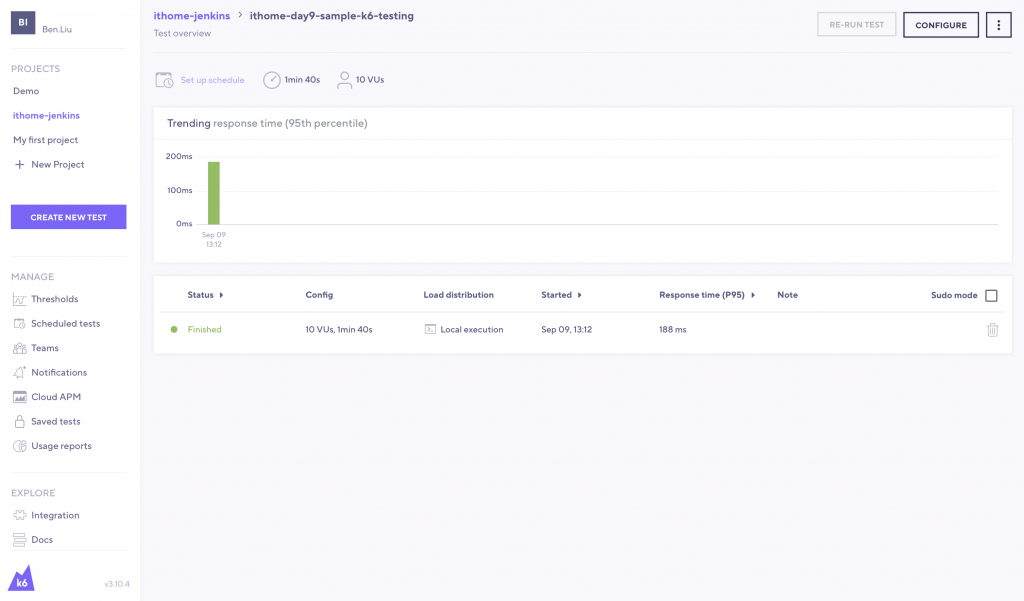
Jenkins pipeline 執行結果截圖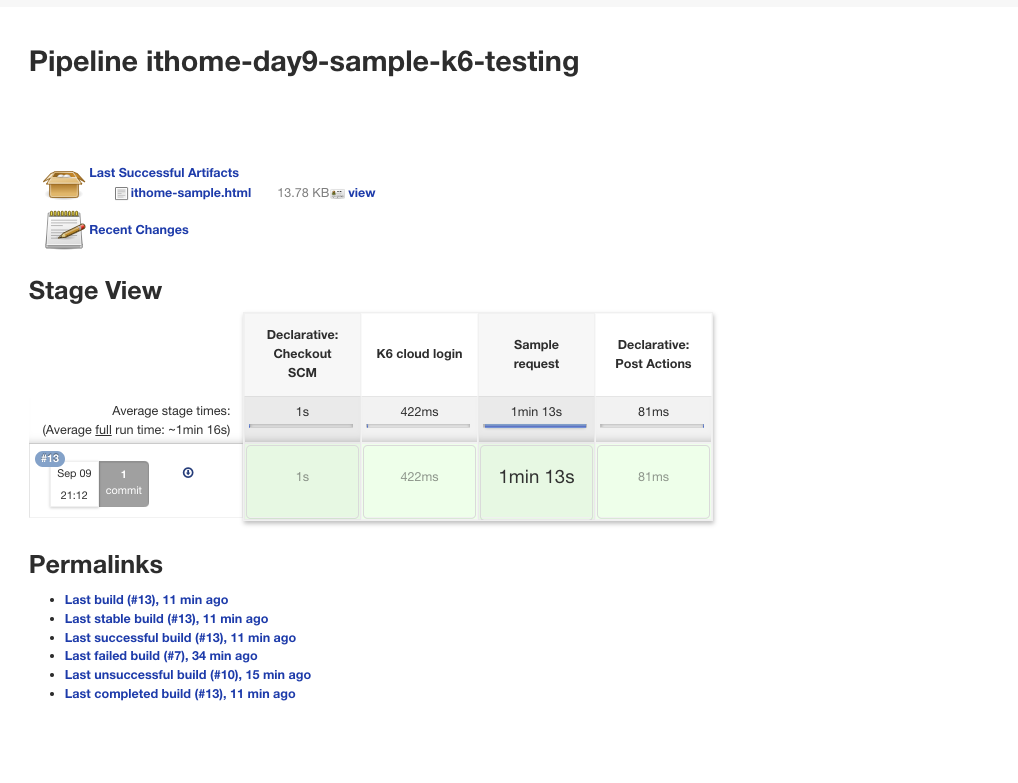
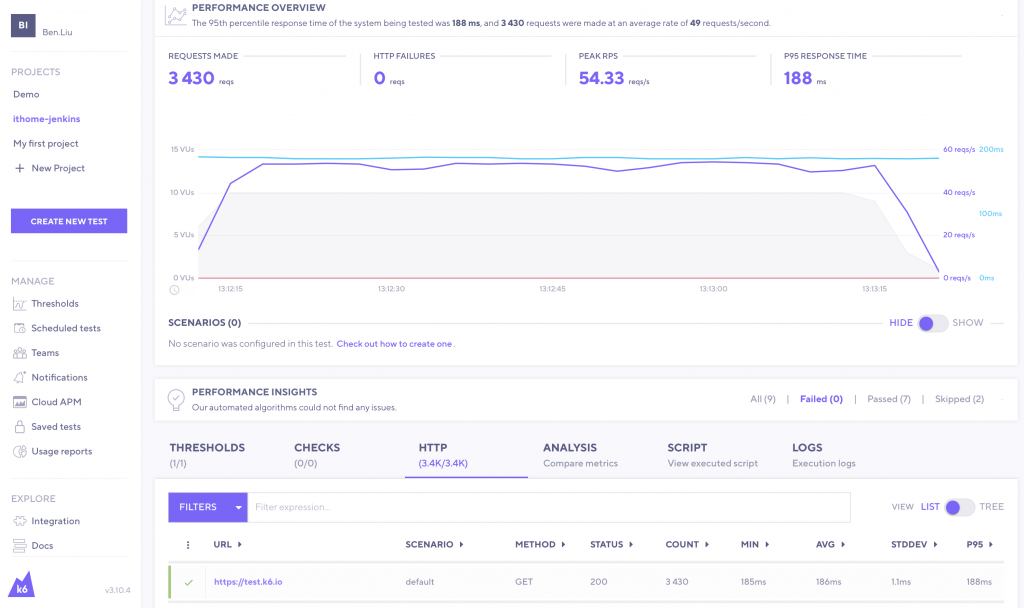
而最重要的 k6 cloud report UI 成功結果截圖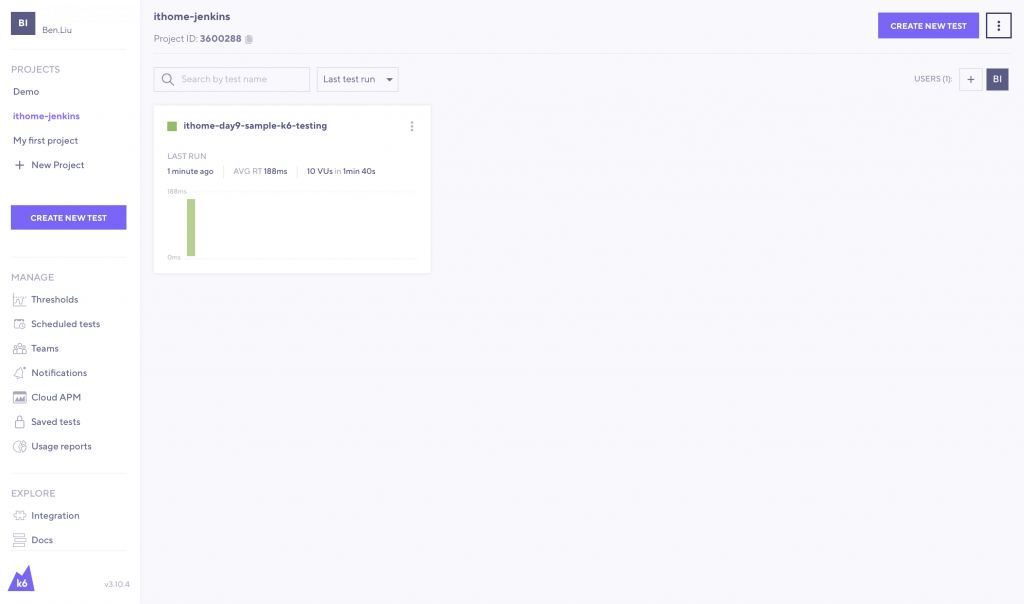
我們使用 k6 cloud 的免費版有以下限制
付費版本的 k6 cloud 並不是非常平價,但是個人覺得非常值得,歡迎大家多多向自己的公司推薦用 k6 ~


 iThome鐵人賽