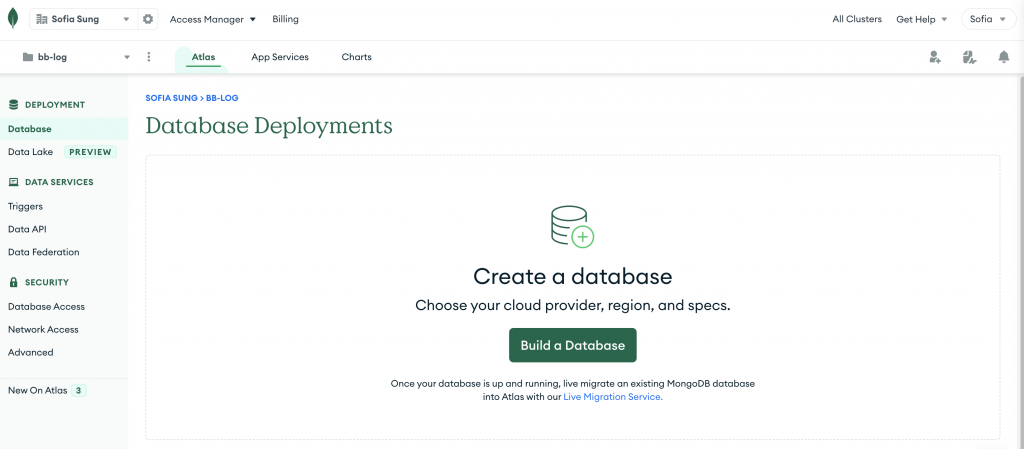
在前幾篇有提到除了在自己的電腦上運行本機端的 MongoDB,也可以使用雲端的方式將資料儲存在雲端資料庫,隨時都能取用~ 而今天就要來使用 MongoDB Atlas !!!
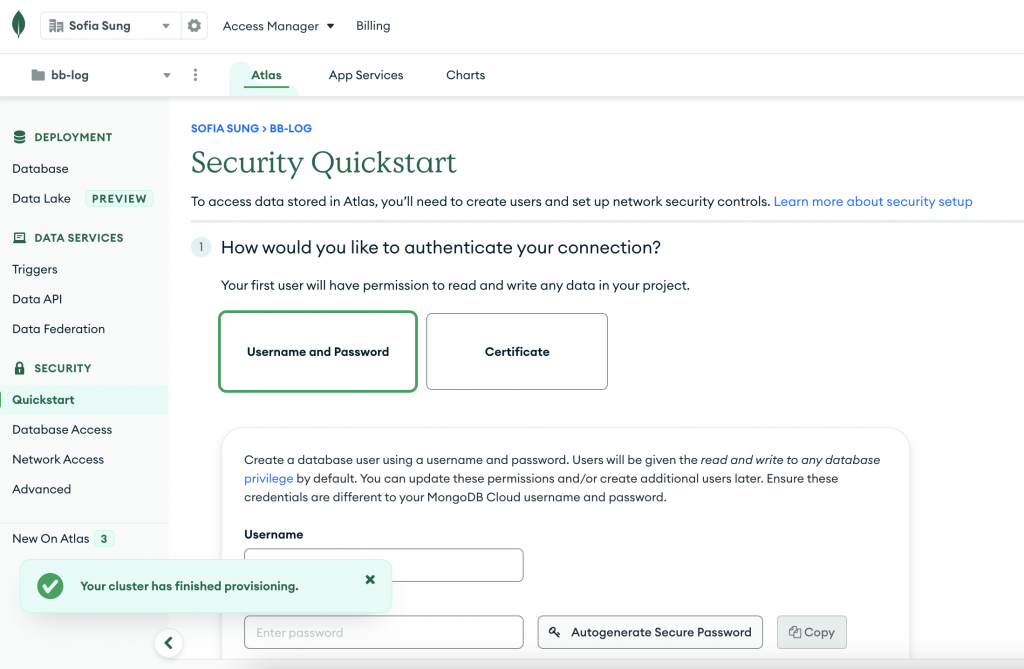
(這邊可能會跳出快速開始的選項,可以先跳過~接著會直接設定)
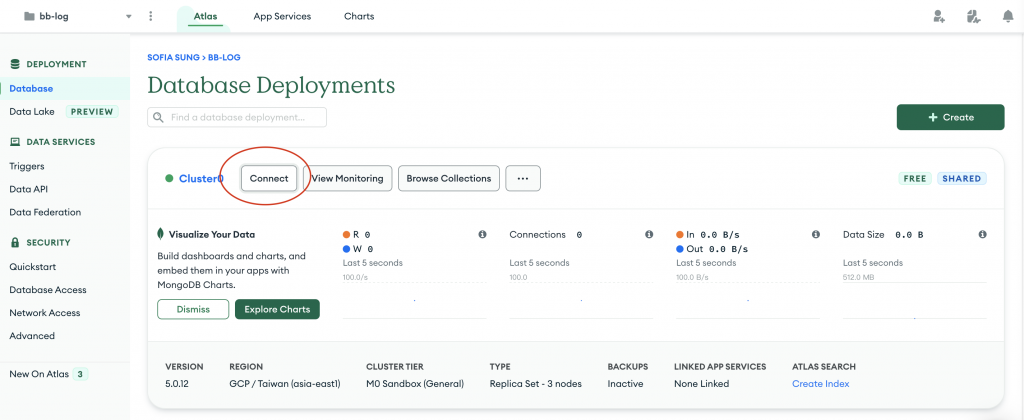
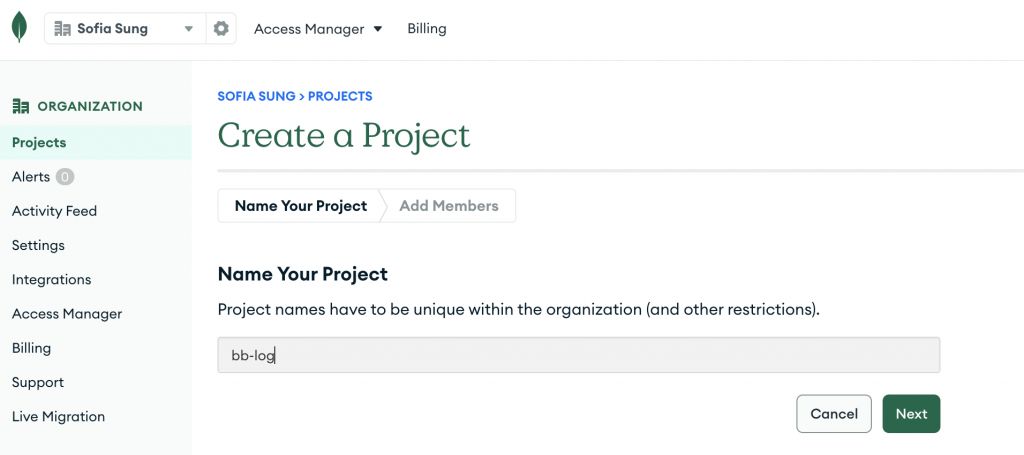
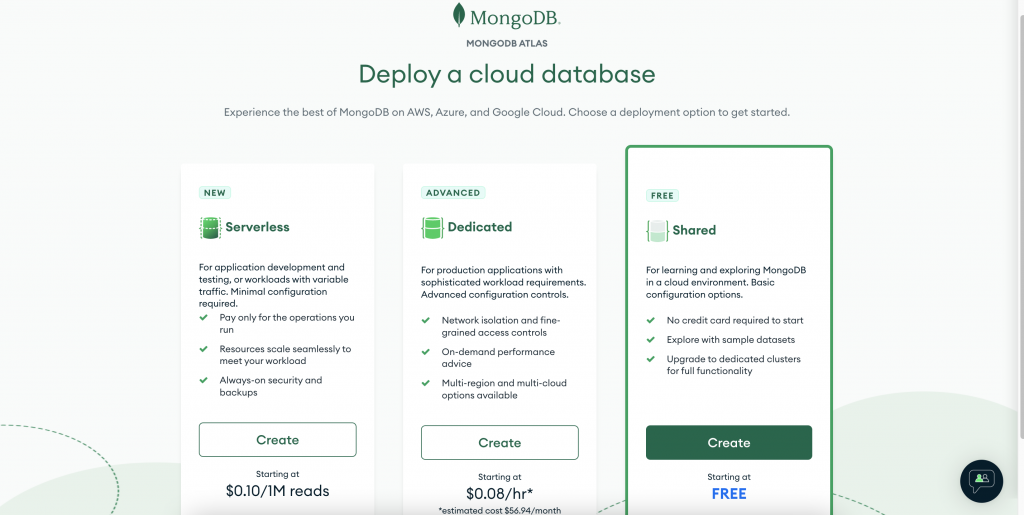
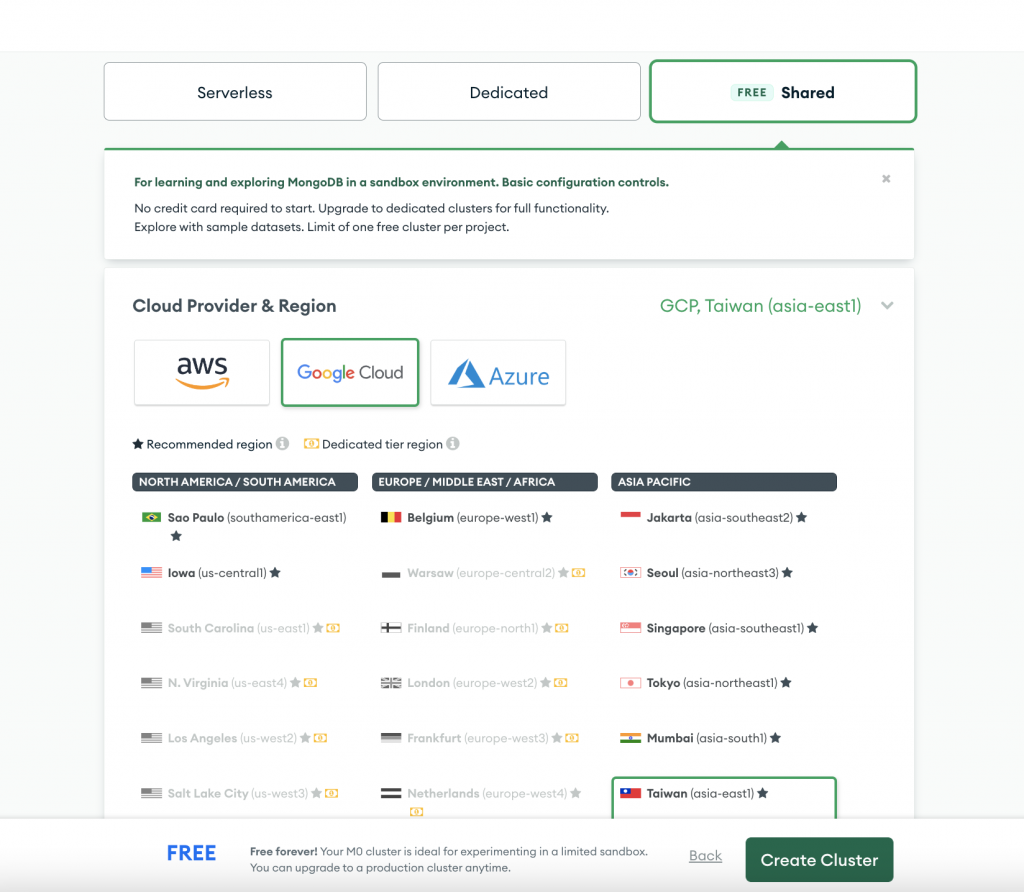
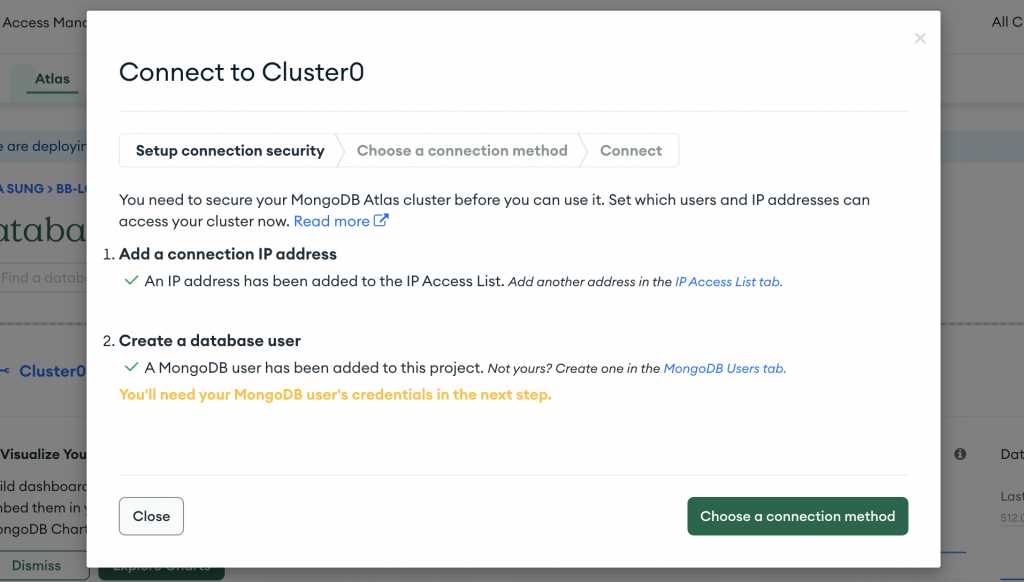
接著依序指示進行設定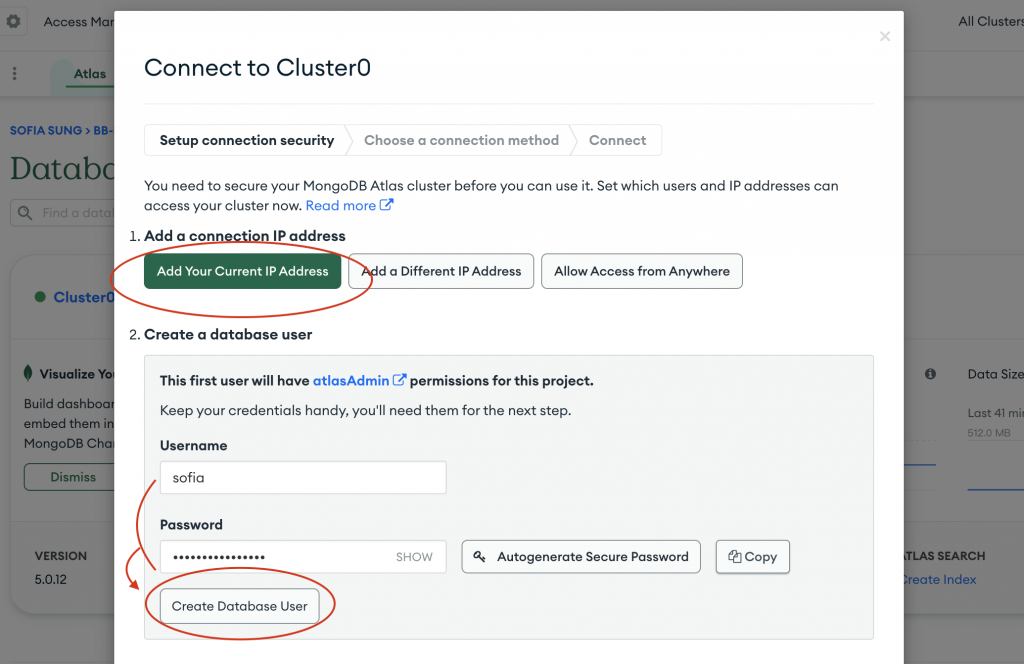
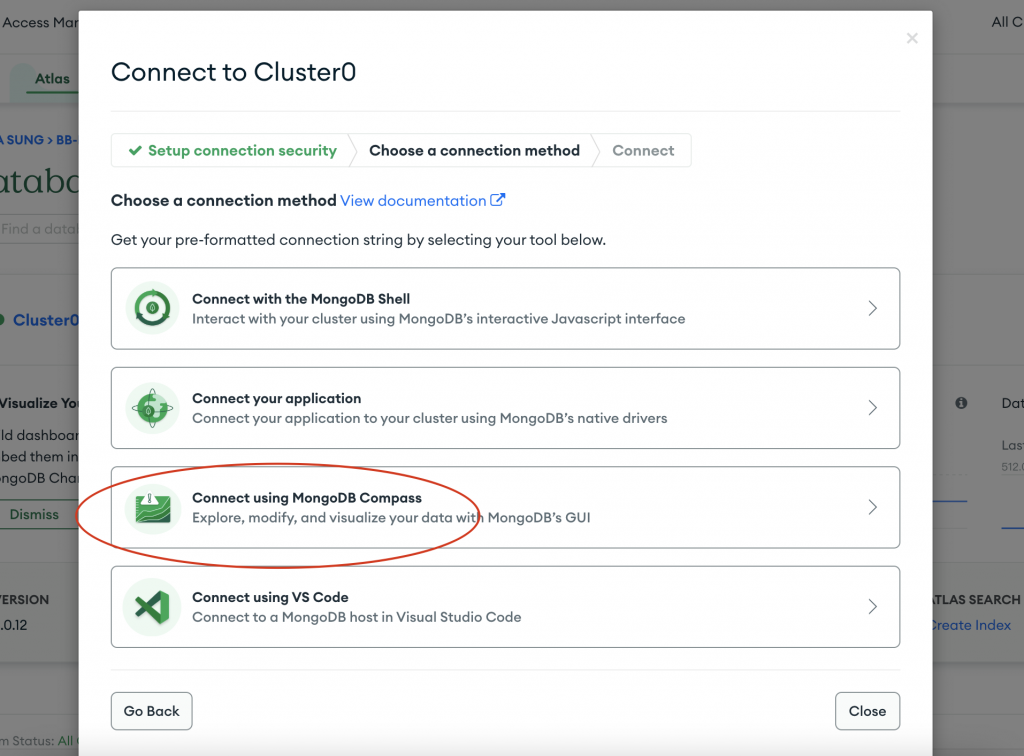
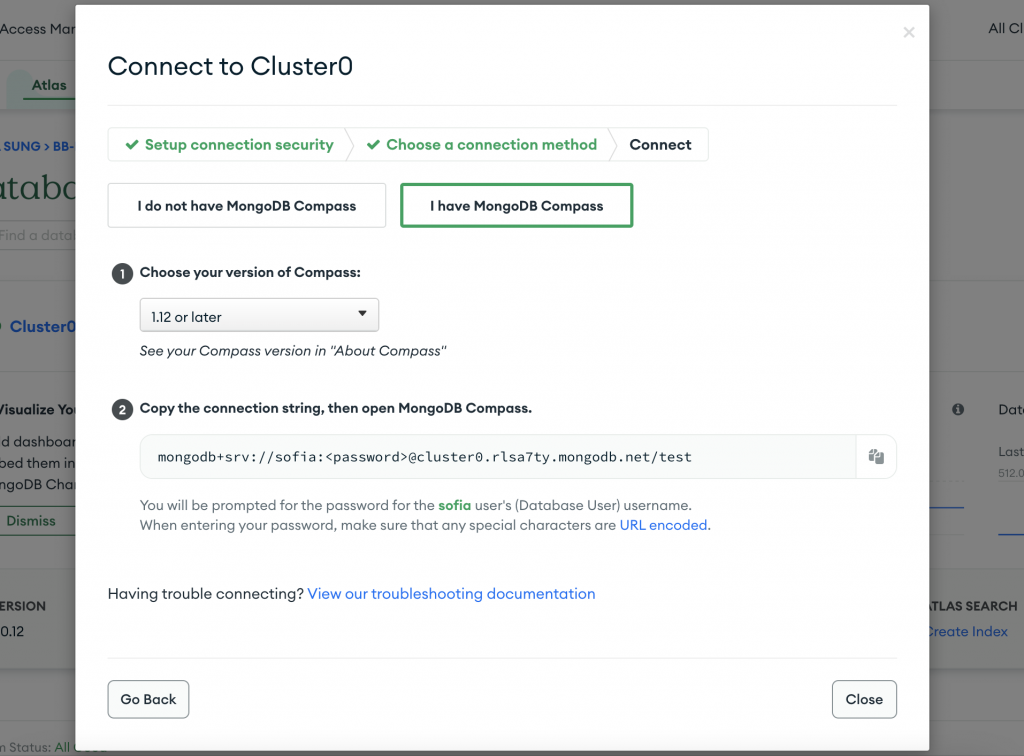
獲得連接雲端資料庫的字串!
mongodb+srv://sofia:<password>@cluster0.rlsa7ty.mongodb.net/test
接著打開 Compass 應用程式,建立新的連接:
<password> 替換成剛剛建立使用者 sofia 的對應密碼/test 改成 /bb-log (要連接的資料庫名稱,與待會跟後端程式連接有關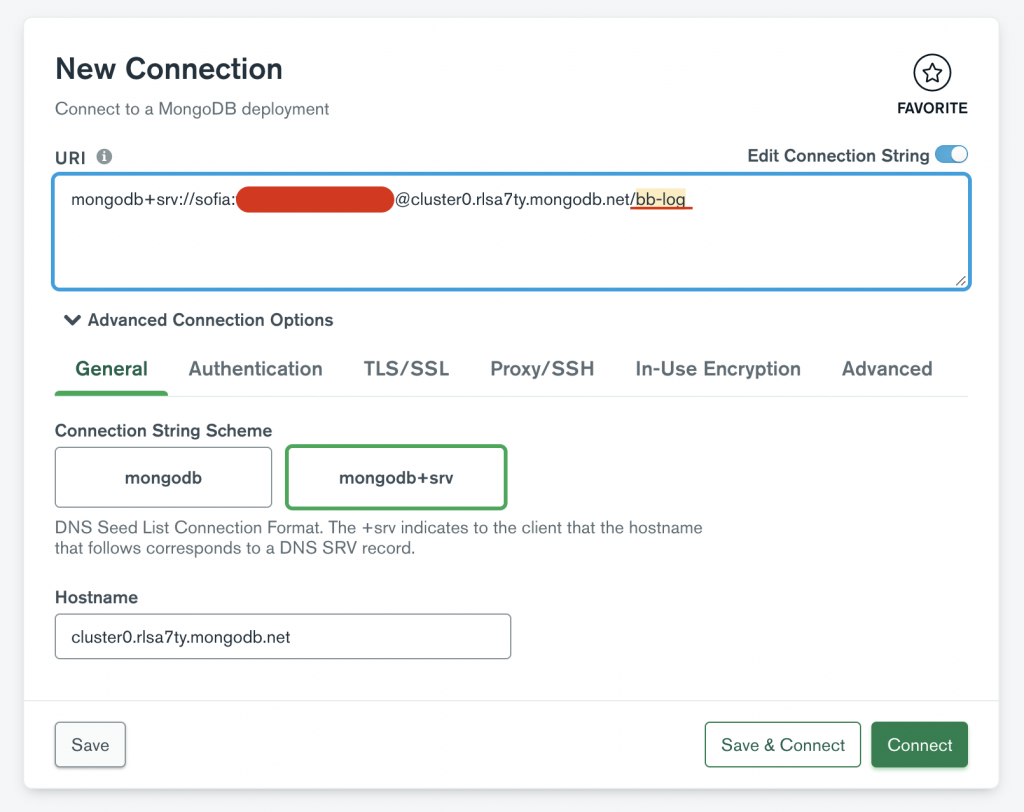
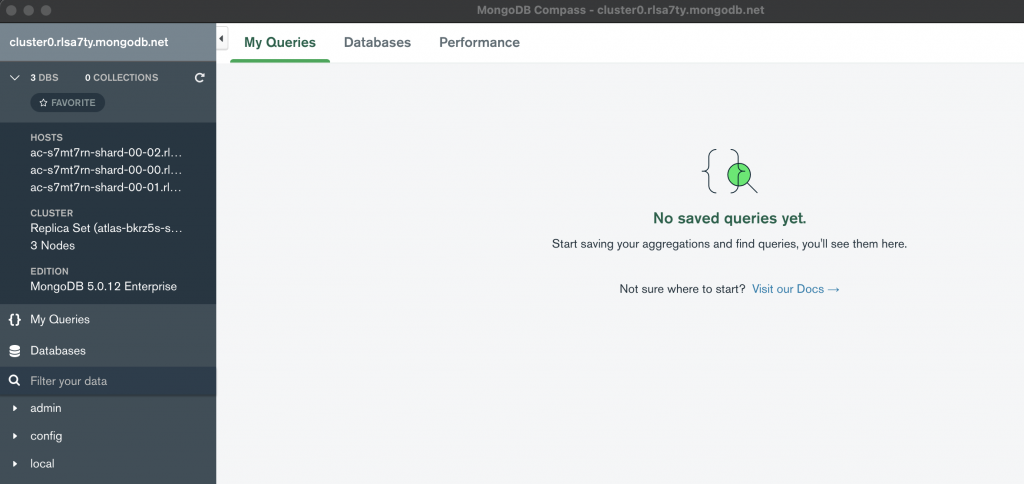
成功連接後就會進到資料庫頁面~
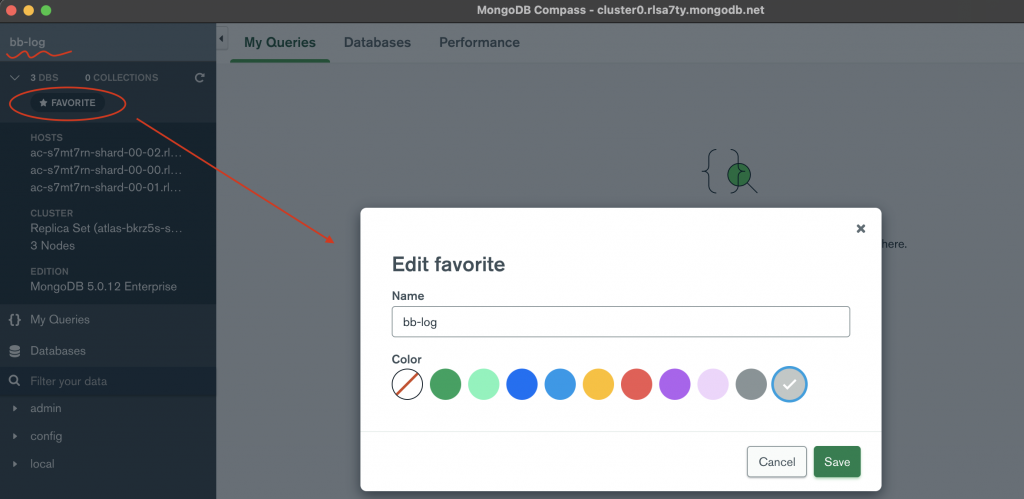
可以將這個資料庫設為 Favorite,這樣就能命名容易辨識的名稱,之後也比較好找!
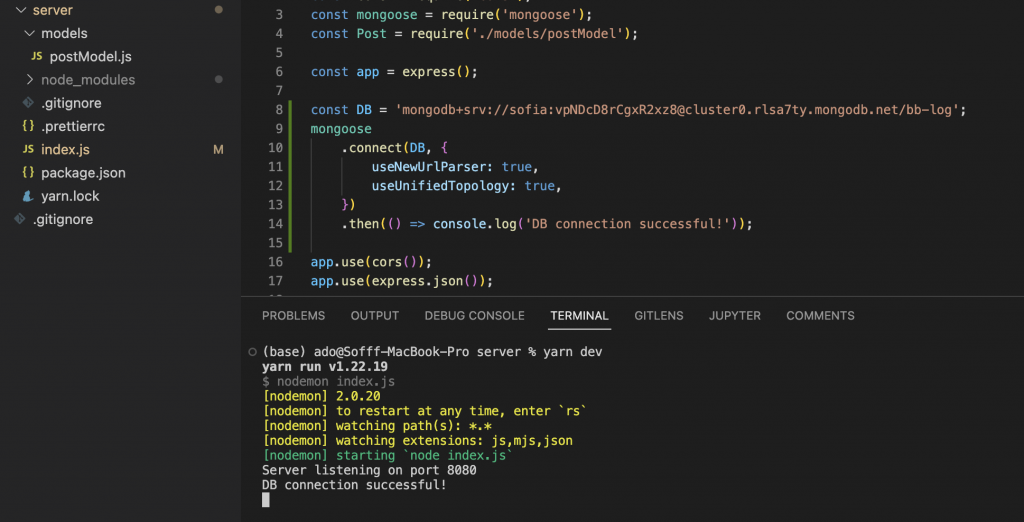
更改原本的 MongoDB 連接方式:
.then() 來確認是否成功連上資料庫// 原本以 local 存取的
// mongoose.connect('mongodb://localhost:27017/bb-log');
const DB = 'mongodb+srv://sofia:密碼@cluster0.rlsa7ty.mongodb.net/bb-log';
mongoose
.connect(DB, {
useNewUrlParser: true,
useUnifiedTopology: true,
})
.then(() => console.log('DB connection successful!'));
最後,執行 yarn dev,成功列出「DB connection successful!」
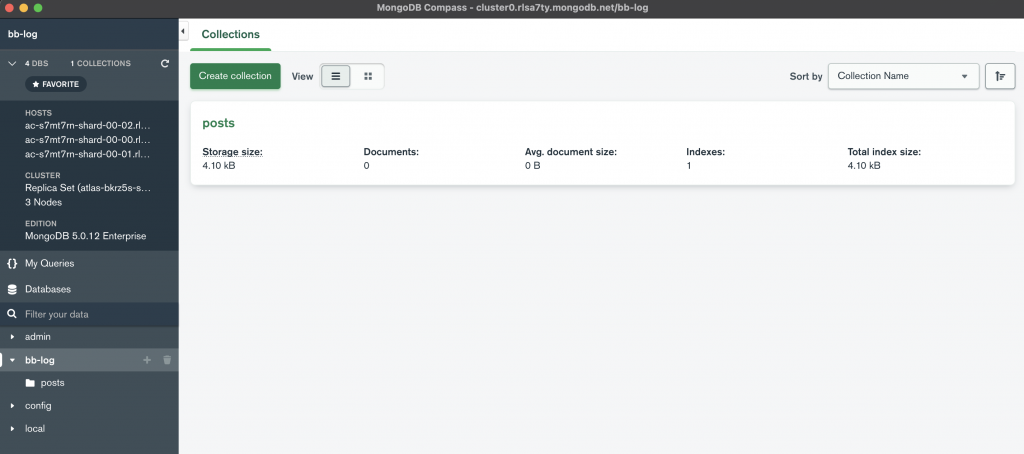
回到 Compass 確認看看,左邊選單刷新一下,也的確看見我們的資料庫 bb-log!成功!
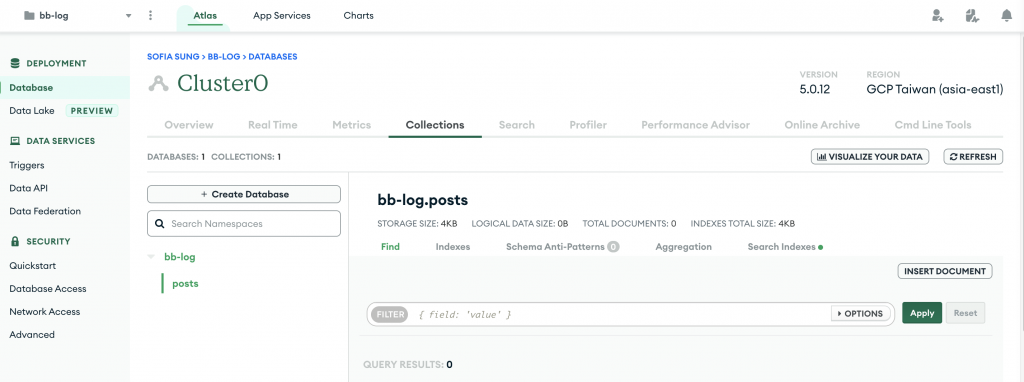
在網頁上點擊 Database → Cluster0 → Collections 也看得到噢~
!!!最後先別急著提交這次的 commit,下一篇我們會提到如何保護較為機密的資料,避免將隱私暴露在網路上(如:GitHub上)