當搜尋結果有很多筆資料時,我們就需要用到分頁(pagination)來處理資料呈現的效果
首先在removeFields後加上page和limit (避免被當成query)
const page = parseInt(req.query.page, 10) || 1;
const limit = parseInt(req.query.limit, 10) || 25;
const startIndex = (page - 1) * limit;
const endIndex = page * limit;
const total = await Bootcamp.countDocuments();

query = query.skip(startIndex).limit(limit);
將input的page, limit格式化成數字
page為目前所在的頁面,limit是每頁最多能顯示的資料筆數
設定startIndex的目的有兩個:
目前設定完page與limit後,await query已經能得到對應的資料,結果如下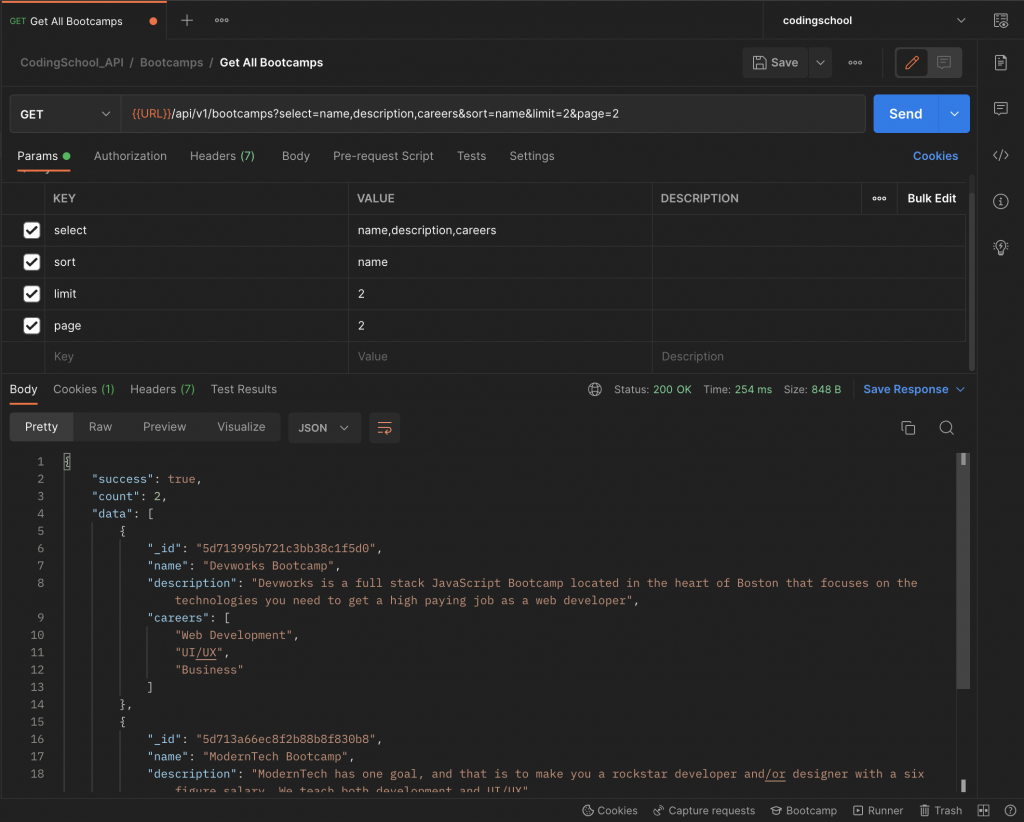
但只能單純取得指定頁面的資料還不夠
使用者可能希望能得到這個page前一頁或後一頁的資料
先定義回傳的物件
如果endIndex比總documents數量還小的話
下一頁的頁數就定義為原先input page的值再加1
同理,如果startIndex大於0的話
下一頁的頁數就定義為原先input page的值再減1
const pagination = {};

if (endIndex < total) {
  pagination.next = {
    page: page + 1,
    limit
  }
}

if (startIndex > 0) {
  pagination.prev = {
    page: page - 1,
    limit
  }
}
回傳結果如下