昨天已經了解如何 parse JSON,例如從 response 裡面拿到資料,然後解析成 JSON,然後再 terminal 上顯示我們想要的特定資料。
今天是如何使用 Express 和即時氣象資料來渲染網站。
以下是這篇會做到的事情:
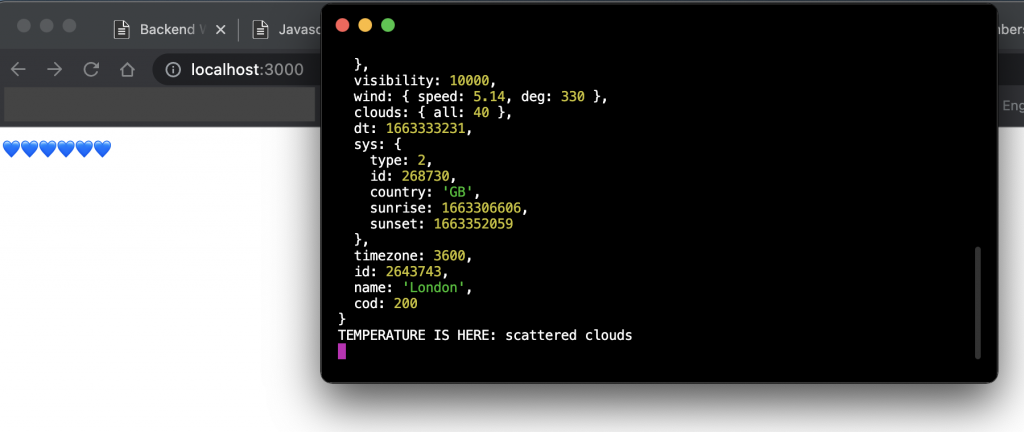
目前可以用 API 得到特定的資料,不過他只會顯示在 terminal,不會顯示在網站上。

這邊使用 res.send method。特別提醒的是一個檔案裡只能有一個 .send,出現兩個就會 error 不能 run server。
const temp = weatherData.main.temp
console.log('TEMPERATURE IS HERE: '+temp)
res.send('The temperature in London is '+temp);
接著網頁如預期出現:
The temperature in London is 289.57
如果是想要加入 HTML,比如 ,也要用 ' ' 包起來:
res.send('<h1>The temperature in London is '+temp+'</h1>');
如果是想要傳送兩個訊息呢?前面提到只能有一個 .send,但我們可以用超多次 res.write:
const temp = weatherData.main.temp
const weatherDescription = weatherData.weather[0].description
console.log('TEMPERATURE IS HERE: '+temp)
res.write('<h1>The temperature in London is '+temp+'</h1>');
res.write('<h1>The weather is currently '+weatherDescription+'</h1>');
res.send();
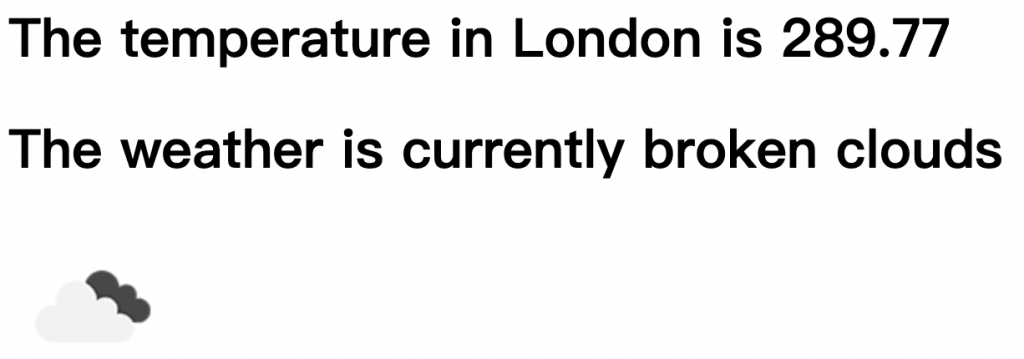
而我們得到的結果就會長這樣囉:

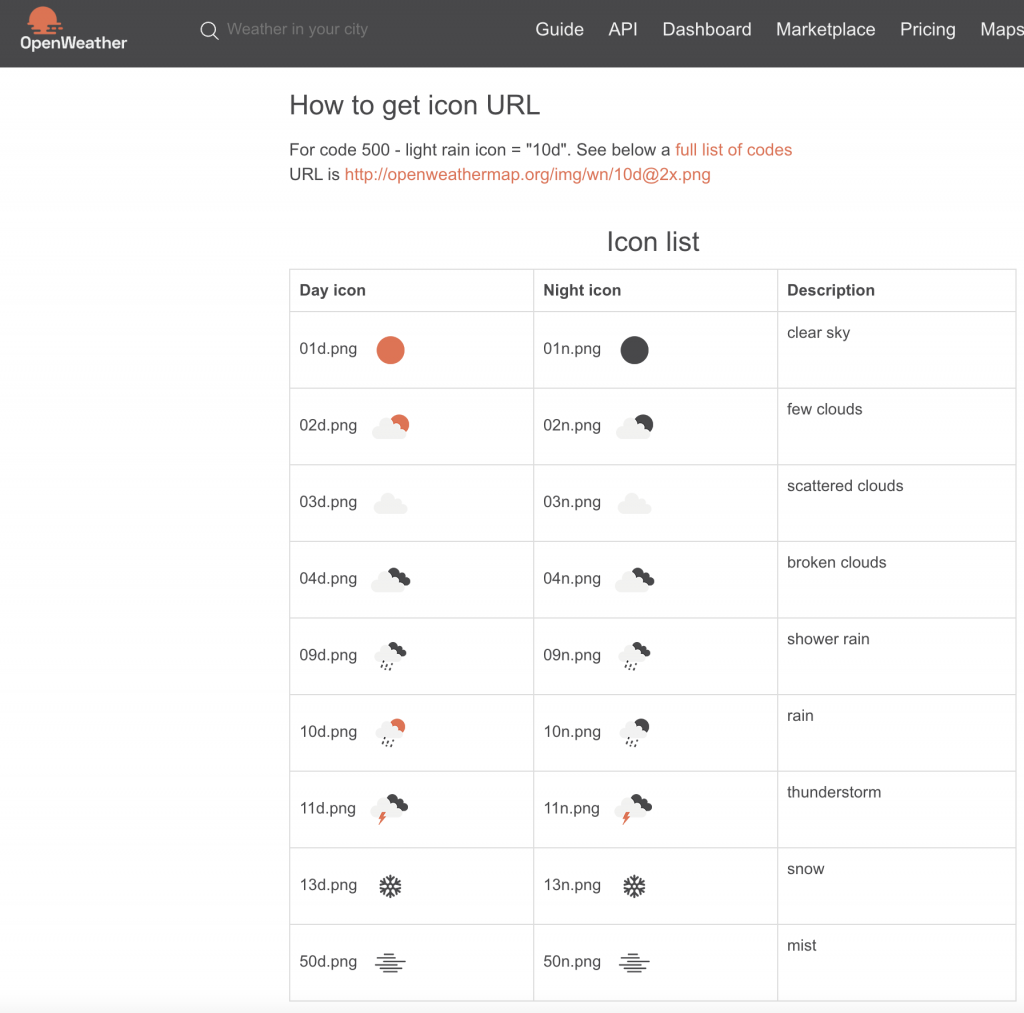
最後是圖片。每一次 OpenWeather API 的回傳資料裡其實是有一張小圖片代表天氣狀況,官方詳細資料可以參考這邊。

第一步是選對 array 裡的 icon item。
const weatherIcon = weatherData.weather[0].icon
第二步是把文件裡的圖片網址,把上面 weatherIcon 加入 string:
const imageURL = ' http://openweathermap.org/img/wn/'+weatherIcon+'@2x.png'
第三步是讓圖片展示在網站上,所以就要用 HTML 囉:
res.write('<img src='+imageURL+'>');
結果如下:

