「昨天進行了第一次學習防禦魔法的基礎配置,今天來學習防禦魔法的兩項利器,到底能給我們哪些幫助吧!」
「咦,艾草今天居然來了個很認真的在解說開場耶!」
「我平常開場也很認真好嗎 (#`Д´)ノ」
「Σヽ(゚Д ゚; )ノ」
「不要那個震驚的臉,其實是最近跑去澎湖吃太多了,肥了一圈怕被你打ㄌㄠˋ飛(跑)來不及啦!」
「平常不做虧心事的話,根本不用擔心好嗎(-`ェ´-╬)」

昨天認識了 creat-react-app 並運行了它為我們撰寫好的測試,今天來了解 Jest 的一些基礎方法吧!
用 creat-react-app 創建完檔案後可以看到 package.json 檔案內:
"scripts": {
    "start": "react-scripts start",
    "build": "react-scripts build",
    "test": "react-scripts test",
    "eject": "react-scripts eject"
  }
react-scripts 內能讓我們運行 jest ,當我們執行 npm test 時,能順利取得測試結果,而當運行測試時,透過 creat-react-app 內建的檔案也幫我們設定了 watch mode,可監測我們是否有改動測試檔案的程式碼,如果改動的情況下會立即跑測試失敗。
介紹完 Creat React App 運行 Jest 的補充,讓我們開始進入 Jest 基礎方法吧!
首先如果要讓 Jest 能測試到檔案,要在測試的檔案名稱後加上.test.js ,Jest 會替我們去找到 .test.js 結尾的檔案並運行測試,可以用同一個資料夾一起管理,或是直接在每個要測試的檔案層級加上 .test.js 。
昨天有提到 Jest 可透過 test 這個全域方法並帶入兩個參數:
首先讓我們來認識常用匹配器 toBe 並用它來撰寫測試:
toBe 可以幫我們比對數字、字串等,首先透過 expect 帶入參數 1 + 1 ,斷言會匹配 toBe 2 ,會看到測試順利通過:
test('adds 1 + 1 to equal 2', () => {
  expect(1 + 1).toBe(2);
});
如果今天想要比對陣列、物件內的每個值,可以透過 toEqual 的方式來比對:
test("Object comparison", () => {
  const data = {
    apple: 1,
    banana: 2,
  };
  data.orange = 2;
  expect(data).toEqual({
    apple: 1,
    banana: 2,
    orange: 2
  });
});
可以透過 toBeTruthy 、 toBeFalsy 協助我們比對真假值及 expect 斷言是否為真。
來複習一下 falsy 有哪些:
今天以 null 來做舉例,因為 null 是 falsy 所以斷言會通過:
test("is truthy or falsy", () => {
  const testNull = null;
  expect(testNull).toBeFalsy();
});
也可以透過加 not 匹配器來比對:
test("is truthy or falsy", () => {
  const testNull = null;
  expect(testNull).not.toBeTruthy();
});
如果今天除了想測試 null 外也想測試其他值,那可以將外層的 test 改為 describe(name, fn) ,describe 是塊級作用域,內層可以撰寫多個相似的 test :
describe('is truthy or falsy', () => {
  test('null', () => {
    const testNull = null;
    expect(testNull).toBeFalsy();
    expect(testNull).not.toBeTruthy();
  });

  test('undefined', () => {
    const testUndefined = undefined;
    expect(testUndefined).toBeFalsy();
    expect(testUndefined).not.toBeTruthy();
  });
});
在 Jest 裡除了可以透過 truthy 、 falsy 來判斷 null 、undefined 外,也可以透過內建的語法:
toBeNull
toBeUndefined
透過 toMatch 可以匹配正則表達式的字串:
test('there is no I in team', () => {
  expect('team').not.toMatch(/I/);
});

test('but there is a "stop" in Christoph', () => {
  expect('Christoph').toMatch(/stop/);
});
以上範例程式碼取自 Jest 文件。
介紹完 Jest 一些基礎方法後,來介紹很實用的產生 Unit Test 覆蓋率報告的方式!
可以透過以下指令產生 Jest 覆蓋率報告:
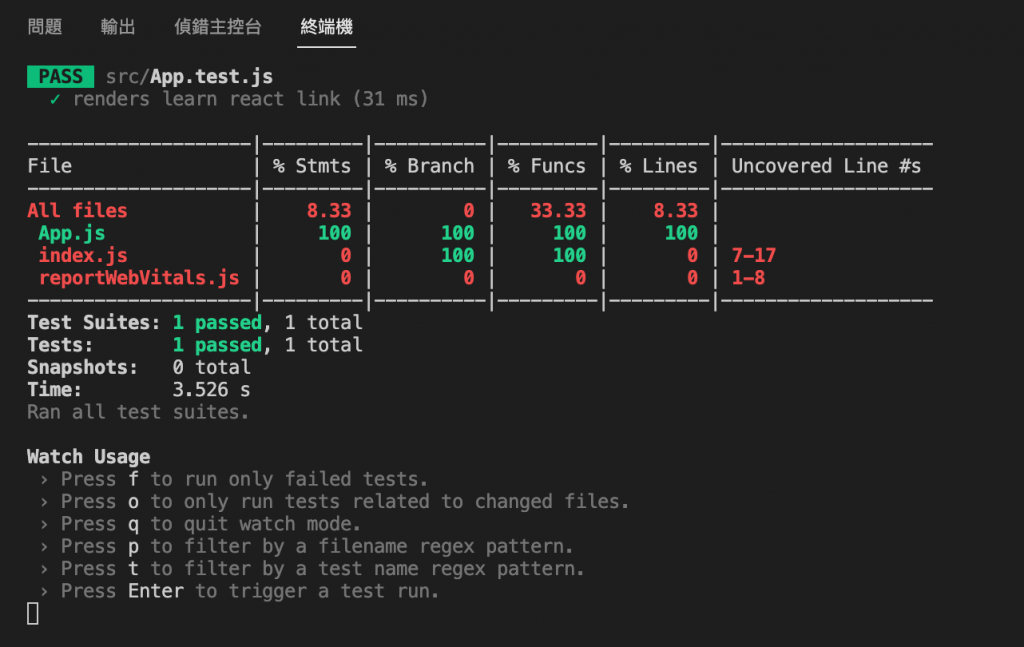
npm test -- --coverage --watchAll
當輸入指令後會發現命令框出現 Unit Test 覆蓋率:
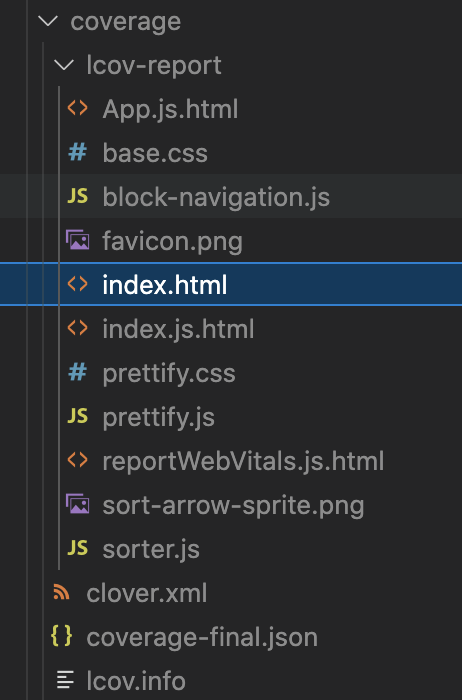
且可看到會新增 coverage 資料夾,內層的 lcov-report 資料夾打開後能看到 index.html
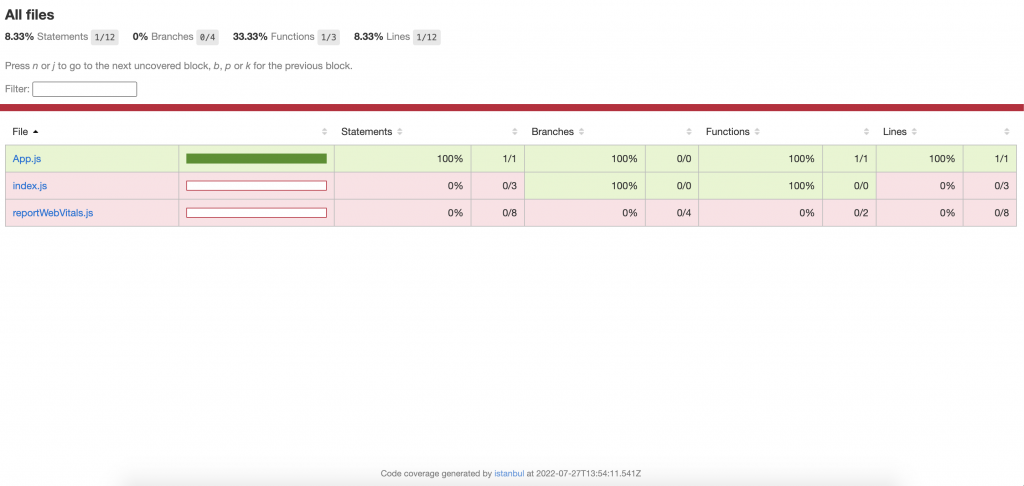
點開後能於網頁上顯示 Unit Tset 涵蓋率,如圖:
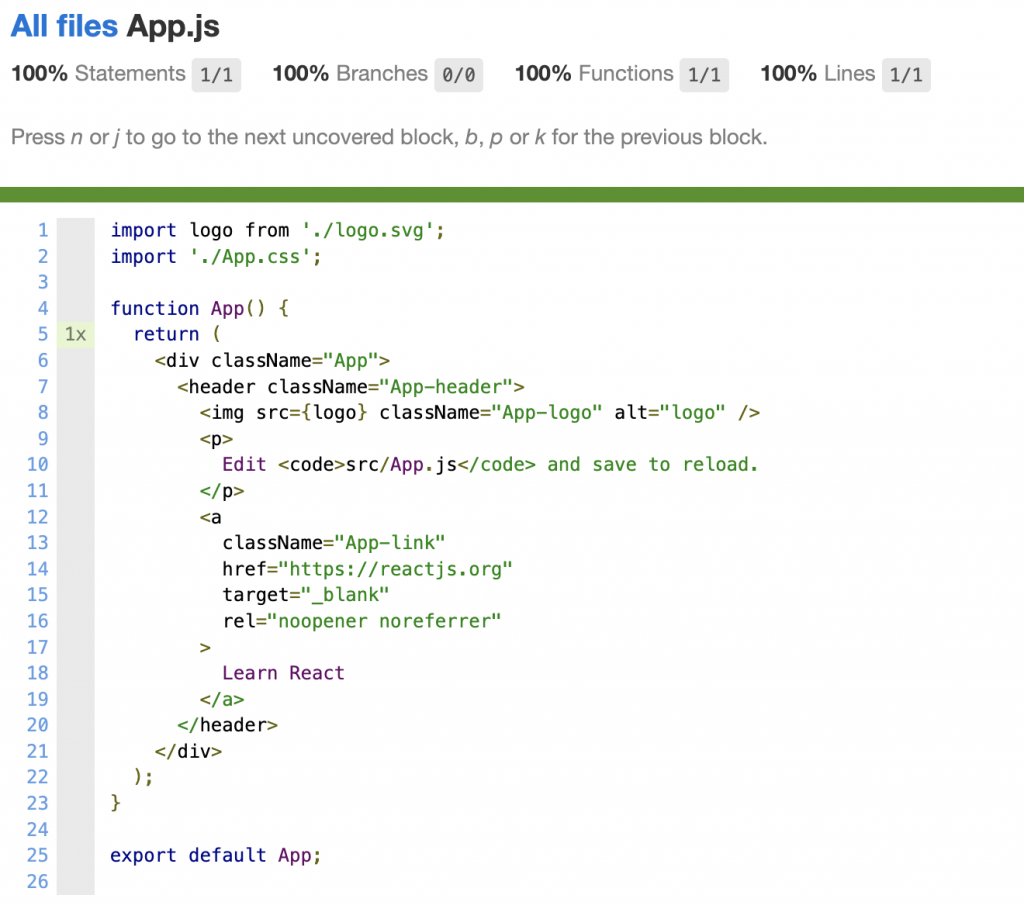
可透過點擊檔案進去看跑過的行數:
透過 Jest 就可以快速又方便的看到 Unit Test 目前撰寫的情形囉!
https://jestjs.io/zh-Hans/docs/getting-started
https://medium.com/enjoy-life-enjoy-coding/讓-jest-為你的-code-做單元測試-基礎用法教學-d898f11d9a23
https://ithelp.ithome.com.tw/articles/10282152
