本系列文已改編成書「甚麼?網頁也可以做派對遊戲?使用 Vue 和 babylon.js 打造 3D 派對遊戲吧!」
書中不只重構了程式架構、改善了介面設計,還新增了 2 個新遊戲呦!ˋ( ° ▽、° )
新遊戲分別使用了陀螺儀與震動回饋,趕快買書來研究研究吧!ლ(╹∀╹ლ)
在此感謝深智數位的協助,歡迎大家前往購書,鱈魚感謝大家 (。・∀・)。
助教:「所以到底差在哪啊?沒圖沒真相,被你坑了都不知道。(´。_。`)」
鱈魚:「你對我是不是有甚麼很深的偏見啊 (っ °Д °;)っ,來人啊,上連結!」

過場用的進入漸出組件完成後,讓我們把原本的全白畫面換成 QQ 的「載入畫面」的樣子吧!
新增背景用組件 background-polygons-loading
src\components\background-polygons-loading.vue
<template>
</template>

<script setup lang="ts">
import { ref } from 'vue';

interface Props {
  label?: string;
}
const props = withDefaults(defineProps<Props>(), {
  label: '',
});
</script>

<style scoped lang="sass">
</style>
首先老樣子來定義一下輸入參數。
interface Props {
  mainColor?: string;
}
const props = withDefaults(defineProps<Props>(), {
  mainColor: '#c8e6b1',
});
不過除了設定顏色,我還真的暫時想不到有甚麼參數 XD。
再來新增最外層容器,並將自動計算出來的 style 綁上去,產生背景顏色。
<template>
  <div
    class="flex flex-center overflow-hidden"
    :style="backgroundStyle"
  >
  </div>
</template>

<script setup lang="ts">
import { computed, onBeforeUnmount, ref } from 'vue';
import { colors } from 'quasar';
const { lighten, textToRgb, rgbToHsv, hsvToRgb, rgbToHex } = colors;

...

const backgroundStyle = computed(() => {
  // 變亮
  const lightenColor = lighten(props.mainColor, 20);

  // 變暗並偏移色相
  const darkColor = lighten(props.mainColor, -14);

  const hsvColor = rgbToHsv(textToRgb(darkColor));
  hsvColor.h -= 15;

  const offsetColor = rgbToHex(hsvToRgb(hsvColor));

  return {
    background: `linear-gradient(-30deg, ${offsetColor}, ${props.mainColor}, ${lightenColor}, ${props.mainColor}, ${offsetColor})`
  }
});
</script>
接著暫時在 App.vue 中引入組件,方便讓我們看看目前的模樣,同時刪除 loading.show() 的程式,以免產生干擾。
src\App.vue
<template>
  <router-view />
  <loading-overlay />

  <background-polygons-loading />
</template>

<script setup lang="ts">
import { ref } from 'vue';

import LoadingOverlay from './components/loading-overlay.vue';
import BackgroundPolygonsLoading from './components/background-polygons-loading.vue';

document.title += ` v${import.meta.env.PACKAGE_VERSION}`;
</script>

<style lang="sass">
...
</style>
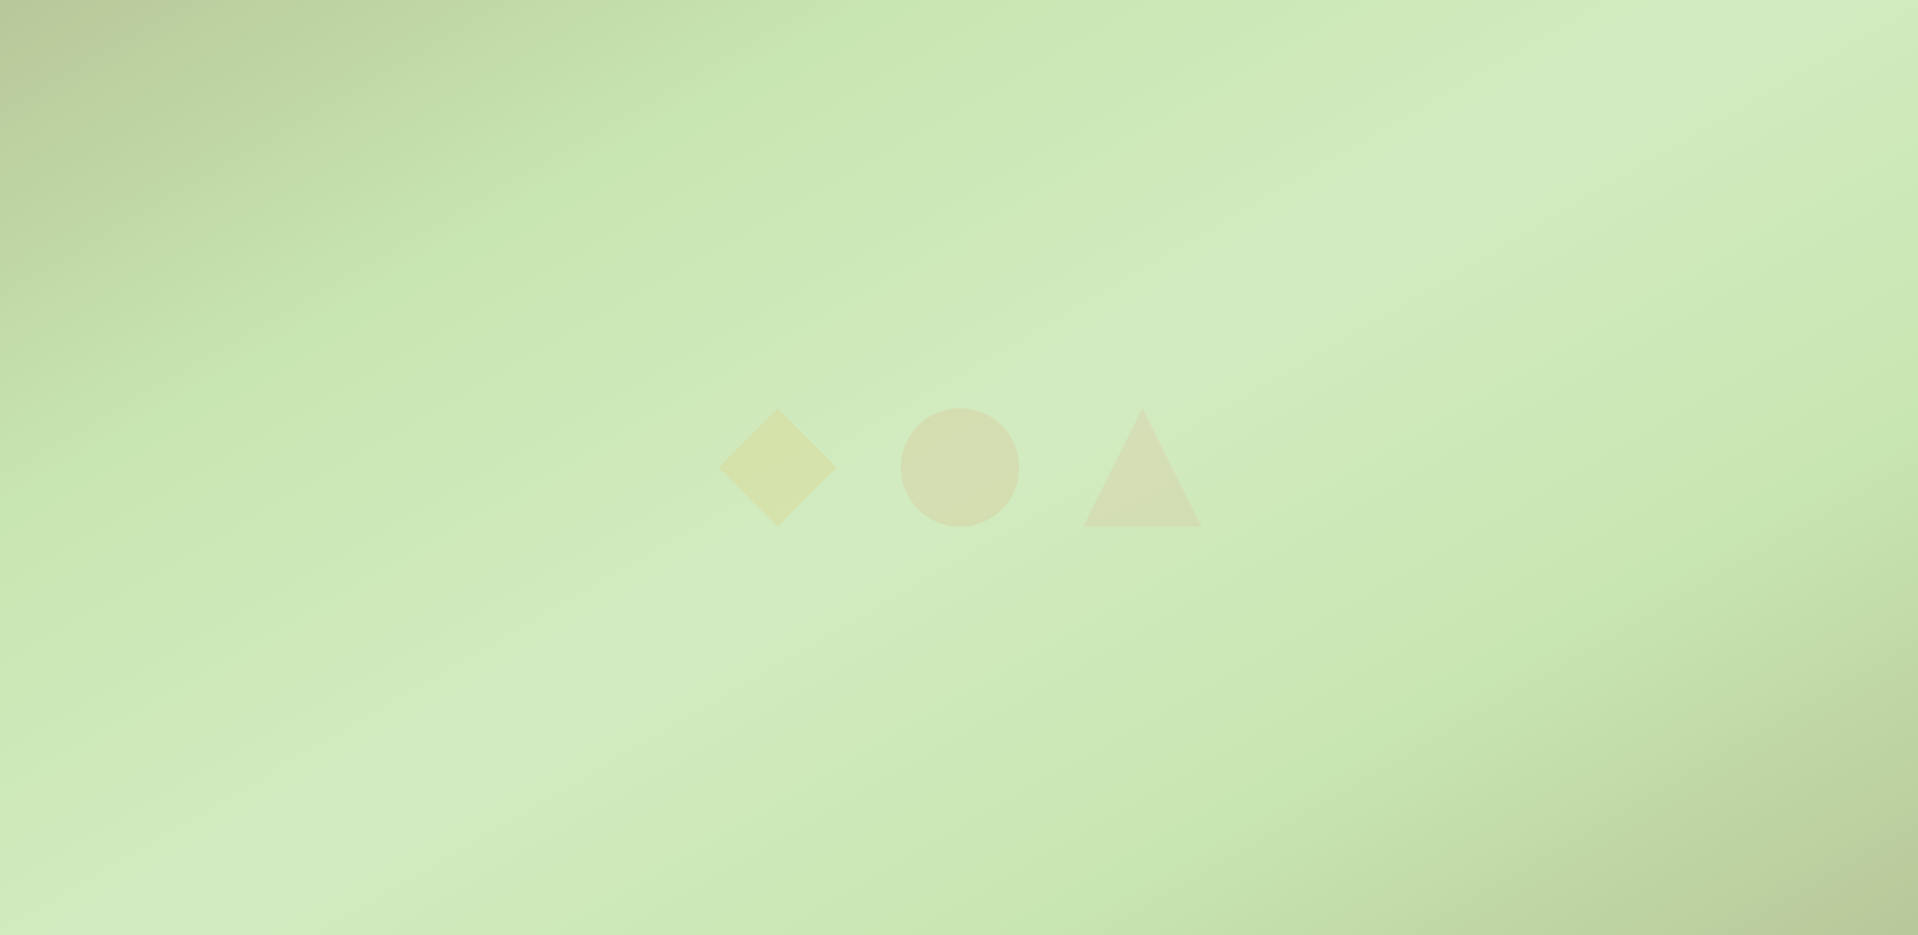
目前看起來應該長這樣。

嗯…一點都不像讀取畫面呢!( ͡° ͜ʖ ͡°)
先別急著走啊,讓我們加點反覆動作的元素,應該就會像讀取畫面了!
讓我們引入多邊形來用用吧,印入多邊形,並先定義一下多邊形的樣式。
import PolygonBase, { ShapeType } from './polygon-base.vue';

const polygons = ref<{
  id: string;
  shape: `${ShapeType}`;
  color: string;
}[]>([
  {
    id: '1',
    shape: 'square',
    color: `#FA9500`,
  },
  {
    id: '2',
    shape: 'round',
    color: `#EB6424`,
  },
  {
    id: '3',
    shape: 'triangle',
    color: `#F07167`,
  },
]);
接著在 template 中,用 v-for 產生多邊形。
<template>
  <div
    class="flex flex-center overflow-hidden"
    :style="backgroundStyle"
  >
    <div class="flex gap-16">
      <div
        v-for="(poly) in polygons"
        :key="poly.id"
      >
        <polygon-base
          size="7.4rem"
          :shape="poly.shape"
          fill="solid"
          :color="poly.color"
          opacity="0.1"
        />
      </div>
    </div>
  </div>
</template>
多邊形外層還包一個 div,是為了提升加入 CSS 動畫的彈性。
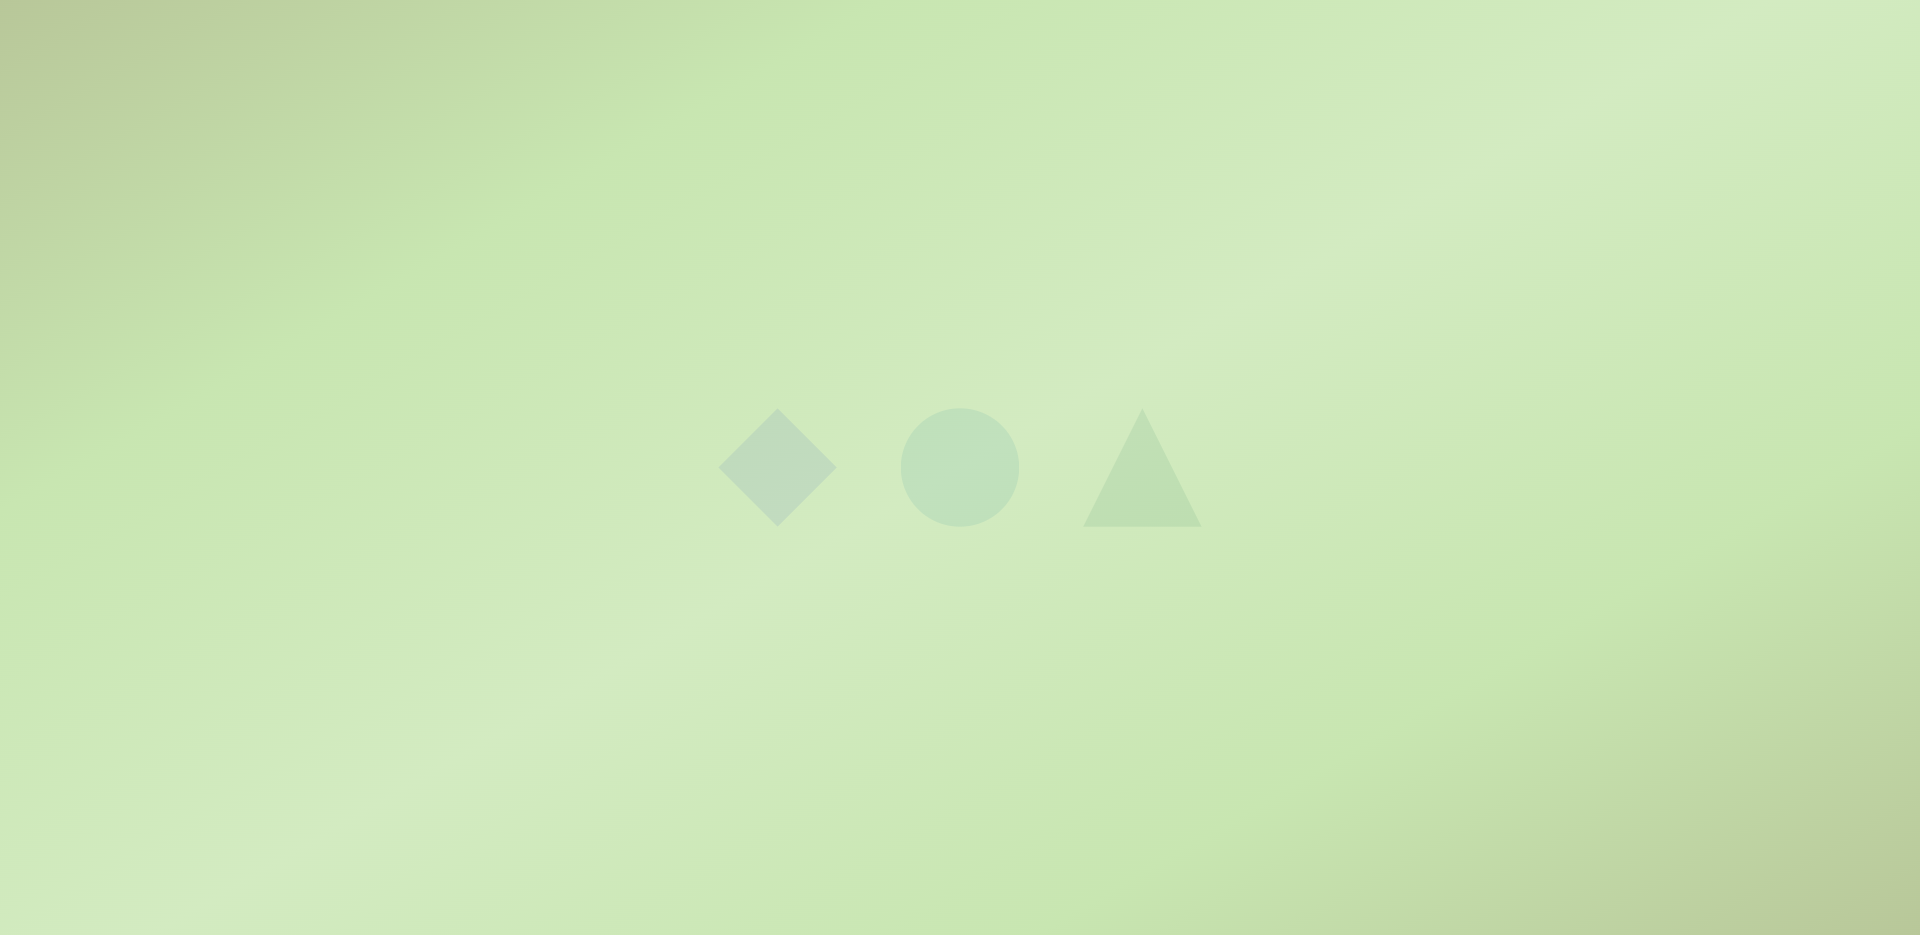
現在多邊形出現了!(゜▽゜*)♪
助教:「怎麼這種顏色,臭魚美感炸裂?(ಠಿ_ಠ)」。
鱈魚:「你才美感炸裂,你全家都美感炸裂 (っ °Д °;)っ」
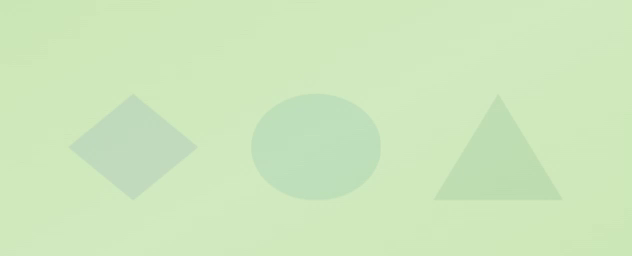
這是因為我打算 mix-blend-mode 屬性讓多邊形與背景色混合,現在來設計一下 CSS。
<template>
  <div
    ...
  >
    <div class="flex gap-16">
      <div
        v-for="(poly) in polygons"
        :key="poly.id"
        class="box"
      >
       ...
      </div>
    </div>
  </div>
</template>

<style scoped lang="sass">
.box
  mix-blend-mode: difference
</style>
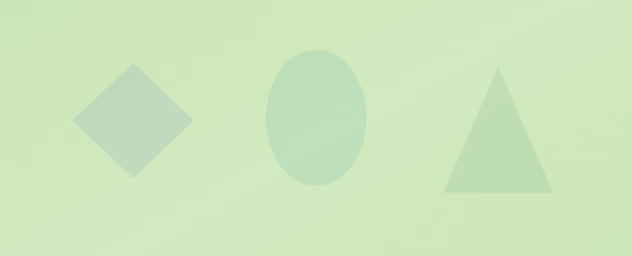
現在看起來好多了吧 …(´,,•ω•,,)
現在讓這三個多邊形動起來吧,設計邏輯是:
這兩種動畫合併後就可以產生 Q 彈的果凍跳躍的效果了!( •̀ ω •́ )y
<template>
  <div
    ...
  >
    <div class="flex gap-16">
      <div
        ...
        class="box"
      >
        <polygon-base
          class="jelly-bounce"
          ...
        />
      </div>
    </div>
  </div>
</template>

<script setup lang="ts">
...
</script>

<style scoped lang="sass">
.box
  animation: jump 1.4s infinite ease-in-out
  mix-blend-mode: difference

.jelly-bounce
  animation: jelly-bounce 1.4s infinite ease-in-out
  transform-origin: 50% 100%

@keyframes jump
  0%
    transform: translateY(-30%)
  45%
    transform: translateY(0%)
  100%
    transform: translateY(-30%)

@keyframes jelly-bounce
  0%
    transform: scale( 1 )
  30%
    transform: scale( 1 )
  50%
    transform: scale( 1.2, 0.8 )
  70%
    transform: scale( 0.85, 1.15 )
  80%
    transform: scale( 1.05, 0.95 )
  90%
    transform: scale( 0.98, 1.02 )
  100%
    transform: scale( 1 )
</style>
看起來真不錯,可惡想揉。ლ(´∀`ლ)
最後我們讓三個多邊形的動畫交錯,這樣看起來比較有趣。
直接用 animation-delay 簡單解決!
<template>
  <div
    ...
  >
    <div class="flex gap-16">
      <div
        ...
        class="box"
        :style="`animation-delay: ${i * 0.1}s`"
      >
        <polygon-base
          class="jelly-bounce"
          ...
          :style="`animation-delay: ${i * 0.1}s`"
        />
      </div>
    </div>
  </div>
</template>

...
瞬間完成!
成功產生三個很沒默契的多邊形!ᕕ( ゚ ∀。)ᕗ
最後我們把這個背景加到載入畫面使用吧!
首先刪除 App.vue 中的 background-polygons-loading
src\App.vue
<template>
  <router-view />
  <loading-overlay />
</template>

<script setup lang="ts">
import { ref } from 'vue';

import LoadingOverlay from './components/loading-overlay.vue';

document.title += ` v${import.meta.env.PACKAGE_VERSION}`;
</script>
...
在 loading-overlay 引入 background-polygons-loading,替換原先純白的 div。
src\components\loading-overlay.vue
<template>
  <transition-mask
    ...
  >
    <background-polygons-loading class="absolute inset-0" />
  </transition-mask>
</template>

<script setup lang="ts">
...
import TransitionMask from './transition-mask.vue';
import BackgroundPolygonsLoading from './background-polygons-loading.vue';

...
</script>
讀取背景加入完成,接下來就是來實際試試看效果了。
在 the-home 新增 startParty(),實際使用 use-loading 功能並跳轉 route 看看。
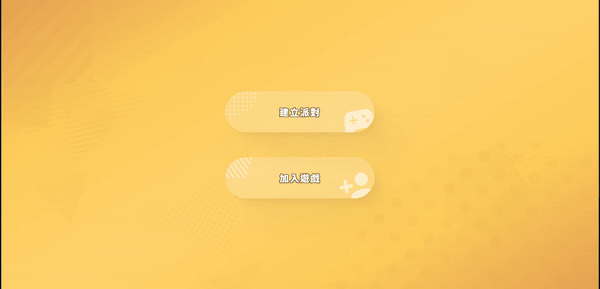
src\views\the-home.vue
<template>
  ...

  <div class="absolute inset-0 flex flex-col flex-center gap-20">
    <btn-base
      label="建立派對"
      ...
      @click="startParty"
    >
      ...
    </btn-base>

    ...
  </div>
</template>

<script setup lang="ts">
...
import { RouteName } from '../router/router';
...
import { useLoading } from '../composables/use-loading';
import { useRouter } from 'vue-router';

const loading = useLoading();
const router = useRouter();

async function startParty() {
  await loading.show();
  router.push({
    name: RouteName.GAME_CONSOLE
  });
}
</script>

...
最後在 game-console 中呼叫 loading.show()。
src\views\game-console.vue
<template>
...
</template>

<script setup lang="ts">
import { ref } from 'vue';
import { useLoading } from '../composables/use-loading';

const loading = useLoading();
loading.hide();
</script>
...
來看看效果。
完成 ✧*。٩(ˊᗜˋ*)و✧*。
接下來讓我們啟動伺服器,準備開始連線!
以上程式碼已同步至 GitLab,大家可以前往下載:

