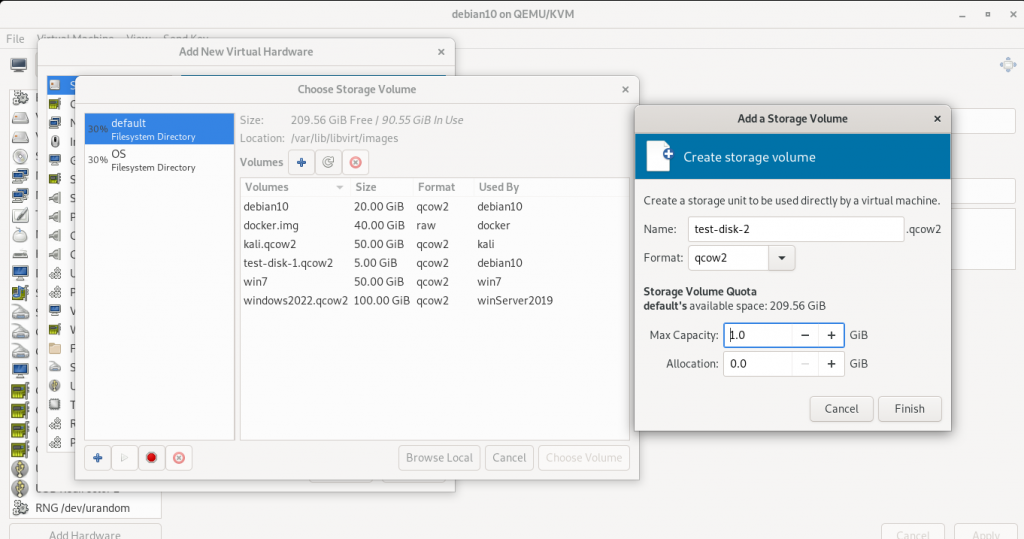
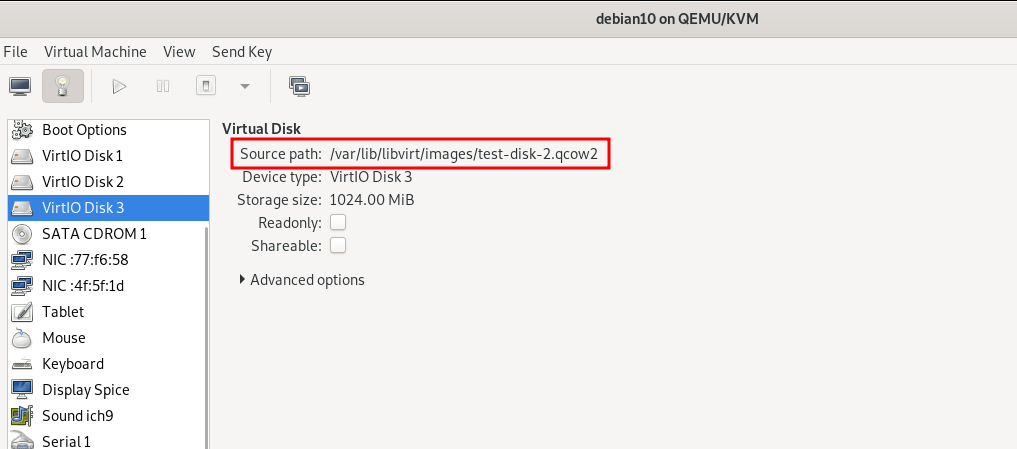
昨天有新增一塊LVM test-lv,今天我們要新增一塊 1GB 硬碟並規劃在 test-lv 裡進行線上擴容。
新增一開硬碟,並且把空間放置在已經存在的 Logical Volume 中。
$ sudo df -h # 檢查目前的硬碟狀況
Filesystem                        Size  Used Avail Use% Mounted on
udev                              478M     0  478M   0% /dev
tmpfs                              99M  3.0M   96M   4% /run
/dev/vda1                          19G  1.5G   17G   9% /
tmpfs                             494M     0  494M   0% /dev/shm
tmpfs                             5.0M     0  5.0M   0% /run/lock
tmpfs                             494M     0  494M   0% /sys/fs/cgroup
/dev/mapper/test--pv--1-test--lv  4.9G   24K  4.6G   1% /test-disk
tmpfs                              99M     0   99M   0% /run/user/1000
$ sudo fdisk -l # 列出所有的硬碟狀況
Disk /dev/vda: 20 GiB, 21474836480 bytes, 41943040 sectors
Units: sectors of 1 * 512 = 512 bytes
Sector size (logical/physical): 512 bytes / 512 bytes
I/O size (minimum/optimal): 512 bytes / 512 bytes
Disklabel type: dos
Disk identifier: 0x1d8cb10f

Device     Boot    Start      End  Sectors  Size Id Type
/dev/vda1  *        2048 39942143 39940096   19G 83 Linux
/dev/vda2       39944190 41940991  1996802  975M  5 Extended
/dev/vda5       39944192 41940991  1996800  975M 82 Linux swap / Solaris


Disk /dev/vdb: 5 GiB, 5368709120 bytes, 10485760 sectors
Units: sectors of 1 * 512 = 512 bytes
Sector size (logical/physical): 512 bytes / 512 bytes
I/O size (minimum/optimal): 512 bytes / 512 bytes
Disklabel type: gpt
Disk identifier: A03E9FA4-9352-451B-A944-0D32AAD6D44B

Device     Start      End  Sectors Size Type
/dev/vdb1   2048 10485726 10483679   5G Linux filesystem


Disk /dev/vdc: 1 GiB, 1073741824 bytes, 2097152 sectors
Units: sectors of 1 * 512 = 512 bytes
Sector size (logical/physical): 512 bytes / 512 bytes
I/O size (minimum/optimal): 512 bytes / 512 bytes


Disk /dev/mapper/test--pv--1-test--lv: 5 GiB, 5351931904 bytes, 10452992 sectors
Units: sectors of 1 * 512 = 512 bytes
Sector size (logical/physical): 512 bytes / 512 bytes
I/O size (minimum/optimal): 512 bytes / 512 bytes
由 第一項 與 第二項 可以得知這次要處理的硬碟為 /dev/vdc。
檢查完之後一樣先規劃分割計畫。
sudo gdisk /dev/vdc
$ sudo gdisk /dev/vdc
GPT fdisk (gdisk) version 1.0.3

Partition table scan:
  MBR: not present
  BSD: not present
  APM: not present
  GPT: not present

Creating new GPT entries.

Command (? for help): n
Partition number (1-128, default 1):
First sector (34-2097118, default = 2048) or {+-}size{KMGTP}:
Last sector (2048-2097118, default = 2097118) or {+-}size{KMGTP}:
Current type is 'Linux filesystem'
Hex code or GUID (L to show codes, Enter = 8300):
Changed type of partition to 'Linux filesystem'

Command (? for help): w

Final checks complete. About to write GPT data. THIS WILL OVERWRITE EXISTING
PARTITIONS!!

Do you want to proceed? (Y/N): y
OK; writing new GUID partition table (GPT) to /dev/vdc.
The operation has completed successfully.
$ sudo fdisk -l # 列出所有的硬碟狀況
Disk /dev/vda: 20 GiB, 21474836480 bytes, 41943040 sectors
Units: sectors of 1 * 512 = 512 bytes
Sector size (logical/physical): 512 bytes / 512 bytes
I/O size (minimum/optimal): 512 bytes / 512 bytes
Disklabel type: dos
Disk identifier: 0x1d8cb10f

Device     Boot    Start      End  Sectors  Size Id Type
/dev/vda1  *        2048 39942143 39940096   19G 83 Linux
/dev/vda2       39944190 41940991  1996802  975M  5 Extended
/dev/vda5       39944192 41940991  1996800  975M 82 Linux swap / Solaris


Disk /dev/vdb: 5 GiB, 5368709120 bytes, 10485760 sectors
Units: sectors of 1 * 512 = 512 bytes
Sector size (logical/physical): 512 bytes / 512 bytes
I/O size (minimum/optimal): 512 bytes / 512 bytes
Disklabel type: gpt
Disk identifier: A03E9FA4-9352-451B-A944-0D32AAD6D44B

Device     Start      End  Sectors Size Type
/dev/vdb1   2048 10485726 10483679   5G Linux filesystem


Disk /dev/vdc: 1 GiB, 1073741824 bytes, 2097152 sectors
Units: sectors of 1 * 512 = 512 bytes
Sector size (logical/physical): 512 bytes / 512 bytes
I/O size (minimum/optimal): 512 bytes / 512 bytes
Disklabel type: gpt
Disk identifier: 5A7BACE7-A982-45A4-A577-D4039E0A605D

Device     Start     End Sectors  Size Type
/dev/vdc1   2048 2097118 2095071 1023M Linux filesystem


Disk /dev/mapper/test--pv--1-test--lv: 5 GiB, 5351931904 bytes, 10452992 sectors
Units: sectors of 1 * 512 = 512 bytes
Sector size (logical/physical): 512 bytes / 512 bytes
I/O size (minimum/optimal): 512 bytes / 512 bytes
規劃完之後發現 /dev/vdc1 就是剛剛切出來的新鮮硬碟啦!
再來是新增一塊 physical volume
sudo pvcreate /dev/vdc1
$ sudo pvcreate /dev/vdc1
  Physical volume "/dev/vdc1" successfully created.
把新增的 physical volume 加入至昨天新增的 Volume Group test-pv-1 中
sudo vgextend test-pv-1 /dev/vdc1
$ sudo  vgextend test-pv-1 /dev/vdc1
  Volume group "test-pv-1" successfully extended
如果依開始不清楚要加入到那一塊 physical volume 可以先查詢
$ sudo lvdisplay
  --- Logical volume ---
  LV Path                /dev/test-pv-1/test-lv
  LV Name                test-lv
  VG Name                test-pv-1 # 這邊可以得知要擴充的 physical volume
... 內容省略
$ sudo lvdisplay
  --- Logical volume ---
  LV Path                /dev/test-pv-1/test-lv
  LV Name                test-lv
  VG Name                test-pv-1
  LV UUID                T0V5dm-tnLT-EpyZ-LnWM-FSfL-u2r1-xzZ2cs
  LV Write Access        read/write
  LV Creation host, time pollochangVM, 2022-09-20 23:37:16 +0800
  LV Status              available
  # open                 1
  LV Size                4.98 GiB
  Current LE             319
  Segments               1
  Allocation             inherit
  Read ahead sectors     auto
  - currently set to     256
  Block device           253:0
在這邊我把新增硬碟空間位置通通加進去。
sudo lvextend -l+100%FREE /dev/test-pv-1/test-lv
$ sudo lvextend -l+100%FREE /dev/test-pv-1/test-lv
  Size of logical volume test-pv-1/test-lv changed from 4.98 GiB (319 extents) to <5.97 GiB (382 extents).
  Logical volume test-pv-1/test-lv successfully resized.
sudo resize2fs -p /dev/test-pv-1/test-lv
$ sudo resize2fs -p /dev/test-pv-1/test-lv
resize2fs 1.44.5 (15-Dec-2018)
Filesystem at /dev/test-pv-1/test-lv is mounted on /test-disk; on-line resizing required
old_desc_blocks = 1, new_desc_blocks = 1
The filesystem on /dev/test-pv-1/test-lv is now 1564672 (4k) blocks long.
$ sudo df -h # 檢查目前的硬碟狀況
Filesystem                        Size  Used Avail Use% Mounted on
/dev/mapper/test--pv--1-test--lv  5.8G   24K  5.5G   1% /test-disk
可以比對一開始的結果發現容量有增加 1GB。
如果文章內容有錯,請不吝色請教 m)(.__.)(m)Thank you.


 iThome鐵人賽