今天我們來接著繼續設計一個自己的網站吧~
(๑•̀ㅂ•́)و✧
最常見的個人網站通常都會有介紹自己的個人履歷,那麼我們就來設計一個個人履歷的雛型吧~
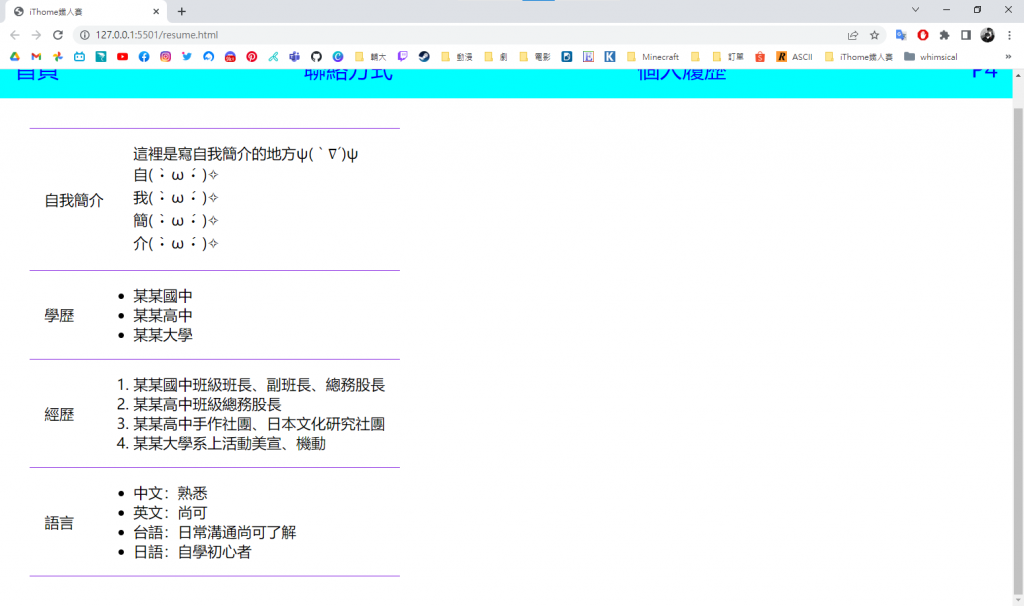
首先,一樣在專案資料夾裡新增一個resume.html檔案
這個頁面將會由點選選單欄進入
一開始的標頭部分也都跟首頁一模一樣,我們可以直接複製貼上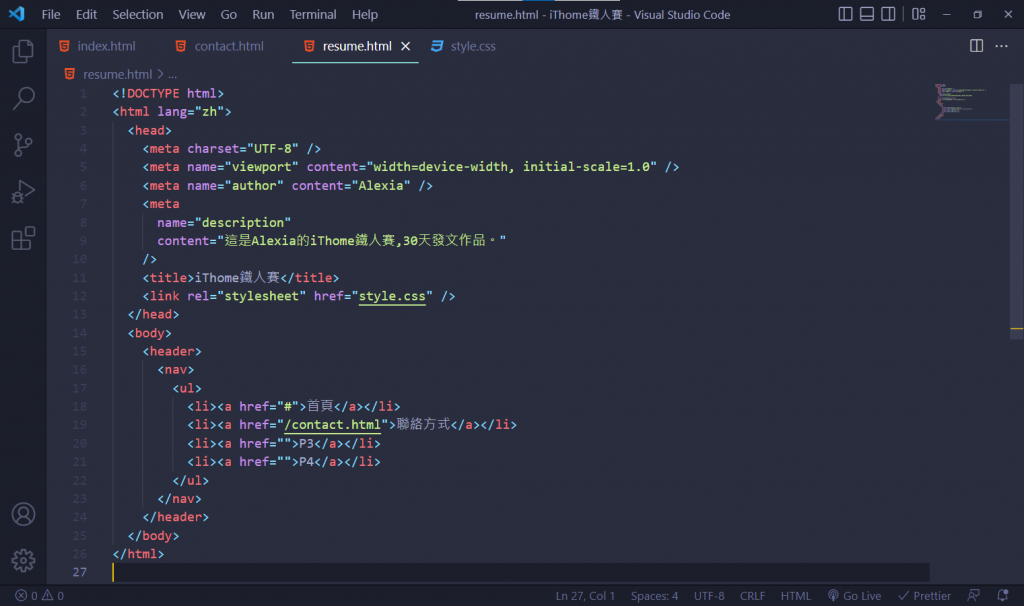
其中選單欄的部分這頁的連結改為這個檔案,以「#」為當前頁面,其他連結改為其他的檔案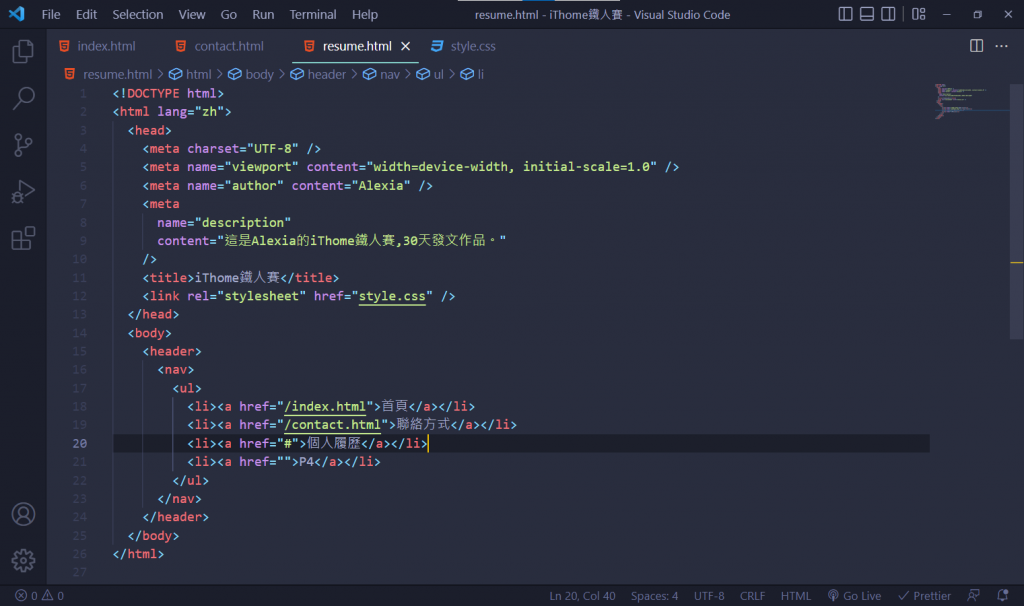
而其他檔案的選單欄也要改,兩個頁面才會互通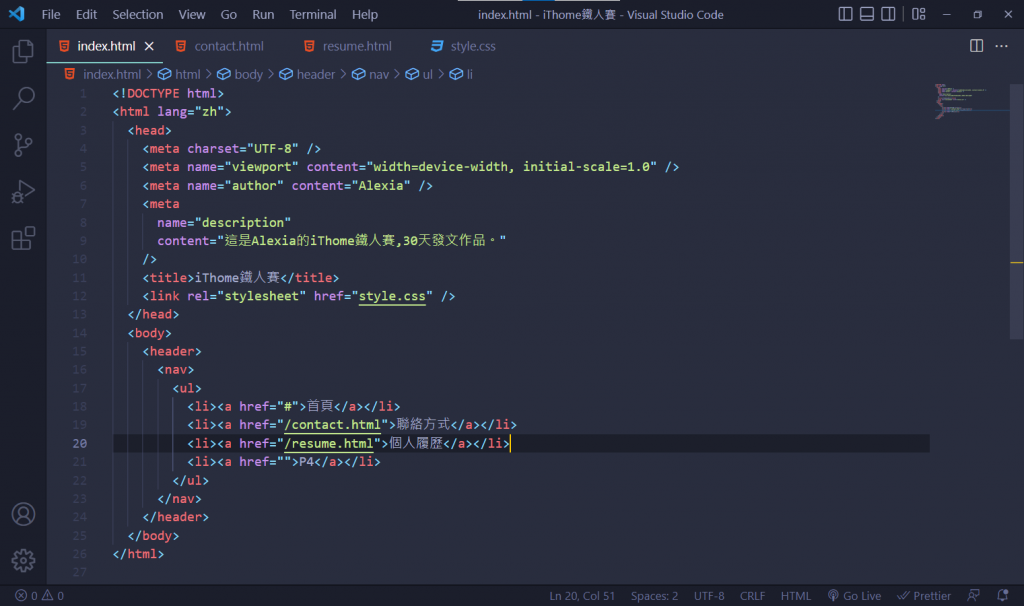
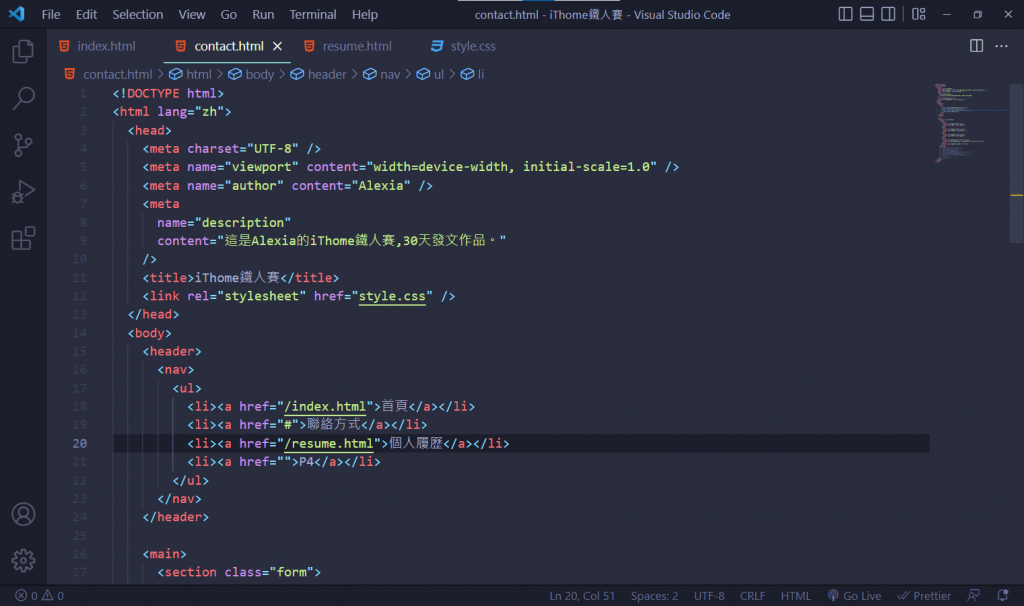
在<main>裡加一個<section>和<table>
開始設計CSS,先設定邊距
main section.table {
    padding: 2rem;
}
main section.table table {
    border-collapse: collapse;
}

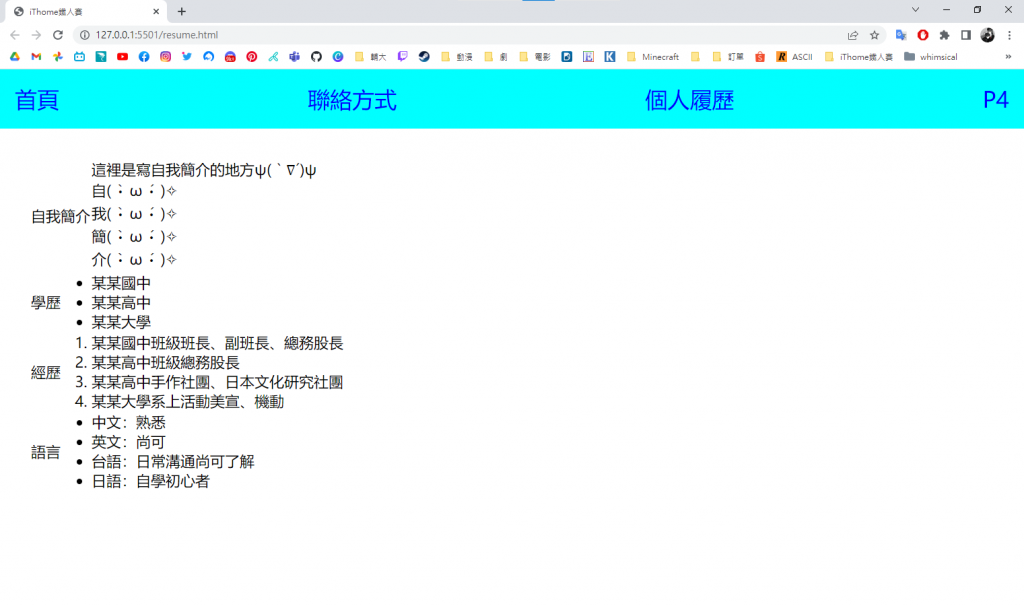
main section.table table tr {
    border-top: 1px solid blueviolet;
    border-bottom: 1px solid blueviolet;
}
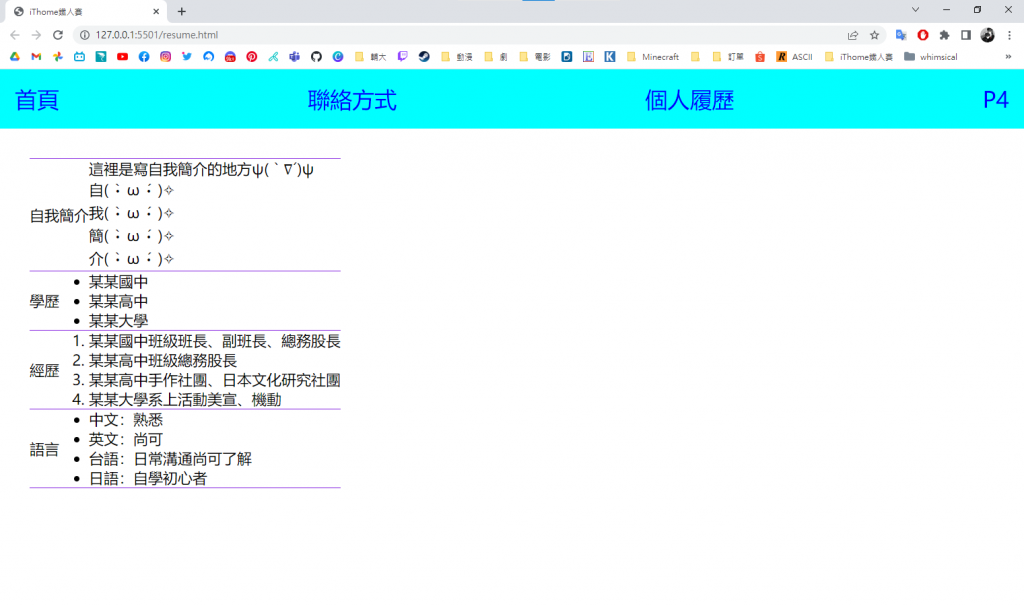
main section.table table tr td {
    padding: 1rem;
}
main section.table table tr:hover {
    background-color: violet;
}

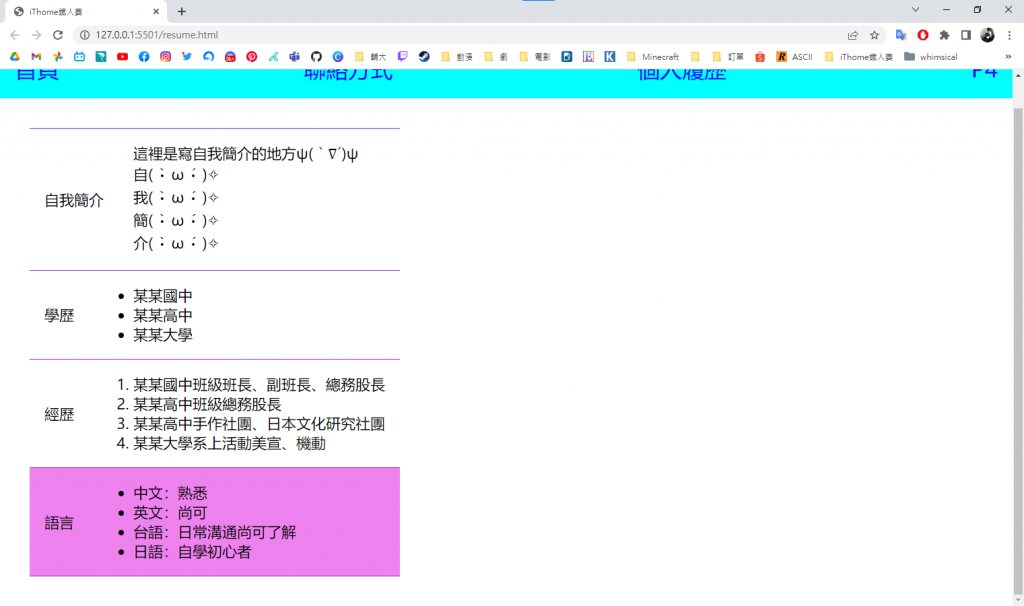
一個簡單的網頁個人履歷雛形就完成啦~