昨天我們成功安裝了Harbor,今天,我們就讓Jenkins把這幾天我們的手動操作完全自動化吧!Let’s go!
如同Nexus一樣,我們需要為連接Harbor先新增一個Credential。
在Jenkins的設定頁面中按下"Manage Credentials"。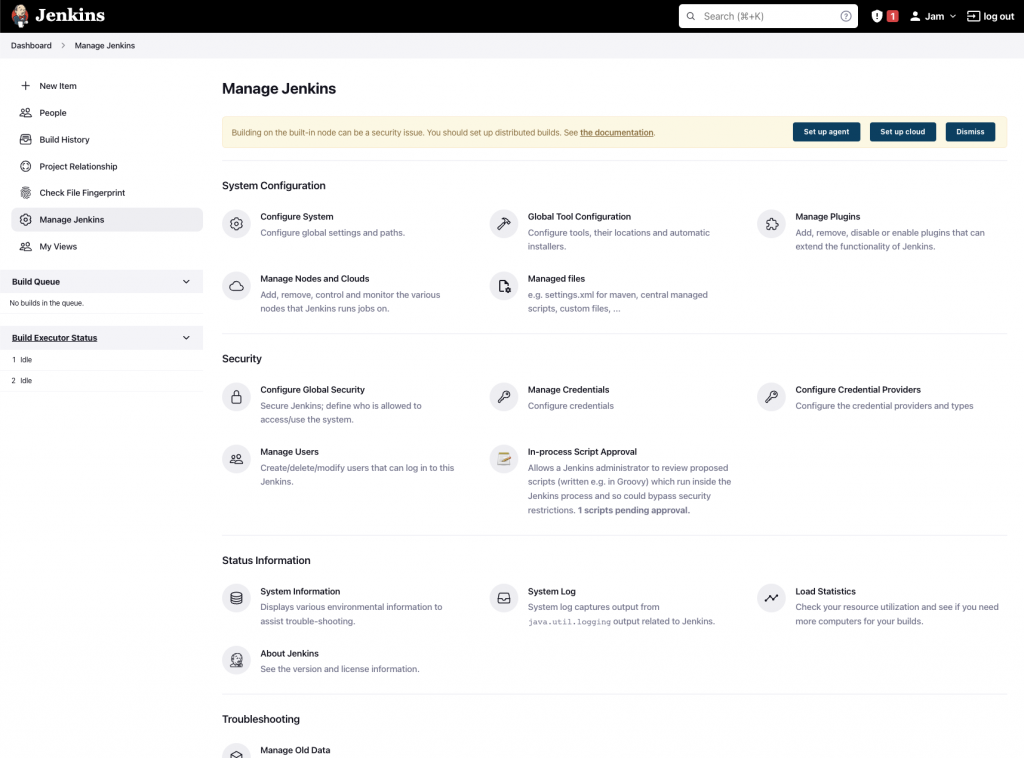
然後在Stores coped to Jenkins部份,找到Domains一欄,然後按下(global)。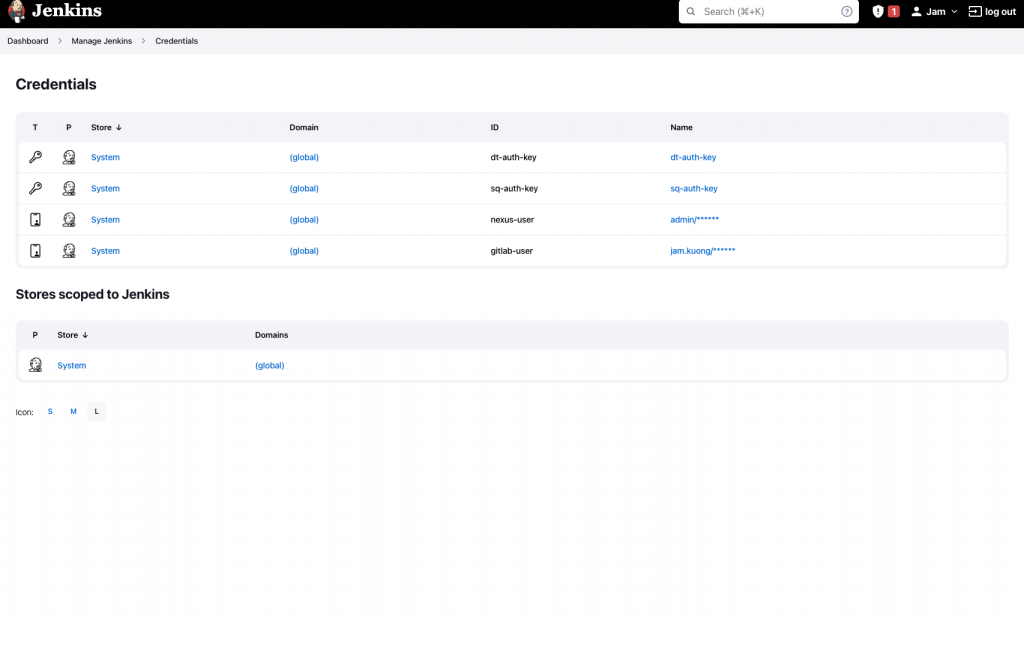
在右上方按下Add Credentials。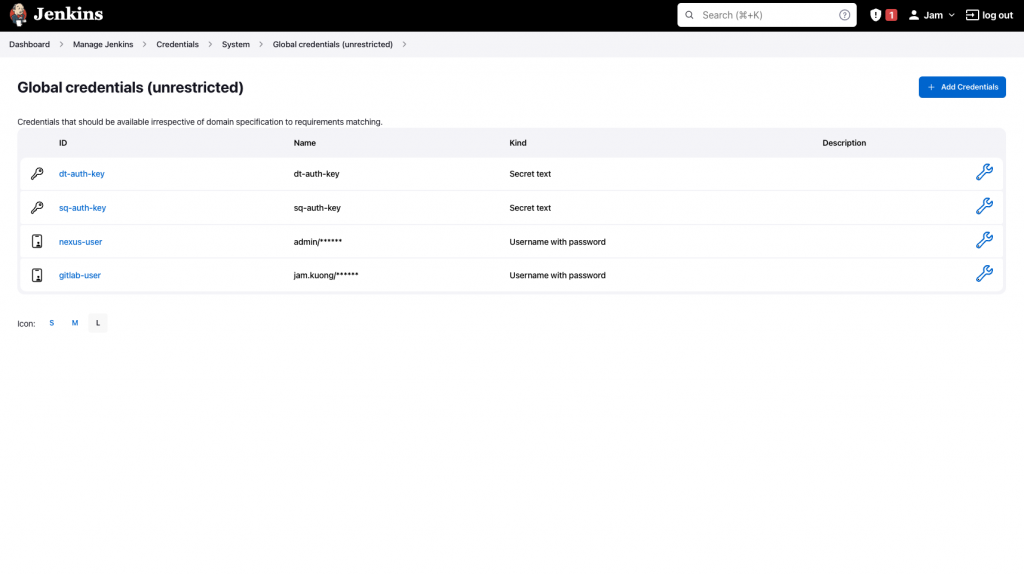
然後輸入Harbor的用戶名稱及密碼,在ID一欄輸入harbor-user。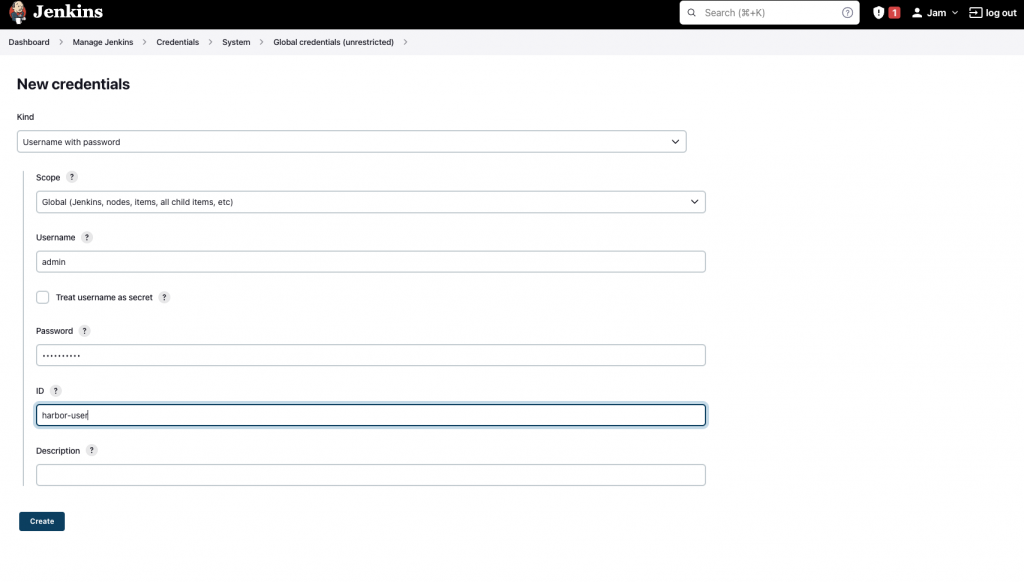
按下Create,應該會成功見到新的Credential。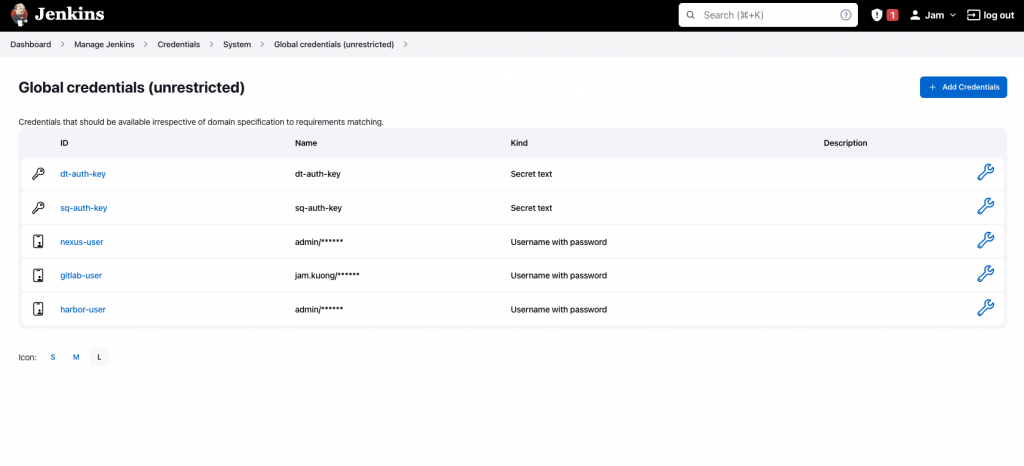
第一步,我們先加入一個新的Stage以及Steps。
        stage('Build Docker Image') {
            steps {
			}
		}
然後,我們從Jenkins的Credential倉庫中取得Harbar的登入資料。
        stage('Build Docker Image') {
            steps {
                withCredentials([usernamePassword(credentialsId: 'harbor-user', usernameVariable: 'HARBOR_USER', passwordVariable: 'HARBOR_PSWD')]) {
				}
			}
		}
credentialsId: 上一部份我們輸入的Credentail ID名稱usernameVariable: 用戶的變數名稱,用來取得並暫存Credential中的用戶名稱passwordVariable: 密碼的變數名稱,用來取得並暫存Credential中的密碼然後我們把這兩天建立Docker映像檔做過的步驟都放到withCredentials{…}的Block中間。
        stage('Build Docker Image') {
            steps {
                withCredentials([usernamePassword(credentialsId: 'harbor-user', usernameVariable: 'HARBOR_USER', passwordVariable: 'HARBOR_PSWD')]) {
                    sh "docker login localhost -u=\"${HARBOR_USER}\" -p=\"${HARBOR_PSWD}\""
                    sh "docker build -t ironman-helloworld ."
                    sh "docker tag ironman-helloworld localhost/ironman-2022/ironman-helloworld:1.0.0"
                    sh "docker push localhost"
                }
            }
        }
流程跟在本機運行一樣,先利用Credential登入Harbor,然後Build映像檔再下一個Tag,然後再Push到Harbor中。
儲存後commit、上傳、在Jenkins運行Pipeline。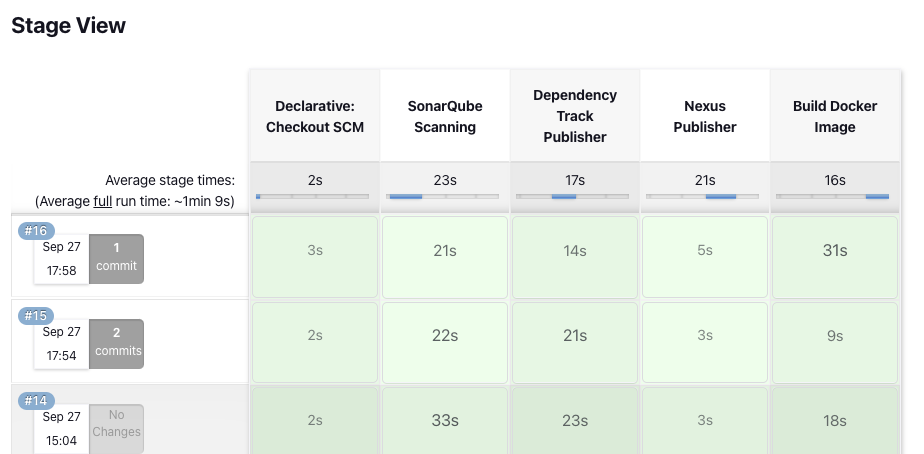
完成!
現在,我們終於都有了一個可以運行的Docker映像檔了,亦有一個倉庫儲存我們的映像檔。至此我們成品倉庫的部份終於可以告一段落。那麽下一步,我們就可以開始嘗試把我們開發的程序進行部署了。明天,讓我們一起進入CICD Pipeline中持續部署的部分吧!
20天了,有點感動。