昨天談到基礎架構即程式碼,那麽今天,我們就介紹一下其中一款常用的工具,Terraform。
Terraform是一款由HashiCorp以Go語言寫成的基礎架構即程式碼。常用於管理雲端服務平台上的服務器架構。Terraform以宣告式的組態語言去描述基礎架構。開發人員可以編寫自己所需要的架構的最終狀態,Terraform會跟據其中定義的內容去生成相應所需要的資源,而並不需要編寫生成資源的步驟。
當我們進行部署時,一般會把程式放到數據中心或是雲端服務器中。因此,我們今天就嘗試用Terraform在GCP上面編寫我們的所需要的架構,生成第一部虛擬機器,為我們以後在上面部署我們的程式作準備。
那麽今天,我們就一起學習安裝並使用Terraform生成我們需要的資源吧!
使用Mac OS安裝Terraform非常簡單,只需要利用Homebrew進行安裝。
先在Terminal運行以下指令。
brew tap hashicorp/tap

然後運行以下指令安裝Terraform。
brew install hashicorp/tap/terraform

安裝完成。
首先我們需要在GCP新增一個專案。
新增完成後在通知視窗中按下Select Project進入新專案。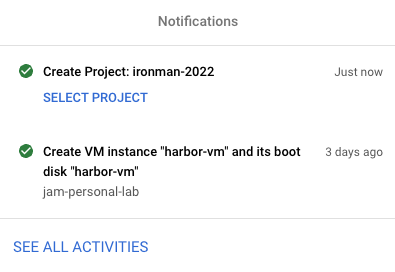

然後在選單中找到IAM & Admin->Service Accounts。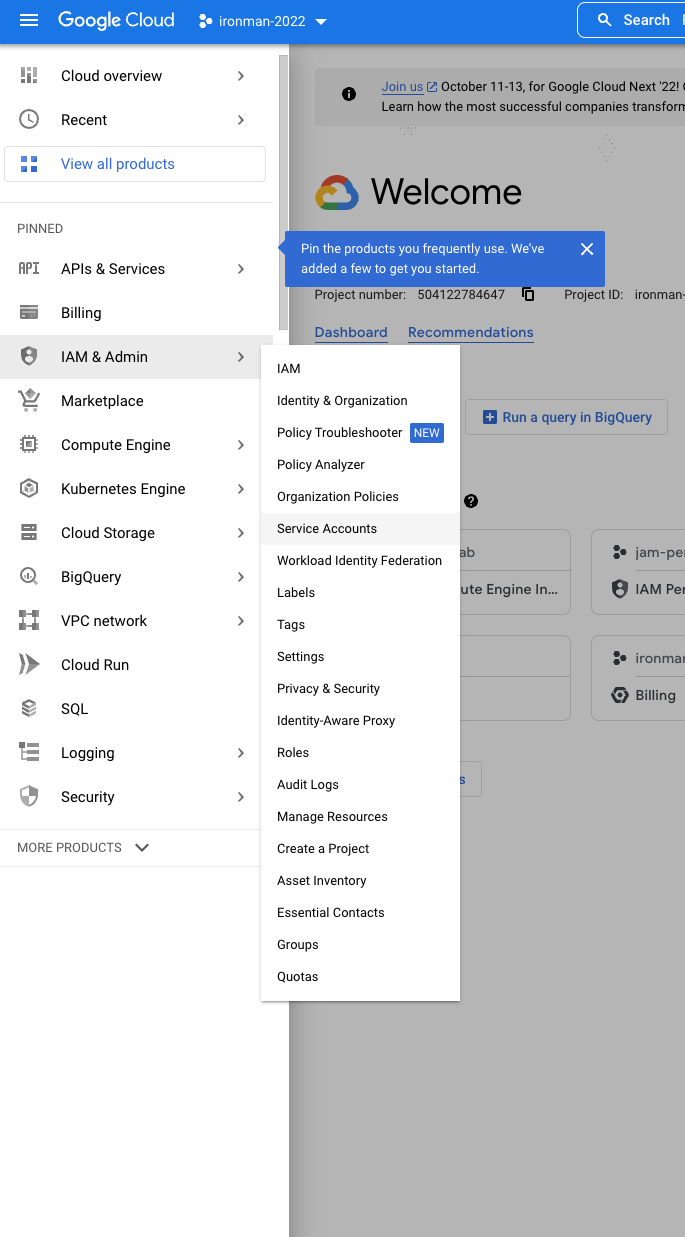
然後按下Create Service Account。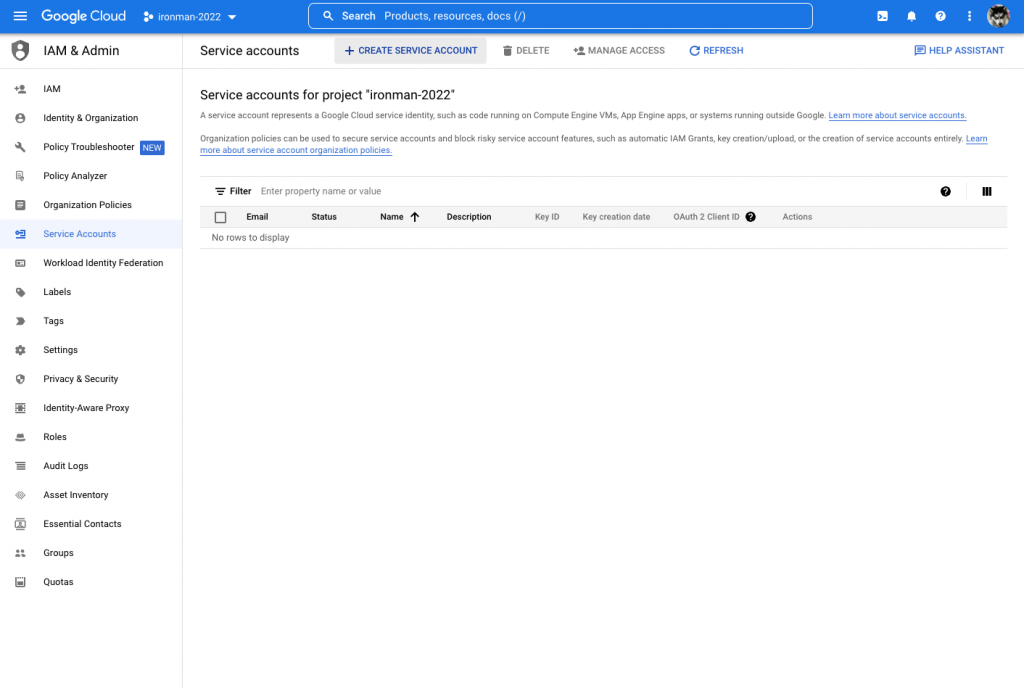
輸入Service account name,然後按下Create and Continue。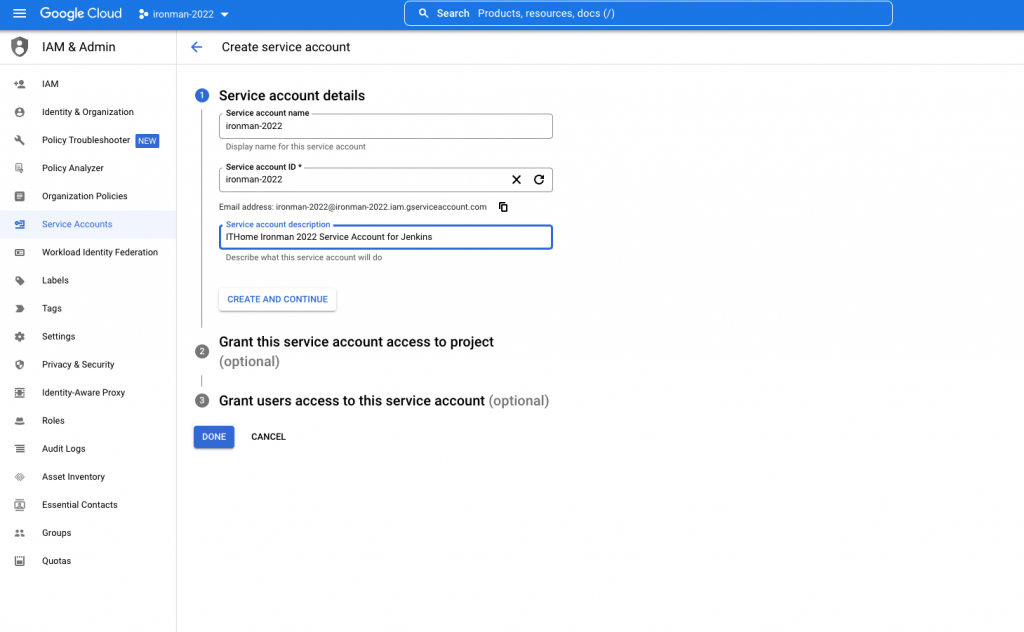
然後,為我們的Service Account加入Compute Admin的權限,再按下Continue。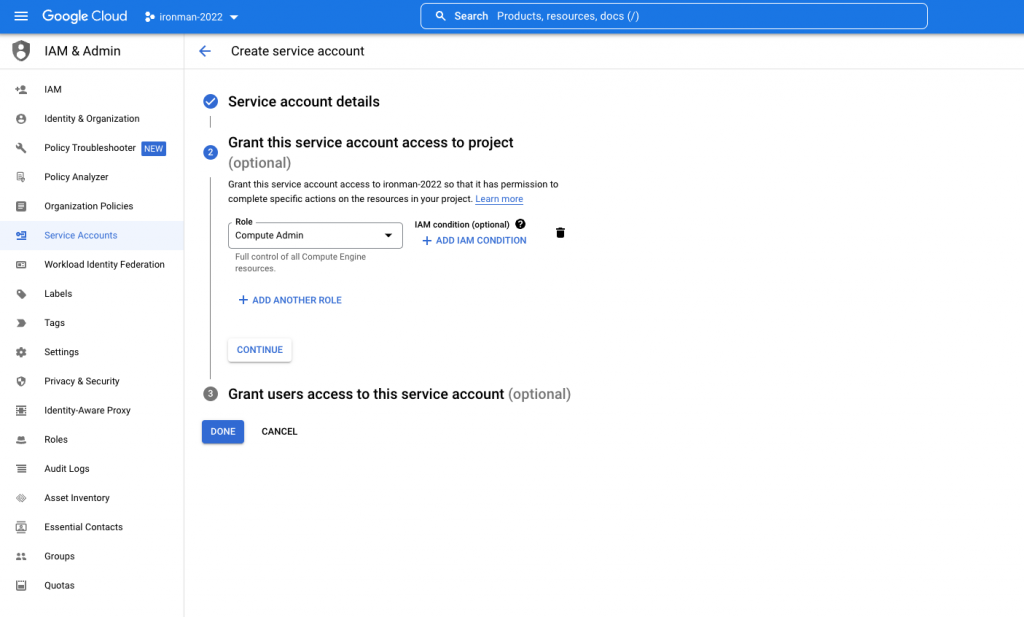
最後按下Done。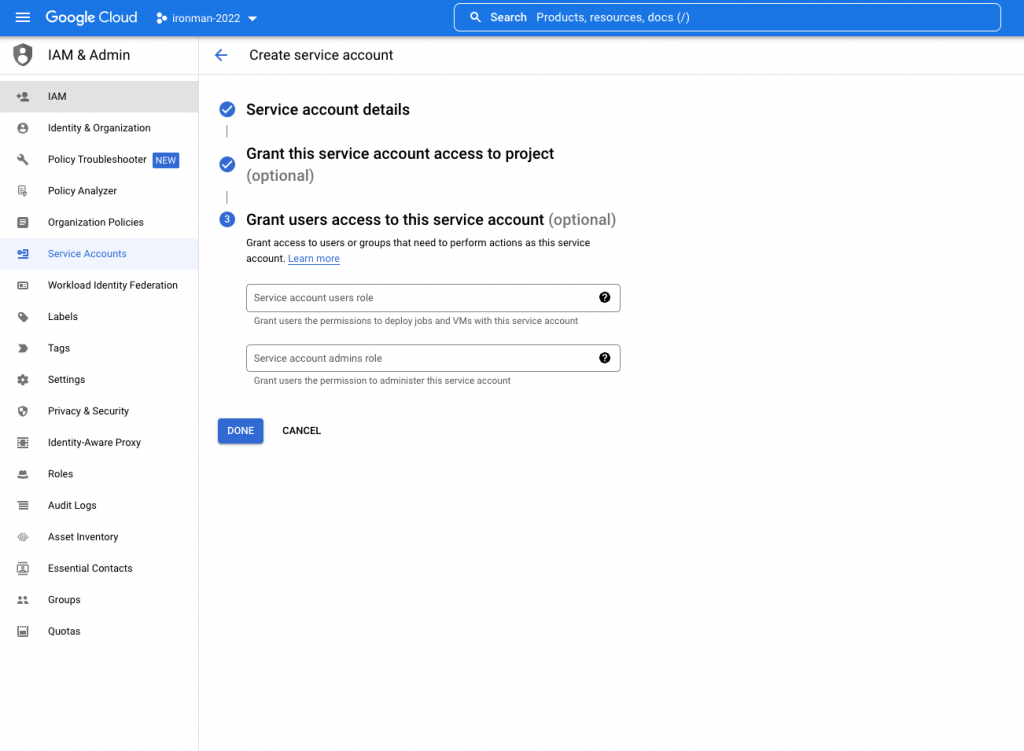
可以看到已經成功新增了一個Service Account。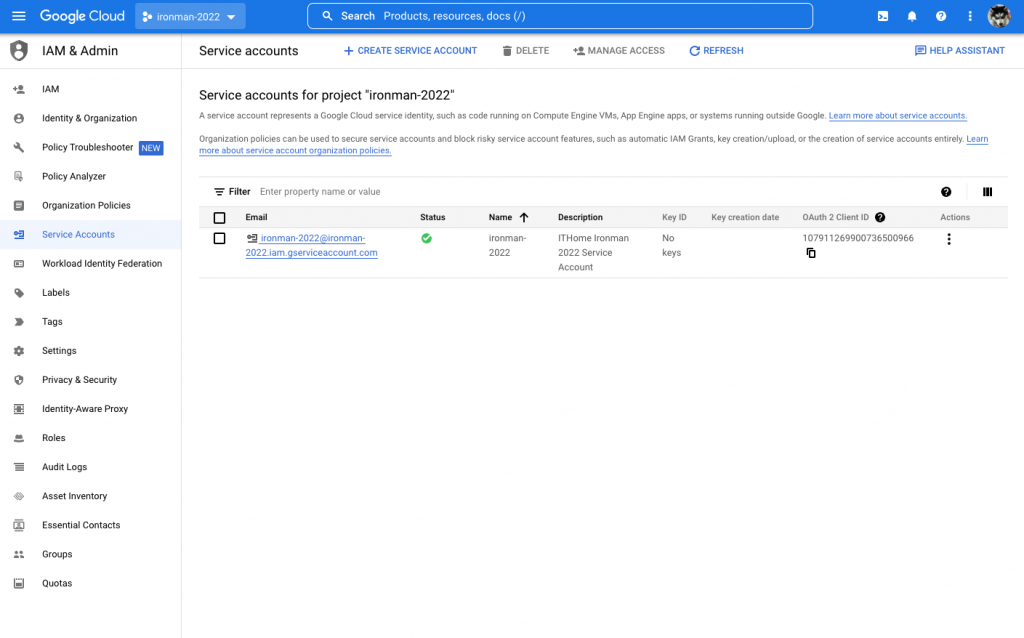
然後我們進入新增了的Service Account的詳情頁面,再進入KEYS的分頁。找到並按下Add Key->Create new key。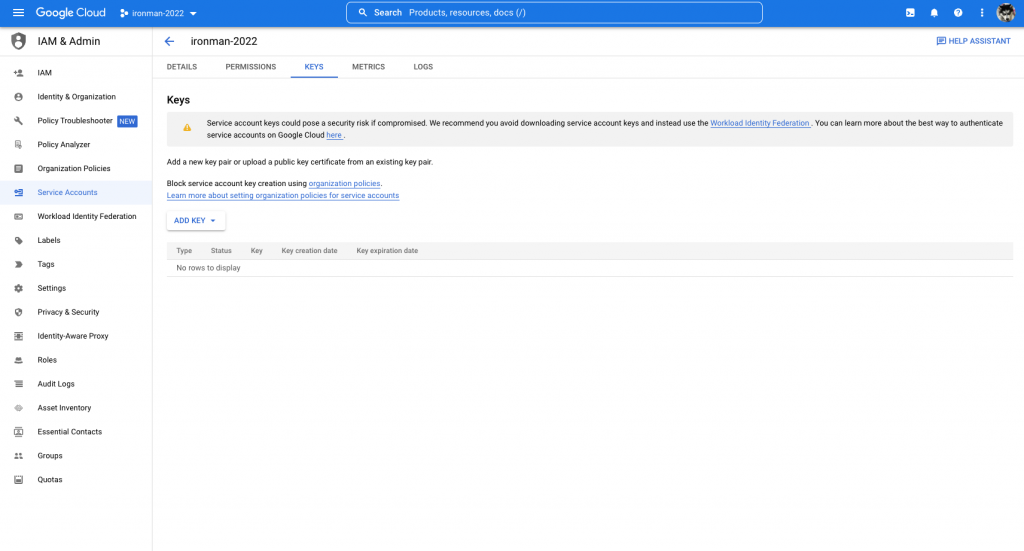
選擇JSON並按下Create。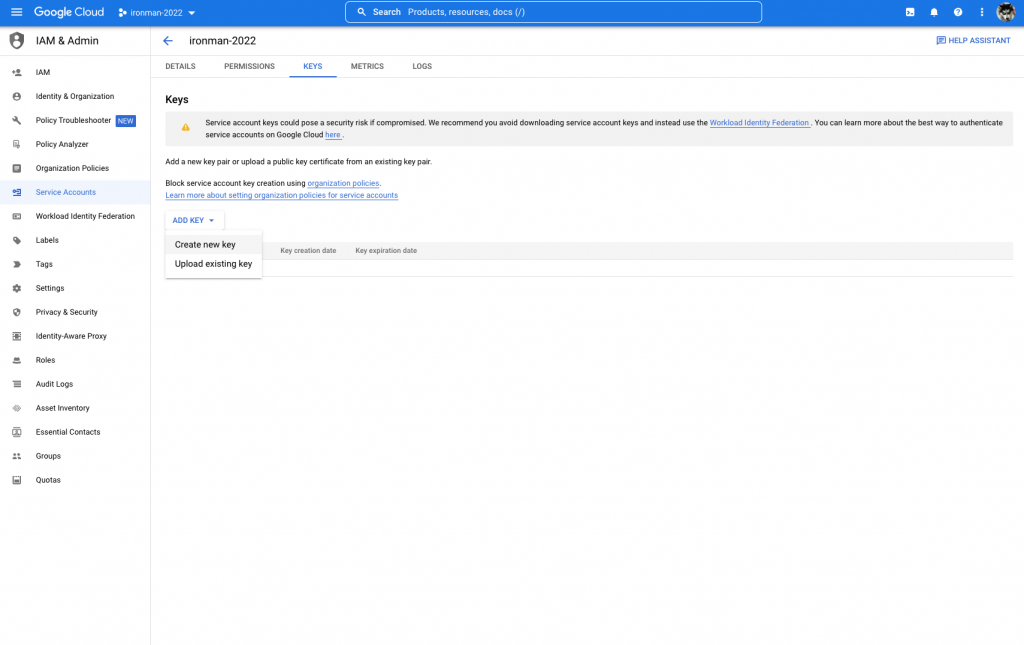
馬上會下載一個JSON檔案,把它儲存到專案中。
要讓Terraform在GCP生成機器,必須使用GCP提供的API。因此我們要先為專案啟用相關的API。
在選單中找到APIs & Services->Enabled APIs & services。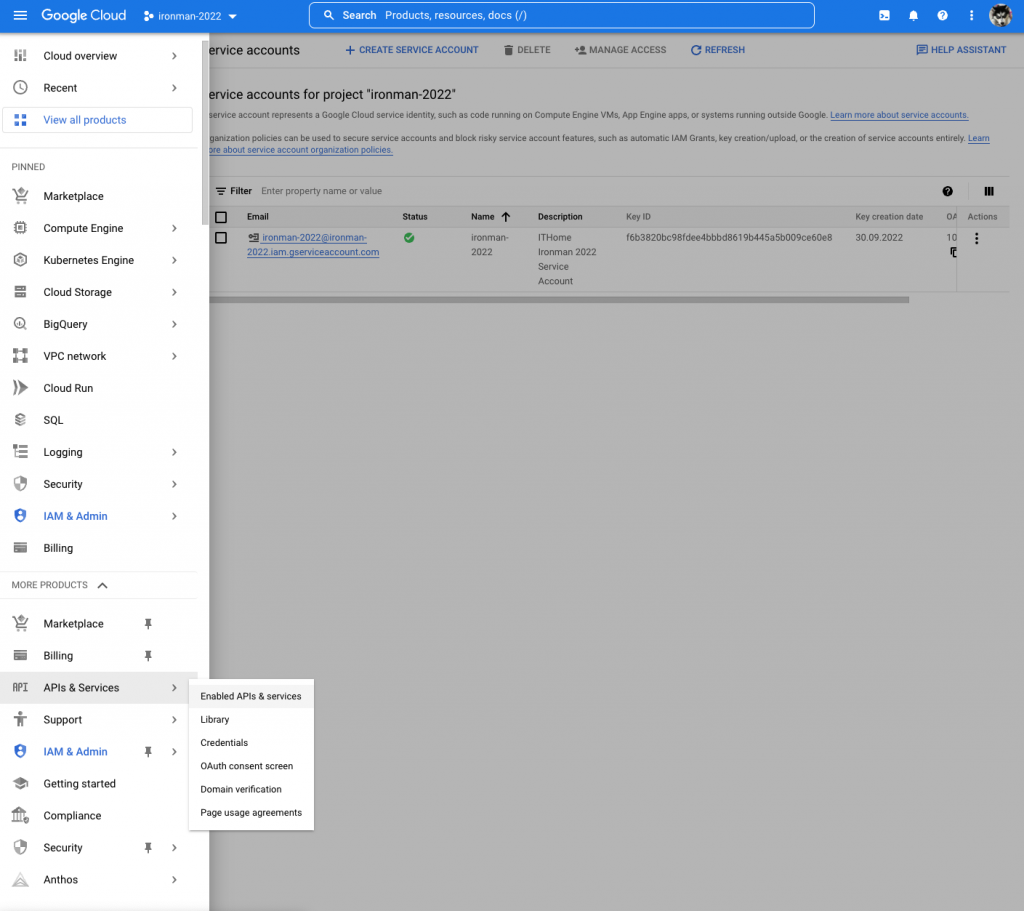
然後搜尋Compute Engine API。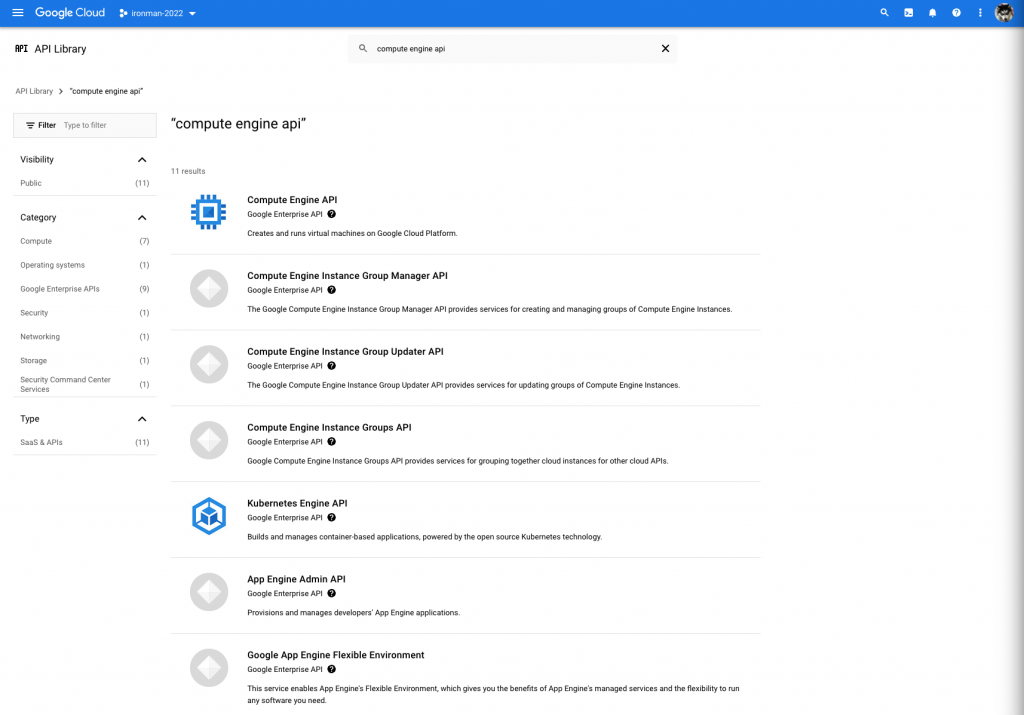
按下第一個結果。
然後按下Enable。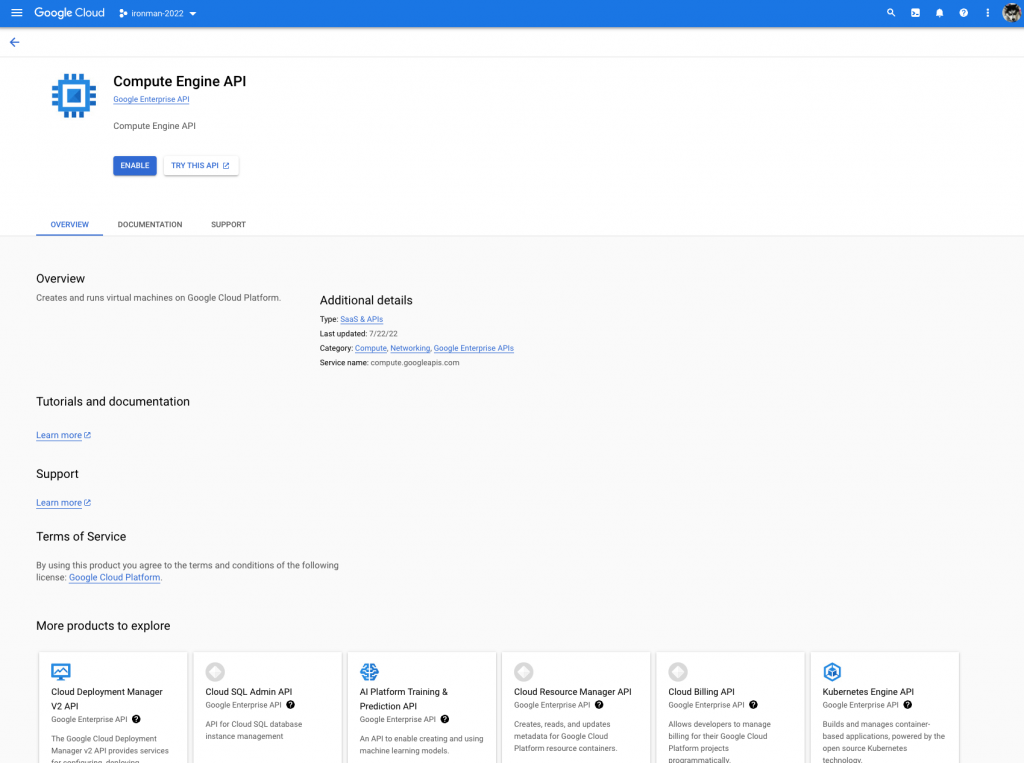
成功啟用API。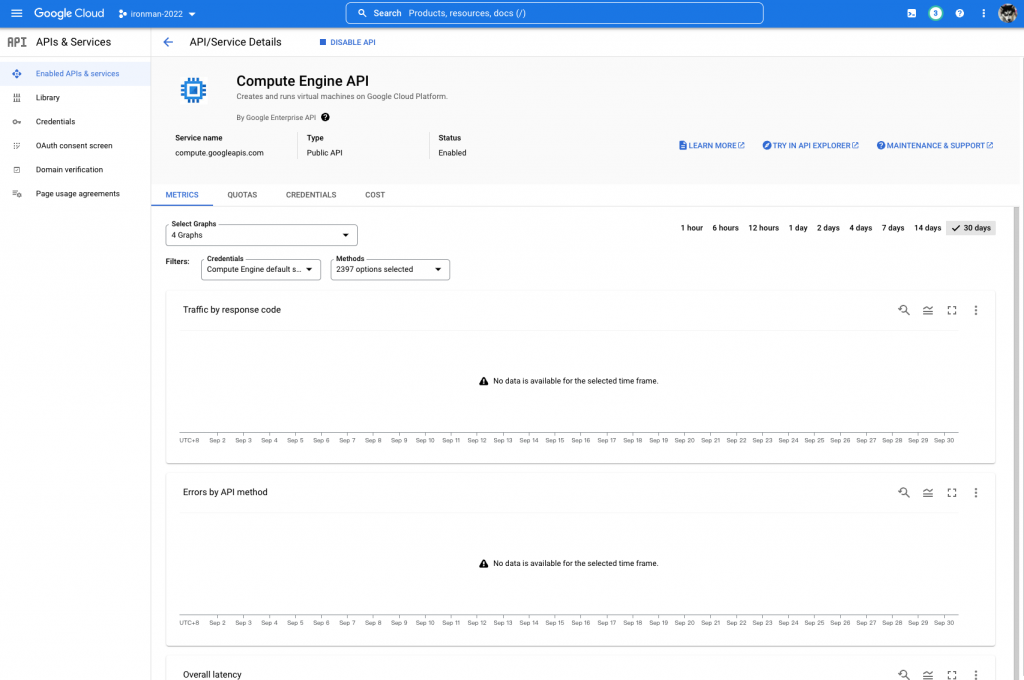
同樣的做法,啟用OS Login API。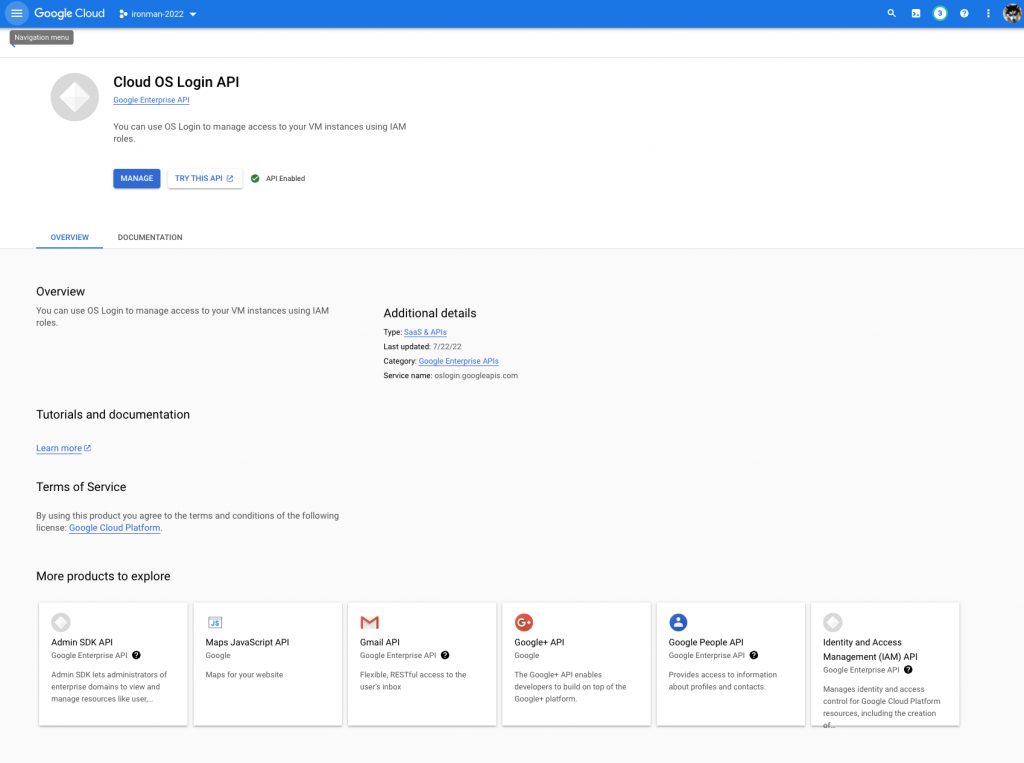
首先,在我們的專案中,新增一個main.tf的檔案。然後加入以下內容。
resource "random_id" "instance_id" {
    byte_length = 6
}

provider "google" {
    credentials = file("ironman-2022-f6b3820bc98f.json")
    project     = "ironman-2022"
    region      = "asia-east1"
}

resource "google_compute_instance" "helloworld_instance" {
  name         = "helloworld-vm-${random_id.instance_id.hex}"
  machine_type = "f1-micro"
  zone         = "asia-east2-a"
  tags         = ["ssh"]

  metadata = {
    enable-oslogin = "TRUE"
  }
  boot_disk {
    initialize_params {
      image = "debian-cloud/debian-11"
    }
  }

  # Install Flask
  metadata_startup_script = "sudo apt-get update; sudo apt-get install -yq build-essential python-pip rsync; pip install flask"

  network_interface {
    network = "default"

    access_config {
      # Include this section to give the VM an external IP address
    }
  }
}
這裡不一一解釋整個檔案的內容,請參考GCP的官方文檔。這裡只講解幾個重要的部份。
provider "google" {…}: 代表我們要使用GCP的Provider,並對我們的GCP連接進行設定credentials = file("ironman-2022-f6b3820bc98f.json"): 連接到GCP要使用Credential進行認證,亦即是使用我們剛剛下載回來的JSON檔案resource "google_compute_instance" "helloworld_instance" {…}: 代表我們要生成一個虛擬機器,並在當中對VM的配置進行設定第一步,我們需要對Terraform進行初始化設定。我們在Terminal中運行以下指令。
terraform init
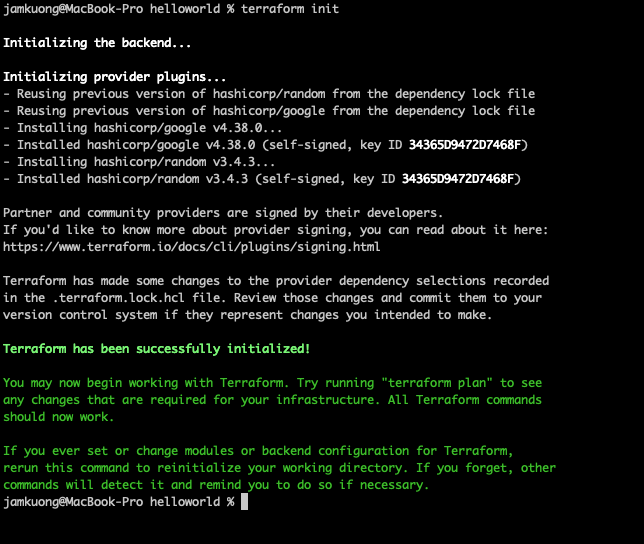
然後我們可以運行以下指令,來檢查Terraform將會按我們的main.tf進行甚麼操作。
terraform plan
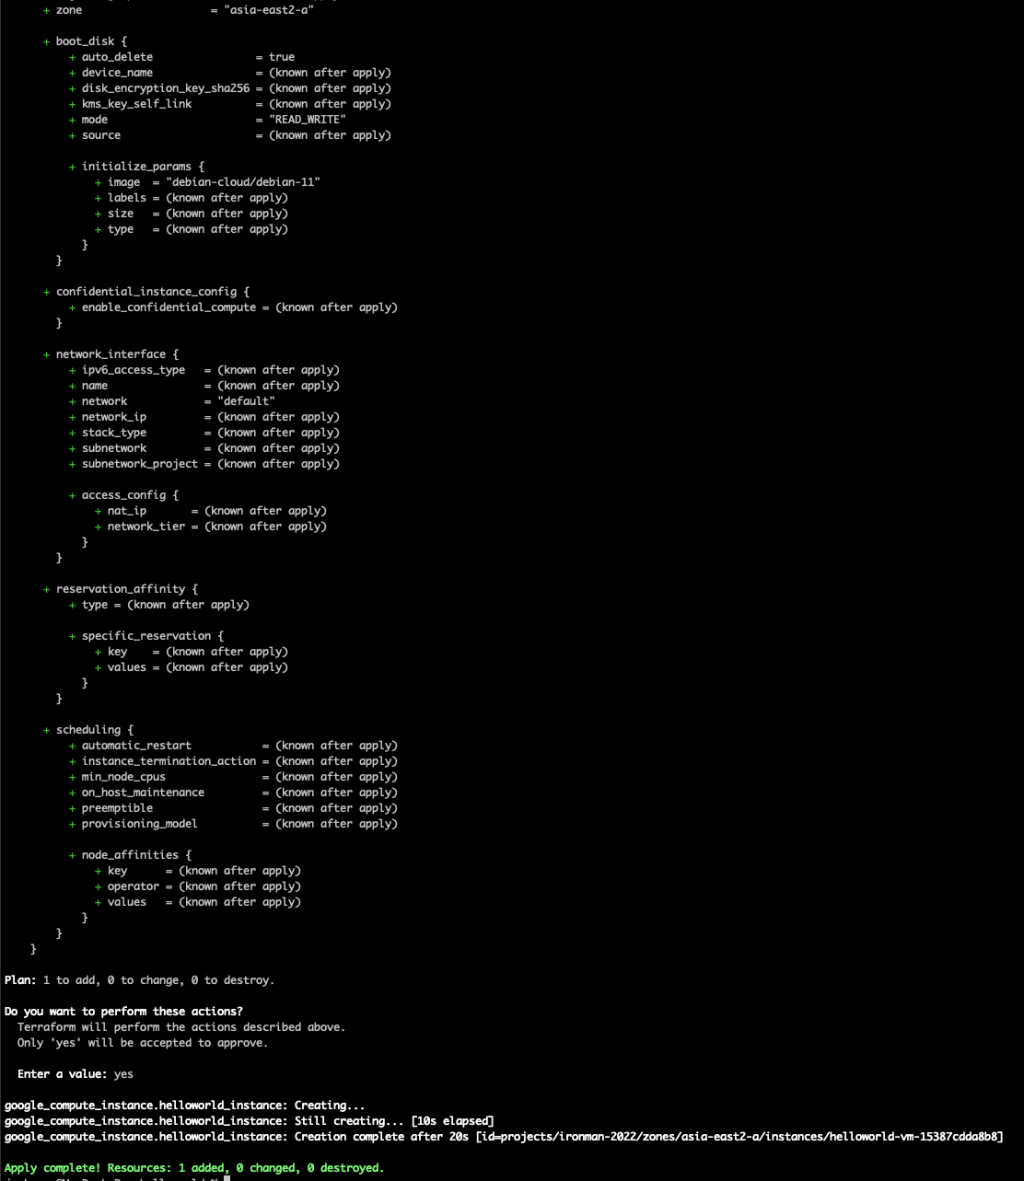
最後,如果没有問題,可以用以下指令生成我們需要的架構。
terraform apply
途中會要求你確認正式進行架構上的修改。輸入yes即可。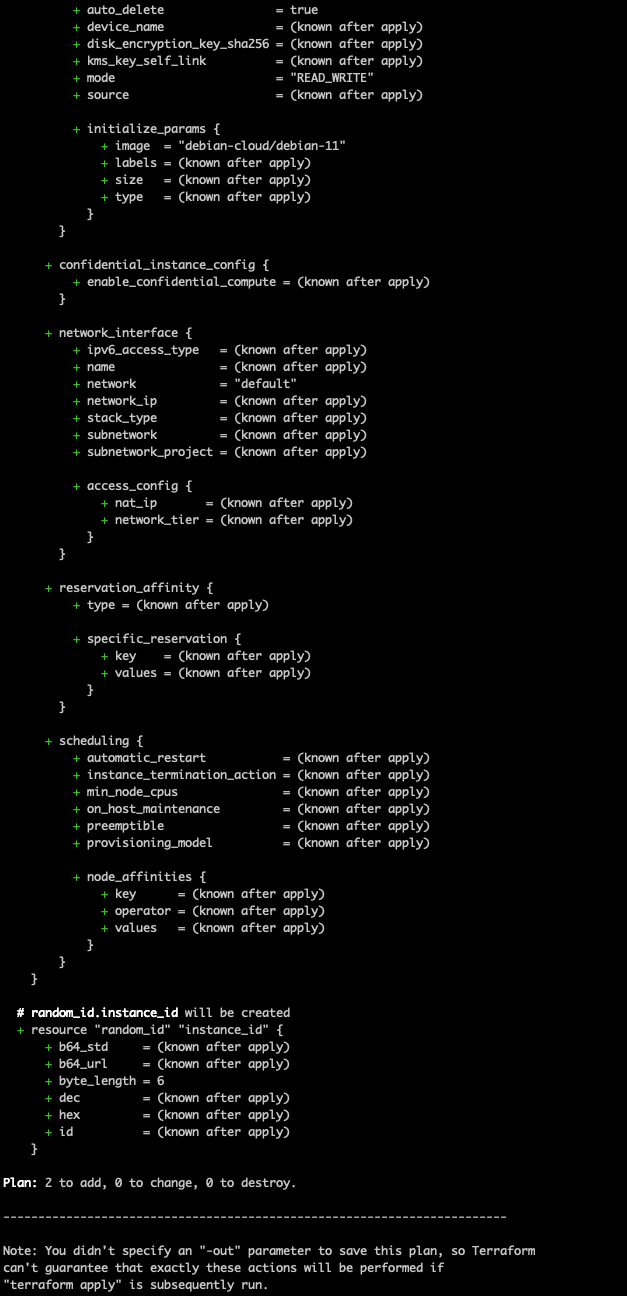
成功運行後,我們可以在GCP的面頁中看到新增的虛擬機器。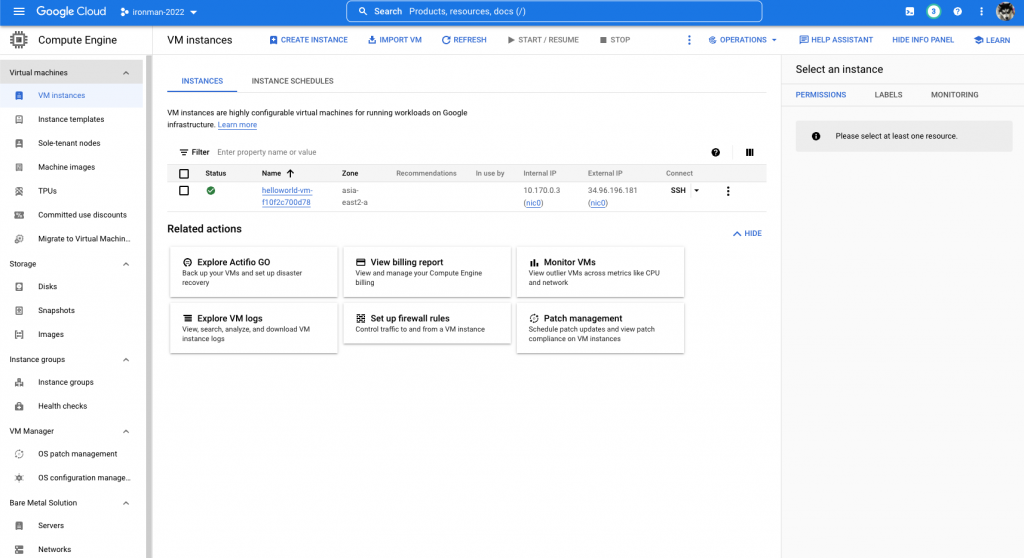
今天我們學習了基本的Terraform使用,那麼明天我想大家都猜到了,當然就是把這個動作完全自動化了。明天我們將會用Jenkins去啟動Terraform的部署。
補充一點,是次系列主要是介紹及簡單應用相關的工具。在這個系列的整個建置過程中,有很多安全性及管理上的Best Practice都並未有很好地完成。在這邊再提醒一下大家,在建CICD Pipeline時,要留意相關的設計及操作哦!
