昨天我們成功在本機,利用Terraform在GCP上面啟用一部VM。今天,我們就利用Jenkins加上Terraform,使到整個過整自動化吧!
由於我們昨天使用的JSON檔案作為認證,因此在安全性的考慮上,我們不應該把該認證檔案上傳到GitLab,以免所有人都能夠取得GCP的操作權限。因此我們要先把認證檔案儲存到Jenkins中,使Jenkins可以不依靠GitLab就取得GCP的操作權限。
首先進入Jenkins的設定頁面,然後找到Manage Credentials。
然後按下Stores scoped to Jenkins部份,Domain欄下面的(global)。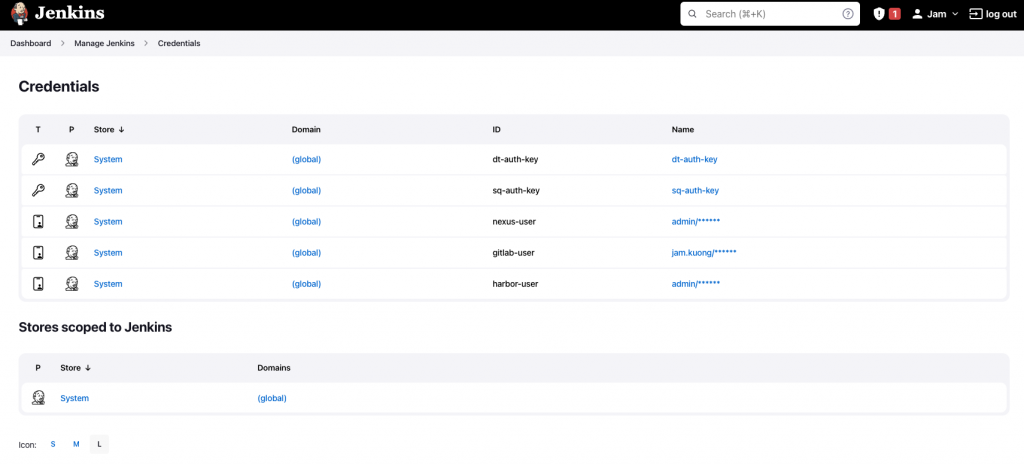
在右上角按下Add Credentials。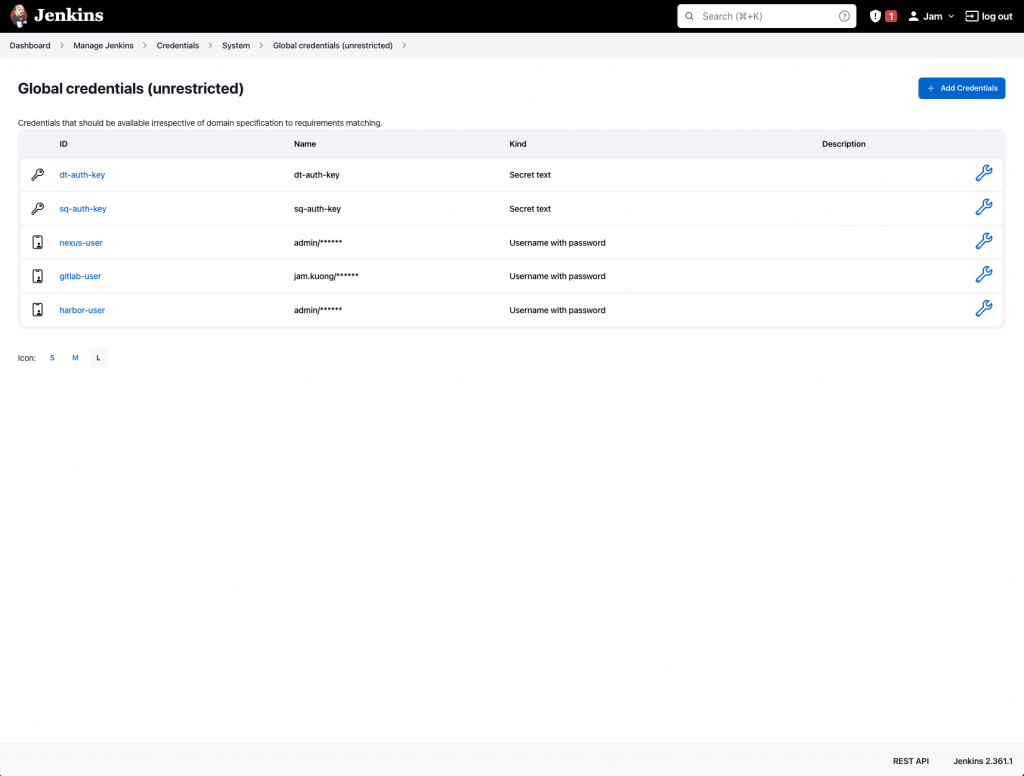
選擇使用Secret file。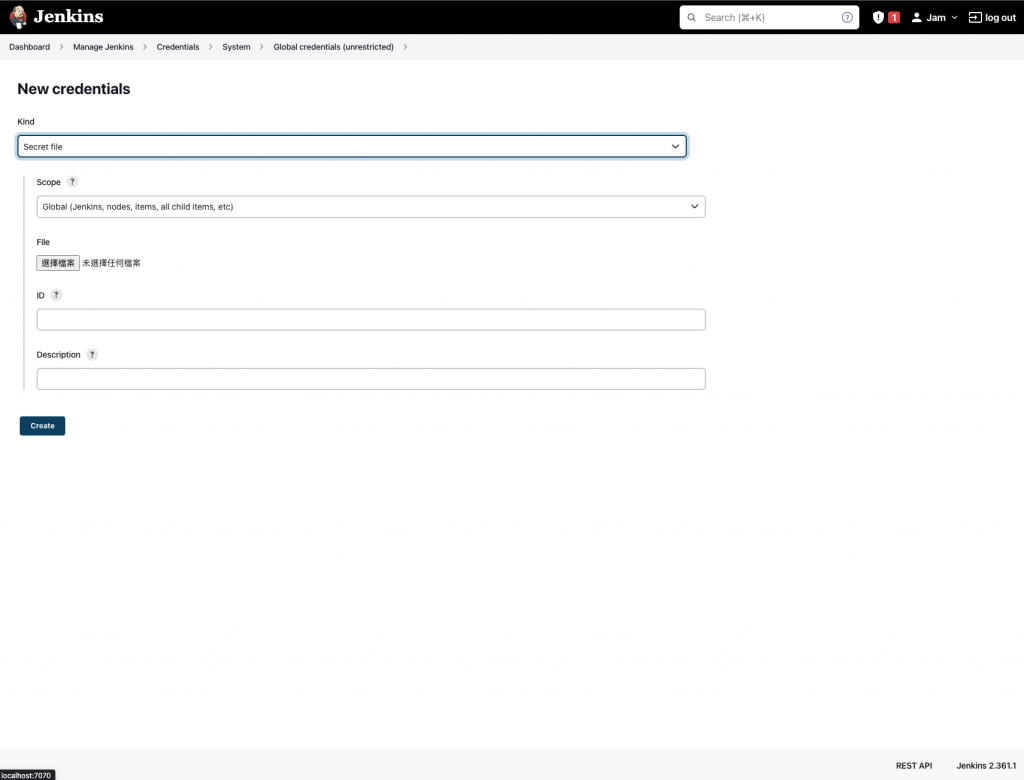
然後上傳我們專案中的JSON檔案。在ID一欄中輸入tf-auth-key。然後按Create。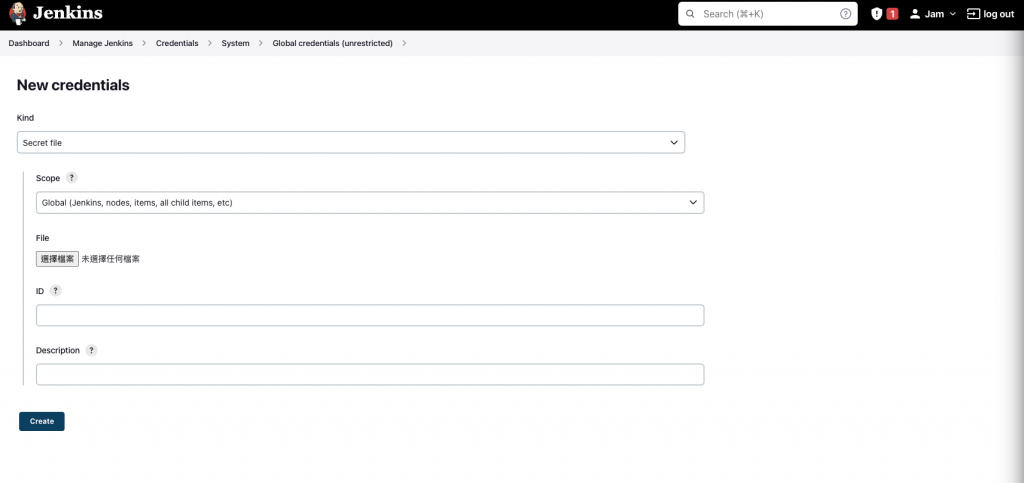
成功加入了一個新的Credential。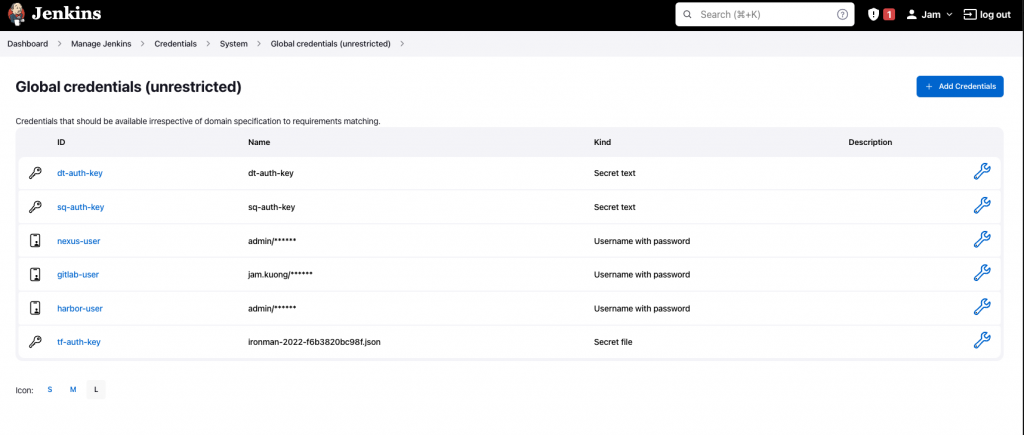
下一步我們就要修改Terraform中的main.tf,以準備接收由Jenkins傳入的認證資料。
Terraform需要在tf檔案中定義好變數,才能在操作的期間傳入資料。因此我們要在main.tf最開始部份加入以下內容。
variable "tf_auth_key" {
  type     = string
}
這裡代表我們要準備接收一個以tf_auth_key作為名稱的變數,然後以string的資料類型去儲存。
然後,我們要利用這個變數,去取代昨天的認證JSON檔案的絕對路徑。找到provider "google"{…}的部份並修改為以下內容。
provider "google" {
    credentials = file(var.tf_auth_key)
    project     = "ironman-2022"
    region      = "asia-east1"
}
那麼我們就準備好接收Jenkins傳入的JSON認證檔了。
最後,在Jenkinsfile中為我們的Pipeline加入一個新的Stage。
        stage('Terraform Deployment') {
            steps {
			}
		}
然後利用withCredentails取得儲存在Jenkins中的JSON檔案。
        stage('Terraform Deployment') {
            steps {
                withCredentials([file(credentialsId: 'tf-auth-key', variable: 'tf_auth_key')]) {
				}
			}
		}
然後我們在這個Block中傳入取得的Credential並運行昨天的指令。
stage('Terraform Deployment') {
            steps {
                withCredentials([file(credentialsId: 'tf-auth-key', variable: 'tf_auth_key')]) {
                    sh 'terraform init'
                    sh 'terraform plan -var "tf_auth_key=${tf_auth_key}"'
                    sh 'terraform apply -var "tf_auth_key=${tf_auth_key}" --auto-approve'
                }
            }
        }
${tf_auth_key}: 在withCredentials取得的Credential檔案路徑 terraform plan -var "tf_auth_key=${tf_auth_key}": 運行Plan指令,並傳入Credential作為變數tf_auth_key的值 terraform plan -var "tf_auth_key=${tf_auth_key}" --auto-approve: 同上。並以--auto-approve去跳過確認的步驟準備好就可以把Jenkinsfile和main.tf Commit並Push到GitLab中,然後在Jenkins中運行Build Now。
經過一小段運行時間後,就可以發現運行成功!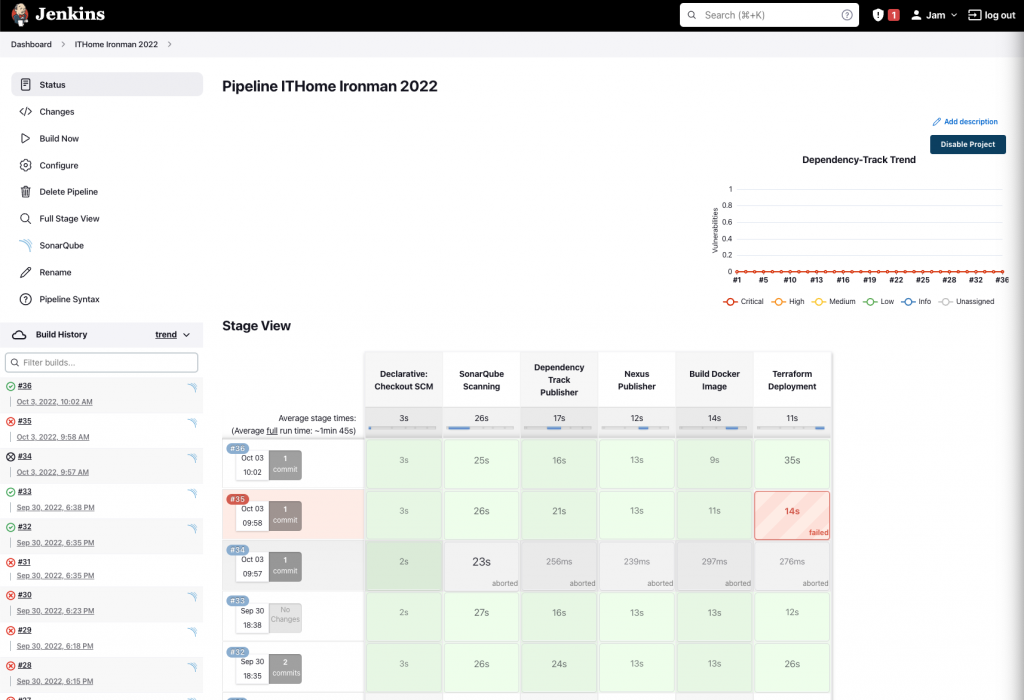
再到GCP的Console中,可以發現成功運行了一部VM。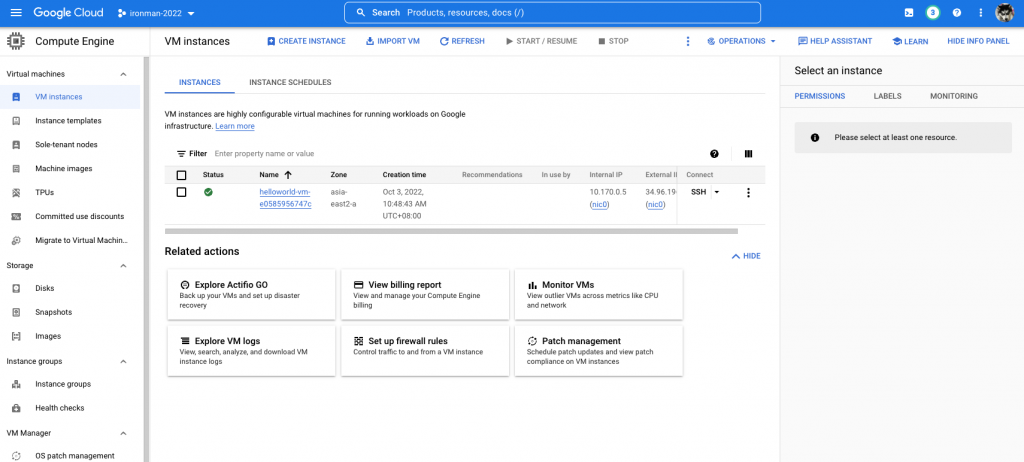
Terraform跟Jenkins結合以後,我們只需要在專案中定義所需要的架構,然後Commit到GitLab。然後Terraform就會自動生成我們所需要的內容,整個管理就會變得十份便利。
但由於Terraform的設計是一個不可變的服務器部署模式,在某些情況下並不適合只使用Terraform進行部署,例如一些在現存架構上的微調或修改。因此,明天我們會再介紹另一款工具去幫助我們進行部署。
Terraform這邊有朋友問我,為甚麼不詳細解釋Terraform裡邊的參數,這邊我解釋一下吧。主要原因是因為卡文Terraform並不是只能用於GCP,而是可以用於各個不同的平台。只要選擇合適的Provider,就可以在Kubernetes或是AWS等平台上面進行部署。是次系列的重點是為了讓大家可以學習如何建設一條CICD Pipeline,而並不是教大家如何部署到GCP,因此Terraform中有關GCP的部份只講解了最必要的部份。如果有興趣的朋友,可能需要自己再去鑽研更深入的Terraform的開發哦!