本系列文已改編成書「甚麼?網頁也可以做派對遊戲?使用 Vue 和 babylon.js 打造 3D 派對遊戲吧!」
書中不只重構了程式架構、改善了介面設計,還新增了 2 個新遊戲呦!ˋ( ° ▽、° )
新遊戲分別使用了陀螺儀與震動回饋,趕快買書來研究研究吧!ლ(╹∀╹ლ)
在此感謝深智數位的協助,歡迎大家前往購書,鱈魚感謝大家 (。・∀・)。
助教:「所以到底差在哪啊?沒圖沒真相,被你坑了都不知道。(´。_。`)」
鱈魚:「你對我是不是有甚麼很深的偏見啊 (っ °Д °;)っ,來人啊,上連結!」
現在有海也有冰,就只差企鵝了。( ´ ▽ ` )ノ
經過掐指一算,可以通靈出企鵝的功能一定很複雜,所以讓我們把企鵝用 Class 裝起來。
src\games\the-first-penguin\penguin.ts
import {
  Scene, Color3, Vector3,
  SceneLoader, AbstractMesh,
} from '@babylonjs/core';

export interface PenguinParams {
  /** 起始位置 */
  position?: Vector3;
  ownerId: string;
}

type State = 'idle' | 'walk' | 'attack';

export class Penguin {
  mesh?: AbstractMesh;
  name: string;
  scene: Scene;
  params: Required<PenguinParams> = {
    position: new Vector3(0, 0, 0),
    ownerId: '',
  };

  state: State = 'walk';

  constructor(name: string, scene: Scene, params?: PenguinParams) {
    this.name = name;
    this.scene = scene;
    this.params = defaultsDeep(params, this.params);
  }

  async init() {
    const result = await SceneLoader.ImportMeshAsync('', '/games/the-first-penguin/', 'penguin.glb', this.scene);

    const penguin = result.meshes[0];
    penguin.position = this.params.position;

    return this;
  }
}
回到 game-scene 中,建立企鵝吧。
src\games\the-first-penguin\game-scene.vue
...
<script setup lang="ts">
...
/** 引入 loaders,這樣才能載入 glb 檔案*/
import '@babylonjs/loaders';
...
import { Penguin } from './penguin';
...
async function createPenguin(id: string, index: number) {
  const penguin = await new Penguin(`penguin-${index}`, scene, {
    position: new Vector3(0, 2, 0),
    ownerId: id,
  }).init();

  return penguin;
}

async function init() {
  ...
  await createPenguin('', 1);
  /** 反覆渲染場景,這樣畫面才會持續變化 */
  ...
}
...
</script>
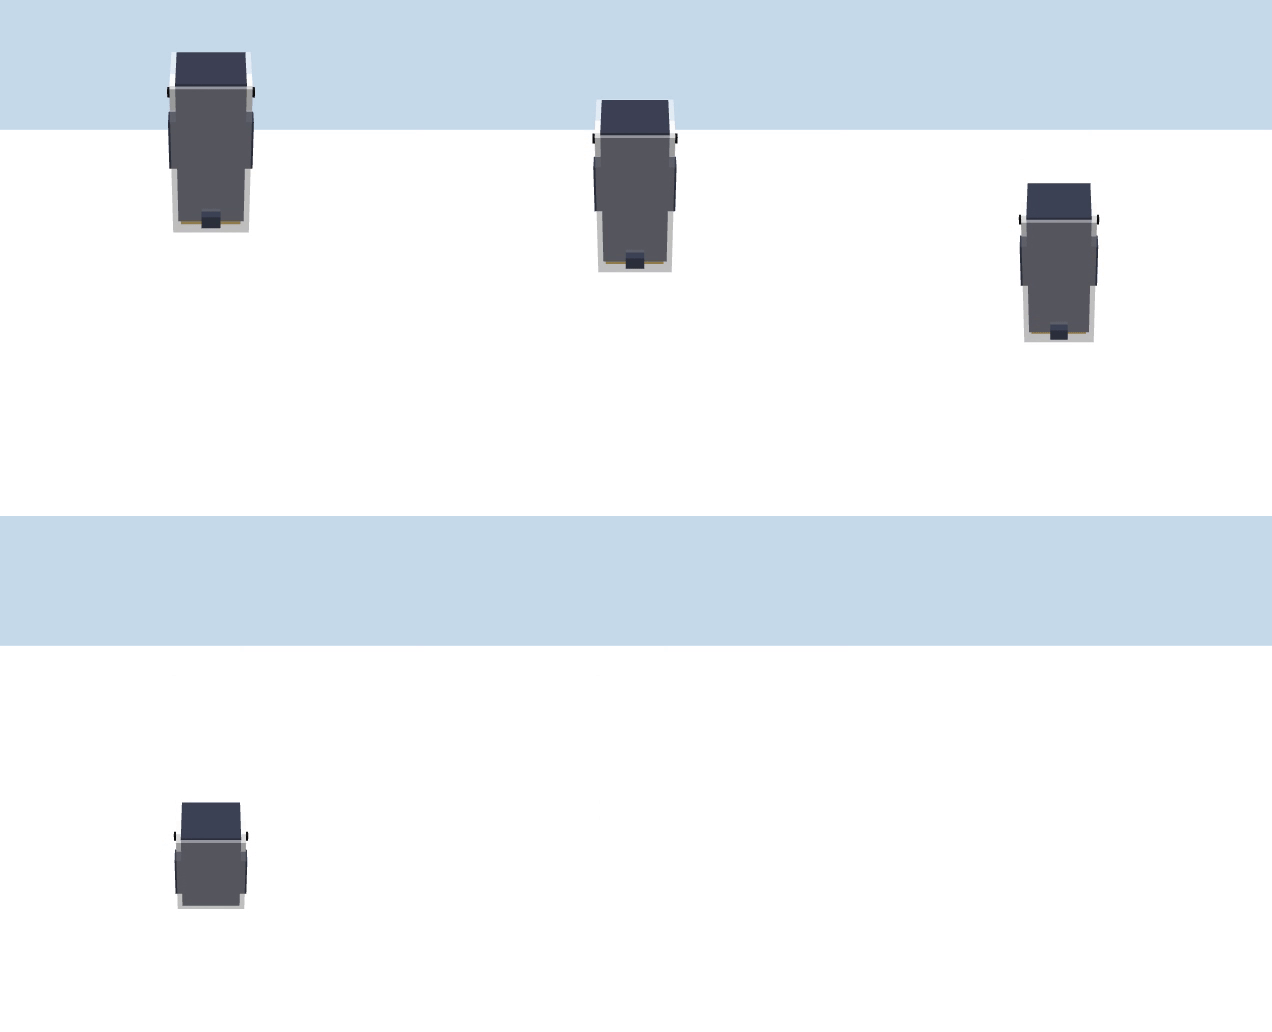
現在會看到畫面中央出現一個中猴的企鵝!ᕕ( ゚ ∀。)ᕗ

會一直轉是因為預設攻擊動畫持續循環播放的關係,現在讓我們初始化所有動畫。
讓企鵝冷靜一下。(゚∀。)
src\games\the-first-penguin\game-scene.vue
...
interface AnimationMap {
  idle?: AnimationGroup,
  walk?: AnimationGroup,
  attack?: AnimationGroup,
}
...
export class Penguin {
  ...
  private animation: AnimationMap = {
    idle: undefined,
    walk: undefined,
    attack: undefined,
  };
  ...
  private initAnimation(animationGroups: AnimationGroup[]) {
    animationGroups.forEach((animationGroup) => {
      animationGroup.stop();
    });

    const attackAni = animationGroups.find(({ name }) => name === 'attack');
    const walkAni = animationGroups.find(({ name }) => name === 'walk');
    const idleAni = animationGroups.find(({ name }) => name === 'idle');

    this.animation.attack = attackAni;
    this.animation.walk = walkAni;
    this.animation.idle = idleAni;
  }

  async init() {
    ...
    this.initAnimation(result.animationGroups);
    ...
    return this;
  }
}
現在我們得到一隻冷靜的企鵝了。( ´ ▽ ` )ノ
接下來讓企鵝動起來吧!關鍵是要加入物理系統,首先先幫企鵝設定 hit box,並將企鵝的模型綁在 Hit Box 上。
src\games\the-first-penguin\game-scene.vue
import {
  Scene, Color3, Vector3,
  SceneLoader, AbstractMesh, AnimationGroup,
  MeshBuilder, PhysicsImpostor,
} from '@babylonjs/core';
...

export class Penguin {
  ...
  private createHitBox() {
    const hitBox = MeshBuilder.CreateBox(`${this.name}-hit-box`, {
      width: 2, depth: 2, height: 4
    });
    hitBox.position = this.params.position;
    // 設為半透明方便觀察
    hitBox.visibility = 0.5;

    /** 使用物理效果 */
    const hitBoxImpostor = new PhysicsImpostor(
      hitBox,
      PhysicsImpostor.BoxImpostor,
      { mass: 1, friction: 0.7, restitution: 0.7 },
      this.scene
    );

    hitBox.physicsImpostor = hitBoxImpostor;
    return hitBox;
  }
  ...
  async init() {
    const result = await SceneLoader.ImportMeshAsync('', '/games/the-first-penguin/', 'penguin.glb', this.scene);

    this.initAnimation(result.animationGroups);

    // 產生 hitBox
    const hitBox = this.createHitBox();
    this.mesh = hitBox;

    // 將企鵝綁定至 hitBox
    const penguin = result.meshes[0];
    penguin.setParent(hitBox);
    penguin.position = new Vector3(0, -2, 0);

    return this;
  }
}
然後回到場景中,把企鵝產生的位置移高一點,Y 從 2 改成 10。
src\games\the-first-penguin\game-scene.vue
...
<script setup lang="ts">
...
async function createPenguin(id: string, index: number) {
  const penguin = await new Penguin(`penguin-${index}`, scene, {
    position: new Vector3(0, 10, 0),
    ownerId: id,
  }).init();
  ...
}
...
</script>
現在可以看到企鵝周圍多了一個半透明長方體,那個就是企鵝的 hit box 了。

助教:「為甚麼不用企鵝模型當作 hit box 就好了?」
鱈魚:「其實也可以,只是適當的簡化可以有效提升效能 ( ´ ▽ ` )ノ」
助教:「不是因為想偷懶?('◉◞⊖◟◉` )」
鱈魚:「並沒有好嗎 ⎝(・ω´・⎝)」
現在引入物理引擎,讓企鵝降肉吧!◝(≧∀≦)◟
回到場景中,引入並啟用物理引擎。
src\games\the-first-penguin\game-scene.vue
<script setup lang="ts">
import * as CANNON from 'cannon-es';
...
function createScene(engine: Engine) {
  ...
  const physicsPlugin = new CannonJSPlugin(true, 8, CANNON);
  scene.enablePhysics(new Vector3(0, -9.81, 0), physicsPlugin);

  return scene;
}
...
</script>
現在讓我們恭請企鵝駕到!( ͡• ͜ʖ ͡• )
500 英尺、100 英尺,啊啊啊啊啊!降肉過頭啦!Σ(っ °Д °;)っ

這是因為浮冰沒有加入碰撞箱,所以無法乘載企鵝,趕緊追加一下。
src\games\the-first-penguin\game-scene.vue
...
<script>
...
function createIce(scene: Scene) {
  ...
  ice.material = new StandardMaterial('iceMaterial', scene);
  // mass 設為 0,就可以固定在原地不動
  ice.physicsImpostor = new PhysicsImpostor(ice, PhysicsImpostor.BoxImpostor,
    { mass: 0, friction: 0, restitution: 0 }, scene
  );

  return ice;
}
...
</script>
現在企鵝佇立於冰層之上了!

讓我們加上浮在企鵝頭上的小徽章,可以自由設定顏色,讓玩家辨識自己的企鵝,並隱藏 hit box 吧。
src\games\the-first-penguin\penguin.ts
...
export class Penguin {
  ...
  params: Required<PenguinParams> = {
    ...
    color: new Color3(0.9, 0.9, 0.9),
    ...
  };
  ...

  private createHitBox() {
    ...
    hitBox.visibility = 0;
    ...
  }

  private createBadge() {
    const badge = MeshBuilder.CreateBox(`${this.name}-badge`, {
      width: 0.5, depth: 0.5, height: 0.5
    });
    const material = new StandardMaterial('badgeMaterial', this.scene);
    material.diffuseColor = this.params.color;
    badge.material = material;

    const deg = Math.PI / 4;
    badge.rotation = new Vector3(deg, 0, deg);
    badge.visibility = 0.9;

    return badge;
  }
  ...
  async init() {
    ...
    // 建立 badge
    const badge = this.createBadge();
    badge.setParent(hitBox);
    badge.position = new Vector3(0, 3, 0);

    return this;
  }
}

讓徽章加個旋轉動畫吧。
...
export class Penguin {
  ...
  private createBadge() {
    ...

    // 建立動畫
    const frameRate = 10;
    const badgeRotate = new Animation(
      'badgeRotate',
      'rotation.y',
      frameRate / 5,
      Animation.ANIMATIONTYPE_FLOAT,
      Animation.ANIMATIONLOOPMODE_CYCLE
    );

    const keyFrames = [
      {
        frame: 0,
        value: 0
      },
      {
        frame: frameRate,
        value: 2 * Math.PI
      }
    ];

    badgeRotate.setKeys(keyFrames);
    badge.animations.push(badgeRotate);

    this.scene.beginAnimation(badge, 0, frameRate, true);

    return badge;
  }
  ...
}
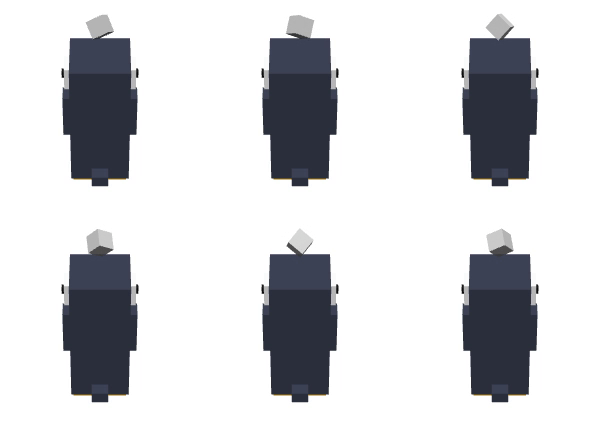
徽章轉起來了!

企鵝外觀完成!再來就差讓企鵝動起來了!◝( •ω• )◟
以上程式碼已同步至 GitLab,大家可以前往下載:
