本系列文已改編成書「甚麼?網頁也可以做派對遊戲?使用 Vue 和 babylon.js 打造 3D 派對遊戲吧!」
書中不只重構了程式架構、改善了介面設計,還新增了 2 個新遊戲呦!ˋ( ° ▽、° )
新遊戲分別使用了陀螺儀與震動回饋,趕快買書來研究研究吧!ლ(╹∀╹ლ)
在此感謝深智數位的協助,歡迎大家前往購書,鱈魚感謝大家 (。・∀・)。
助教:「所以到底差在哪啊?沒圖沒真相,被你坑了都不知道。(´。_。`)」
鱈魚:「你對我是不是有甚麼很深的偏見啊 (っ °Д °;)っ,來人啊,上連結!」
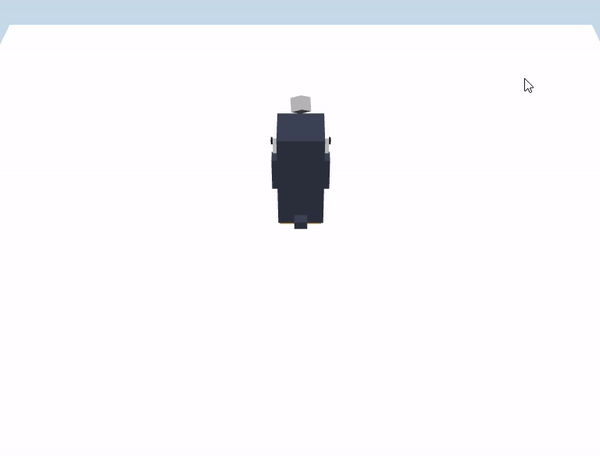
讓企鵝動起來吧!
由於在建立冰塊時,已經將摩擦力(friction)設定為 0,所以企鵝只要動起來就不會停下來。
要模擬出在光滑表面上操作的感覺很簡單,只要讓玩家的方向操作,是在企鵝上加「加速度」,而不是「速度」就可以了。
讓我們新增一個移動用的 method。
src\games\the-first-penguin\penguin.ts
...
export class Penguin {
  ...
  /** 指定移動方向與力量 */
  walk(force: Vector3) {
    if (!this.mesh) {
      throw new Error('未建立 Mesh');
    }

    // 受力
    this.mesh.physicsImpostor?.applyImpulse(force, Vector3.Zero());
  }
}
接著我們先用鍵盤控制看看,建立鍵盤事件。
src\games\the-first-penguin\game-scene.vue
<script>
async function init() {
  ...
  const penguin = await createPenguin('', 1);

  scene.onKeyboardObservable.add((keyboardInfo) => {
    if (keyboardInfo.type !== KeyboardEventTypes.KEYDOWN) return;

  });
  ...
}
...
</script>
現在來讓企鵝走路,但是要怎麼判斷方向呢?
已知 babylon.js 坐標系是左手坐標系,而:
所以程式如下。
<script>
async function init() {
  ...
  scene.onKeyboardObservable.add((keyboardInfo) => {
    if (keyboardInfo.type !== KeyboardEventTypes.KEYDOWN) return;

    switch (keyboardInfo.event.key) {
      case 'ArrowLeft': {
        penguin.walk(new Vector3(-1, 0, 0));
        break;
      }
      case 'ArrowUp': {
        penguin.walk(new Vector3(0, 0, 1));
        break;
      }
      case 'ArrowRight': {
        penguin.walk(new Vector3(1, 0, 0));
        break;
      }
      case 'ArrowDown': {
        penguin.walk(new Vector3(0, 0, -1));
        break;
      }
    }
  });
  ...
}
...
</script>
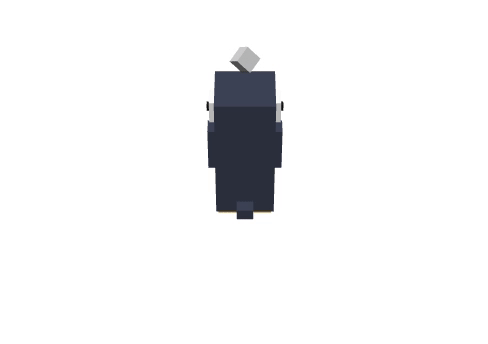
現在可以用鍵盤方向鍵移動企鵝了。
我們得到一隻急速漂移的企鵝!ᕕ( ゚ ∀。)ᕗ
為了避免企鵝跑太快,讓我們加個速度限制吧。
...
export class Penguin {
  ...
  private readonly maxVelocity = new Vector3(6, 6, 6);
  ...
  async init() {
    ...
    // 持續呼叫
    this.scene.registerBeforeRender(() => {
      this.limitMaxVelocity();
    });

    return this;
  }
  ...
  private limitMaxVelocity() {
    if (!this.mesh || !this.mesh.physicsImpostor) return;

    const velocity = this.mesh.physicsImpostor.getLinearVelocity();
    if (!velocity) return;

    const currentSpeed = velocity.length();
    if (currentSpeed > this.maxVelocity.length()) {
      const newVelocity = velocity.normalize().multiply(this.maxVelocity);
      this.mesh.physicsImpostor?.setLinearVelocity(newVelocity);
    }
  }
}
助教:「只有這樣不給力捏 (´・ω・`)」
鱈魚:「那就讓企鵝轉個方向吧!ԅ(´∀` ԅ)」
只要求出力向量與人物向量夾角,再讓企鵝轉到指定角度即可。
兩向量夾角可以利用向量夾角公式求得,公式為:

依公式設計一個計算受力角度的 method。
...
export class Penguin {
  ...
  /** 取得力與人物的夾角 */
  private getForceAngle(force: Vector3) {
    if (!this.mesh) {
      throw new Error('未建立 Mesh');
    }

    const forceVector = force.normalize();
    /** 企鵝面相正 Z 軸方向 */
    const characterVector = new Vector3(0, 0, 1);
    const deltaAngle = Math.acos(Vector3.Dot(forceVector, characterVector));

    /** 反餘弦求得角度範圍為 0~180 度,需要自行判斷負角度部分。
     *  力向量 X 軸分量為負時,表示夾角為負。
     */
    if (forceVector.x < 0) {
      return deltaAngle * -1;
    }

    return deltaAngle;
  }
}
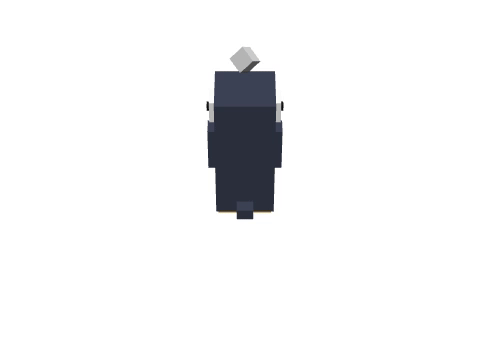
得到很神經質的企鵝!ᕕ( ゚ ∀。)ᕗ
助教:「能不能再給力一點?(´・ω・`)」
鱈魚:「那就讓轉向加上動畫吧!( ´ ▽ ` )ノ」
使用 ActionManager 與 InterpolateValueAction 達成補幀效果。
...
export class Penguin {
  ...
  /** 負責人物轉向動畫 */
  private rotateAction?: InterpolateValueAction;
  ...
  private initActionManager() {
    if (!this.mesh) return;

    this.mesh.actionManager = new ActionManager(this.scene);

    this.rotateAction = new InterpolateValueAction(
      ActionManager.NothingTrigger,
      this.mesh,
      'rotation',
      new Vector3(0, 3, 0),
      300
    );
    this.mesh.actionManager.registerAction(this.rotateAction);
  }
  ...
  async init() {
    ....
    // 初始化 actionManager
    this.initActionManager();

    this.scene.registerBeforeRender(...);
    return this;
  }

  /** 指定移動方向與力量 */
  walk(force: Vector3) {
    ...
    // 轉向
    const targetAngle = this.getForceAngle(force);
    if (this.rotateAction) {
      this.rotateAction.value = new Vector3(0, targetAngle, 0);
      this.rotateAction.execute();
    }
  }
  ...
}
旋轉吧!企鵝!
助教:「轉是會轉了,不過為甚麼最後從左邊轉到下面的時候會轉那麼大圈啊!╭(°A ,°`)╮」
鱈魚:「我也想和你解釋,但我只是隻魚 (. ❛ ᴗ ❛.)」
助教:(拿出菜刀)
鱈魚:「冷靜冷靜 Σ(ˊДˋ;),讓我們來探討一下。」
探討以下例子,以企鵝向上看為 0 度位置:
但是 getForceAngle 求得的角度 a 之範圍為 180 ≤ a < -180,所以結果會變成:
看起來就是轉了很大一圈。
這裡有個很簡單的解決辦法,就是判斷如果旋轉角度大於 180 度,就先讓企鵝瞬間轉到目標角度 a 的兩倍補角位置,這樣考慮以上案例就會是:
看圖可能會比較好理解。
.png)
轉向變自然了!✧*。٩(ˊᗜˋ*)و✧*。
以上程式碼已同步至 GitLab,大家可以前往下載:


 iThome鐵人賽