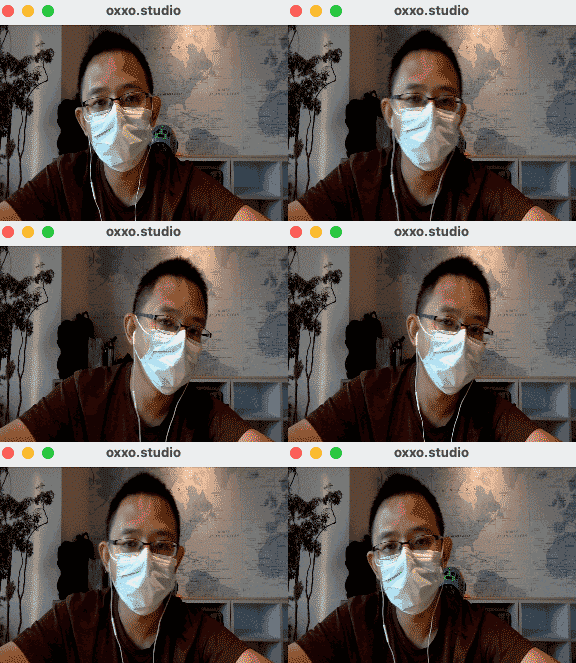
這篇教學會將 PyQt5 結合 OpenCV 讀取攝影鏡頭的功能,實作一個能讀取電腦鏡頭的攝影機功能。
原文參考:搭配 OpenCV 實作電腦攝影機
因為 Google Colab 不支援 PyQt5,所以請使用本機環境 ( 參考:使用 Python 虛擬環境 ) 或使用 Anaconda Jupyter 進行實作 ( 參考:使用 Anaconda )。

要實作這個範例,必須要先具備基礎的 OpenCV 能力 ( 至少要安裝 OpenCV ) 以及了解什麼是 threading 多執行緒,可以透過下列文章了解相關知識:
載入對應的函式庫與模組,就能將 OpenCV 與 PyQt5 的程式整合,詳細解說在程式碼的註解中,下方列出一些重點:
- 因為 PyQt5 的視窗本身是「迴圈」,所以需要使用 threading 將 OpenCV 讀取影像的功能,放在另外的執行緒執行。
- OpenCV 讀取的影像色彩為 BGR,必須先轉換成 RGB,再使用 PyQt5 的 QImage 讀取,才能在視窗中正常顯示。
from PyQt5 import QtWidgets
from PyQt5.QtGui import QImage, QPixmap
import sys, cv2, threading

app = QtWidgets.QApplication(sys.argv)

Form = QtWidgets.QWidget()
Form.setWindowTitle('oxxo.studio')
Form.resize(300, 200)

label = QtWidgets.QLabel(Form)     # 建立 QLabel
label.setGeometry(0,0,300,200)     # 設定 QLabel 大小和視窗相同

def opencv():
    cap = cv2.VideoCapture(0)      # 設定攝影機鏡頭
    if not cap.isOpened():
        print("Cannot open camera")
        exit()
    while True:
        ret, frame = cap.read()    # 讀取攝影機畫面
        if not ret:
            print("Cannot receive frame")
            break
        frame = cv2.resize(frame, (300, 200))   # 改變尺寸和視窗相同
        frame = cv2.cvtColor(frame, cv2.COLOR_BGR2RGB)  # 轉換成 RGB
        height, width, channel = frame.shape    # 讀取尺寸和 channel數量
        bytesPerline = channel * width          # 設定 bytesPerline ( 轉換使用 )
        # 轉換影像為 QImage,讓 PyQt5 可以讀取
        img = QImage(frame, width, height, bytesPerline, QImage.Format_RGB888)
        label.setPixmap(QPixmap.fromImage(img)) # QLabel 顯示影像

video = threading.Thread(target=opencv)
video.start()

Form.show()
sys.exit(app.exec_())

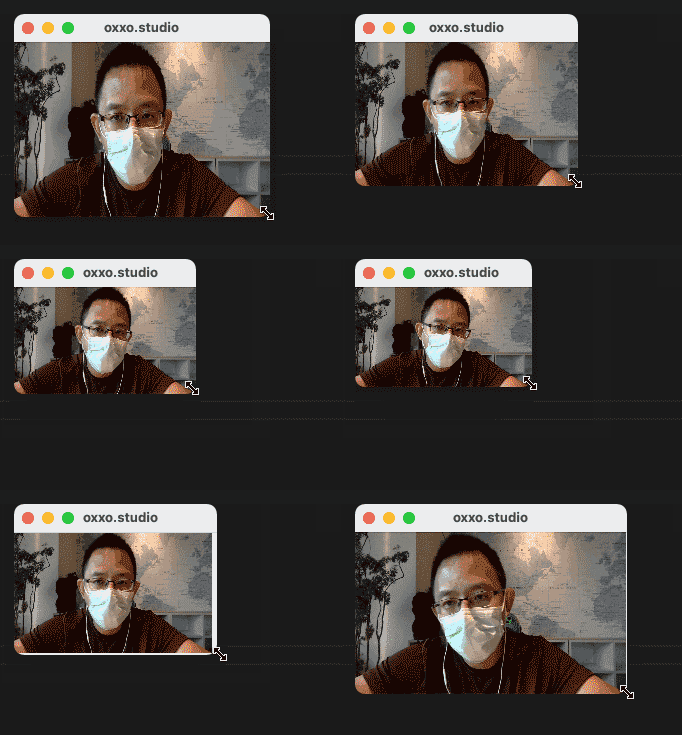
如果要讓攝影機拍攝影片的尺寸可以隨著視窗縮放,就需要搭配視窗縮放的事件 ( 參考「視窗事件」 ),透過兩個全域變數紀錄視窗長寬,就能在改變視窗尺寸時,影片的尺寸也隨之變化。
from PyQt5 import QtWidgets
from PyQt5.QtGui import QImage, QPixmap
import sys, cv2, threading

app = QtWidgets.QApplication(sys.argv)
window_w, window_h = 300, 200    # 定義預設長寬尺寸

Form = QtWidgets.QWidget()
Form.setWindowTitle('oxxo.studio')
Form.resize(window_w, window_h)  # 使用變數

def windowResize(self):
    global window_w, window_h    # 定義使用全域變數
    window_w = Form.width()      # 讀取視窗寬度
    window_h = Form.height()     # 讀取視窗高度
    label.setGeometry(0,0,window_w,window_h)  # 設定 QLabel 長寬

Form.resizeEvent = windowResize  # 定義視窗尺寸改變時的要執行的函式

label = QtWidgets.QLabel(Form)
label.setGeometry(0,0,window_w,window_h)  # 使用變數

def opencv():
    global window_w, window_h    # 定義使用全域變數
    cap = cv2.VideoCapture(0)
    if not cap.isOpened():
        print("Cannot open camera")
        exit()
    while True:
        ret, frame = cap.read()
        if not ret:
            print("Cannot receive frame")
            break
        frame = cv2.resize(frame, (window_w, window_h))  # 使用變數
        frame = cv2.cvtColor(frame, cv2.COLOR_BGR2RGB)
        height, width, channel = frame.shape
        bytesPerline = channel * width
        img = QImage(frame, width, height, bytesPerline, QImage.Format_RGB888)
        label.setPixmap(QPixmap.fromImage(img))

video = threading.Thread(target=opencv)
video.start()

Form.show()
sys.exit(app.exec_())

實作過程中可能會發現,當視窗關閉時,OpenCV 的程式仍然會繼續運作 ( 因為兩個分處在不同的執行緒 ),如果要讓視窗關閉時也結束 OpenCV,就必須額外偵測視窗關閉事件,下方的程式執行後,當視窗關閉事件發生,會改變 ocv 全域變數的值,透過 ocv 全域變數,就能同時停止 OpenCV 程式的迴圈。
from PyQt5 import QtWidgets
from PyQt5.QtGui import QImage, QPixmap
import sys, cv2, threading

app = QtWidgets.QApplication(sys.argv)
window_w, window_h = 300, 200

Form = QtWidgets.QWidget()
Form.setWindowTitle('oxxo.studio')
Form.resize(window_w, window_h)

def windowResize(self):
    global window_w, window_h
    window_w = Form.width()
    window_h = Form.height()
    label.setGeometry(0,0,window_w,window_h)

Form.resizeEvent = windowResize

ocv = True                     # 一開始設定為 True
def closeOpenCV(self):
    global ocv
    ocv = False                # 關閉視窗時設定為 False
Form.closeEvent = closeOpenCV  # 關閉視窗事件發生時,執行 closeOpenCV 函式

label = QtWidgets.QLabel(Form)
label.setGeometry(0,0,window_w,window_h)

def opencv():
    global window_w, window_h, ocv
    cap = cv2.VideoCapture(0)
    if not cap.isOpened():
        print("Cannot open camera")
        exit()
    # while 迴圈改為 ocv
    while ocv:
        ret, frame = cap.read()
        if not ret:
            print("Cannot receive frame")
            break
        frame = cv2.resize(frame, (window_w, window_h))
        frame = cv2.cvtColor(frame, cv2.COLOR_BGR2RGB)
        height, width, channel = frame.shape
        bytesPerline = channel * width
        img = QImage(frame, width, height, bytesPerline, QImage.Format_RGB888)
        label.setPixmap(QPixmap.fromImage(img))

video = threading.Thread(target=opencv)
video.start()

Form.show()
sys.exit(app.exec_())
大家好,我是 OXXO,是個即將邁入中年的斜槓青年,我已經寫了超過 400 篇 Python 的教學,有興趣可以參考下方連結呦~ ^_^
