對於前端新手來說,只有能夠做出知名網站的Clone,才能夠踏出第一步,成為真正的前端工程師。
我們選擇Instagram當成我們的目標,因為Instagram的母公司Meta是著名前端框架React的開發者,在Instagram的許多部分也用到了React,完成Instagram Clone就能學到實用的React技巧。
採用最新的LTS,擁有良好的穩定性。
我們使用vite,因為create-react-app已經被官方宣告deprecated,有興趣可以看這個網頁https://github.com/reactjs/react.dev/pull/5487#issuecomment-1409720741,vite是一個相對簡單易用的替代品。
打開cmd,進入專案目錄,輸入:
npm create vite@latest instagram-clone -- --template react
創建React專案,完成後輸入:
cd instagram-clone
npm i
npm run dev
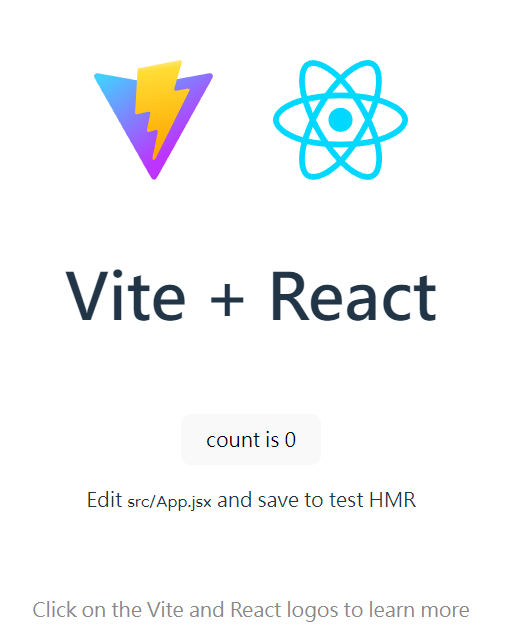
打開瀏覽器輸入http://localhost:5173/,可以看到以下畫面,代表專案創建成功,按Ctrl+C關閉程式。
在Visual Studio Code中,打開我們的專案後,開啟終端機,輸入:
npm i react-icons redux redux-thunk react-redux react-router-dom
安裝未來會使用到的插件。
按照https://tailwindcss.com/docs/guides/vite的指示安裝Tailwind CSS。
第一步我們已經做好了,從第二步開始做。
在Visual Studio Code的終端機中輸入:
npm install -D tailwindcss postcss autoprefixer
npx tailwindcss init -p
將Tailwind CSS安裝到我們的專案中。
接下來需要將Tailwind CSS引入專案,打開tailwind.config.js,複製貼上以下內容:
/** @type {import('tailwindcss').Config} */
export default {
  content: [
    "./index.html",
    "./src/**/*.{js,ts,jsx,tsx}",
  ],
  theme: {
    extend: {},
  },
  plugins: [],
}
打開src/index.css,先清除原本的內容後,添加以下內容:
@tailwind base;
@tailwind components;
@tailwind utilities;
打開src/App.css,清空裏面的內容。
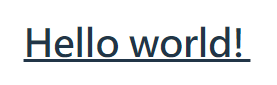
打開src/App.jsx,將return區塊裡面的內容替換成以下內容。
<h1 className="text-3xl font-bold underline">
	Hello world!
</h1>
然後啟動
npm run dev
看到有底線的Hello world!代表我們的專案可以正常使用Tailwind CSS。
在這一章節,我們設定了開發環境,使用vite創建react專案,最後導入了Tailwind CSS。