
前一篇第 7 天是提到「在 SwiftUI 如何實作多欄位 List - LazyVGrid 與 GridItem」,雖然本系列文章基本上沒有前後關聯,如果你是還沒讀過前一篇的讀者,也推薦你去讀讀。
Safe Area 是 Apple 為了解決 iPhone 有瀏海 (notch) 或後來的動態島、圓角螢幕等導致螢幕有部分不適合互動或顯示,而提出的畫面佈局機制。
所以在官方的建議在預設情形之下,畫面盡可能地在 Safe Area 內顯示。
但是在不同情境下,我們仍然有需要和 Safe Area 打交道,這時候就可以用到 safeAreaInset 。例如這樣子的 UI :
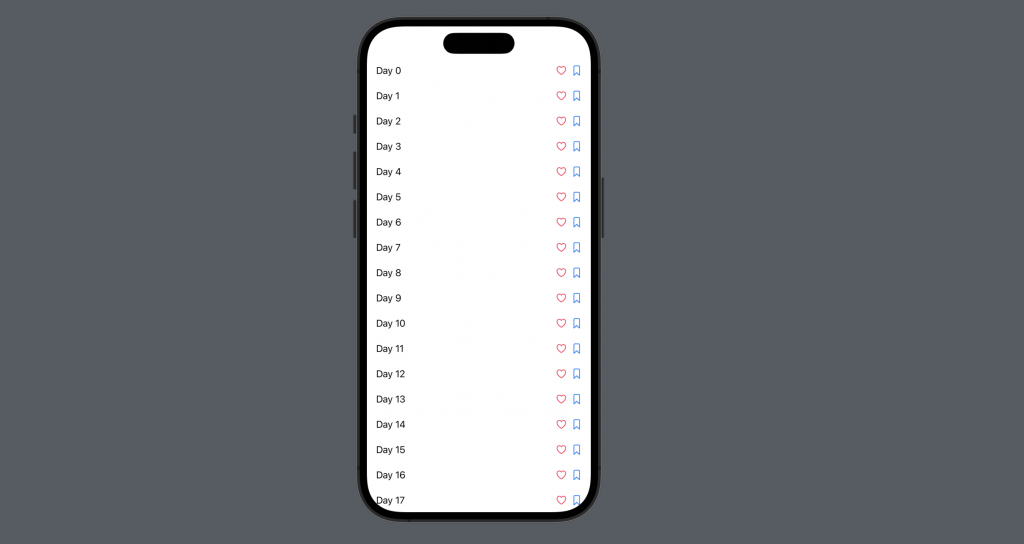
我們先做一個簡單的 List ,這個畫面用 Scroll View 顯示了一個清單,並包含了一些基本樣式和按鈕
struct ContentView: View {
    var body: some View {
        ScrollView {
            ForEach(0..<30, id:\.self) { episode in
                HStack(alignment:.center) {
                    Text("Day \(episode)")
                    Spacer()
                    buttons()
                }
                .padding(.vertical, 8)
                .padding(.horizontal)
            }
            .frame(maxWidth: .infinity)
        }
    }

    private func buttons() -> some View {
        HStack(spacing: 8) {
            Button {} label: {
                Image(systemName: "heart")
            }
            .foregroundColor(Color.pink)
            Button {} label: {
                Image(systemName: "bookmark")
            }
            .foregroundColor(Color.blue)
        }
    }
}
執行或在 Xcode 裡預覽後,畫面就會像這樣:
在初始的程式碼加上一段
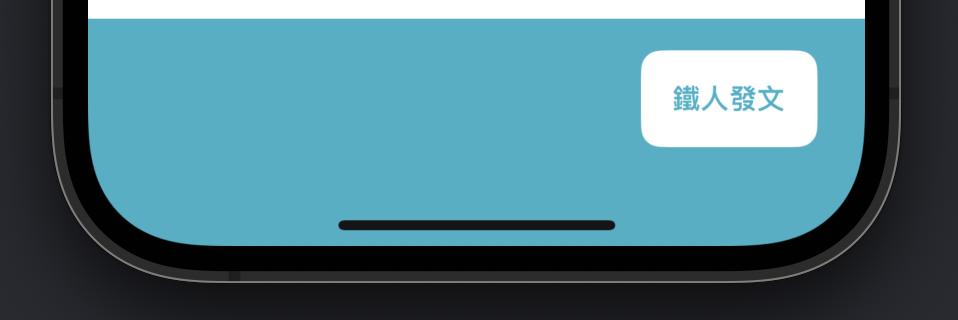
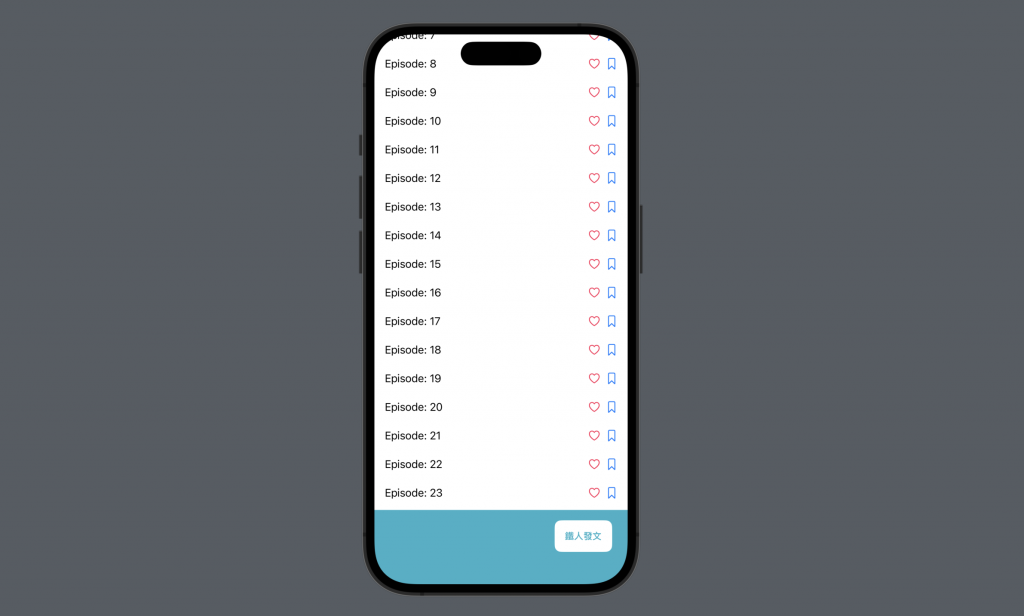
.safeAreaInset(edge: .bottom) { /* ... */ }
就能夠在畫面的下半部加上自己想要的 UI ,並設定背景
struct ContentView: View {
    var body: some View {
        ScrollView {
            ForEach(0..<30, id:\.self) { episode in
                HStack(alignment:.center) {
                    Text("Day \(episode)")
                    Spacer()
                    buttons()
                }
                .padding(.vertical, 8)
                .padding(.horizontal)
            }
            .frame(maxWidth: .infinity)
        }
        // 從這裡
        .safeAreaInset(edge: .bottom) {
            HStack {
                Spacer()
                Button {} label: {
                    Text("鐵人發文")
                        .font(.system(size: 14, weight: .bold))
                        .padding()
                }
                .foregroundColor(.teal)
                .background(
                    RoundedRectangle(cornerRadius: 10)
                        .foregroundColor(.white)
                )
                .padding(.vertical)
                .padding(.horizontal, 24)
            }
            .frame(maxWidth: .infinity)
            .background(Color.teal)
        }
        // 到這裡
    }

    private func buttons() -> some View { /* 省略 */ }
}
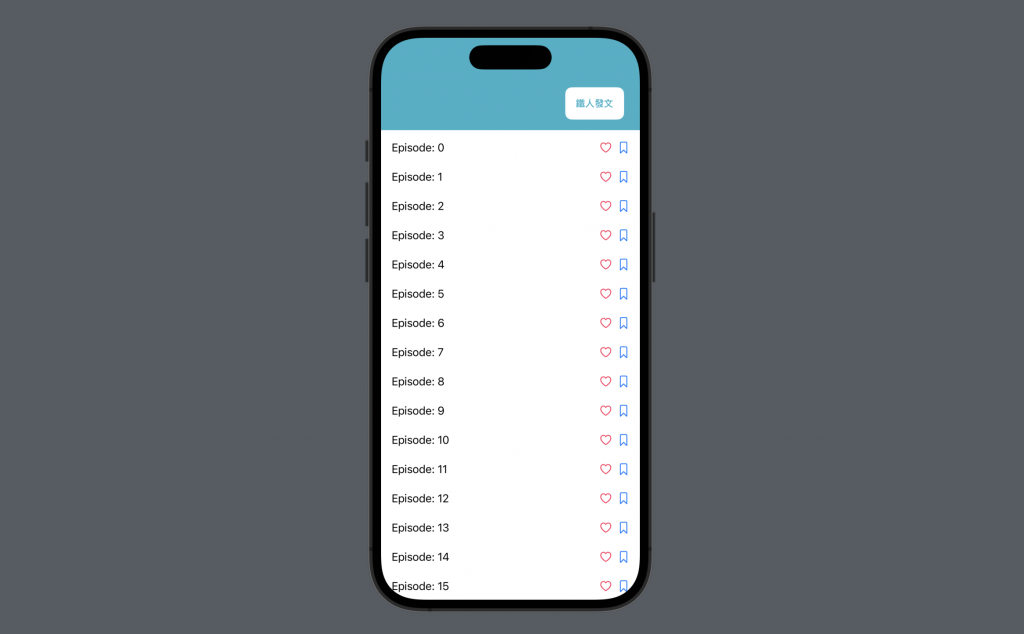
在上面的程式碼我們把參數 edge 設定為 .bottom 。當然如果有需要也可以設為其他邊界,例如 .top ,就會很像一個 Navigation Bar 的效果了:
到這裡就是在 SwiftUI 該如何使用 safeAreaInset 。如果有疑問、回饋,歡迎留言討論~
那今天的 SwiftUI 的大大小小就到這邊,以上,明天見!
本篇使用到的 UI 元件和 modifiers 基本上沒有受到版本更新影響,
因此 Xcode 14 等環境下使用也是沒問題的。


 iThome鐵人賽