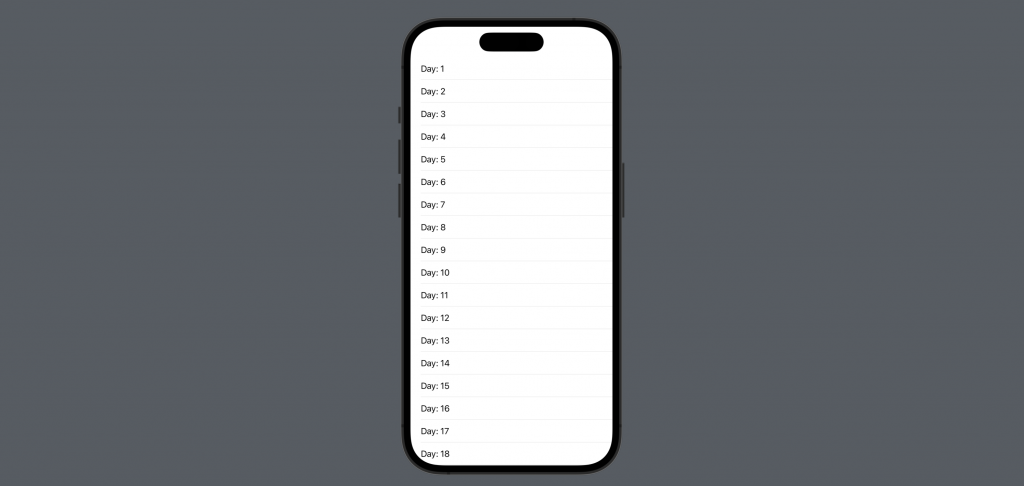
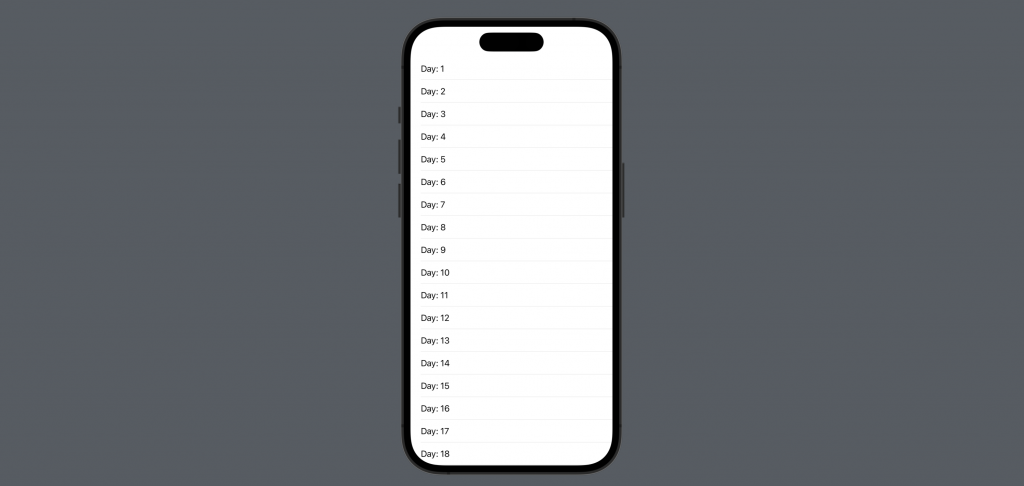
前一篇第 9 天是提到「在 SwiftUI 如何使用 ignoresSafeArea 達成全畫面效果」,雖然本系列文章基本上沒有前後關聯,如果你是還沒讀過前一篇的讀者,也推薦你去讀讀。


struct ContentView: View {
    var body: some View {
        List(1..<30, id: \.self) { number in
            Text("Day: \(number)")
        }
        .listStyle(.plain)
    }
}
因為 Int 有遵循 (conforms) Hashable,所以能用這樣的寫法
id: \.self
如果要使用自己定義的 Model ,就需要讓 Model 遵循 Identifiable
在這邊我們為了方便,直接把值設定為 UUID().uuidString 。
struct Article: Identifiable {
    // MARK: - Identifiable
    let id: String

    // Mark: - Data
    let day: Int

    init(day: Int) {
        self.id = UUID().uuidString
        self.day = day
    }
}
struct ContentView: View {
    // 簡單的初始化一組 article
    let articles = (1..<30).map(Article.init)

    var body: some View {
        // 將這邊換成 articles
        List(articles) { article in
            Text("Day: \(article.day)")
        }
        .listStyle(.plain)
    }
}

當從 API 介接資料到 app 中的時候,通常都會有 id 個欄位。因此要拿來顯示在 List 中的 data models 就可以遵循和實作 Identifiable ,實際使用時就能夠更方便了。
到這裡就是在 SwiftUI 該如何讓自定義的 data model 搭配 Identifiable ,並顯示在 List 中 。如果有疑問、回饋,歡迎留言討論~
那今天的 SwiftUI 的大大小小就到這邊,以上,明天見!
本篇使用到的 UI 元件和 modifiers 基本上沒有受到版本更新影響
因此 Xcode 14 等環境下使用也是沒問題的。
