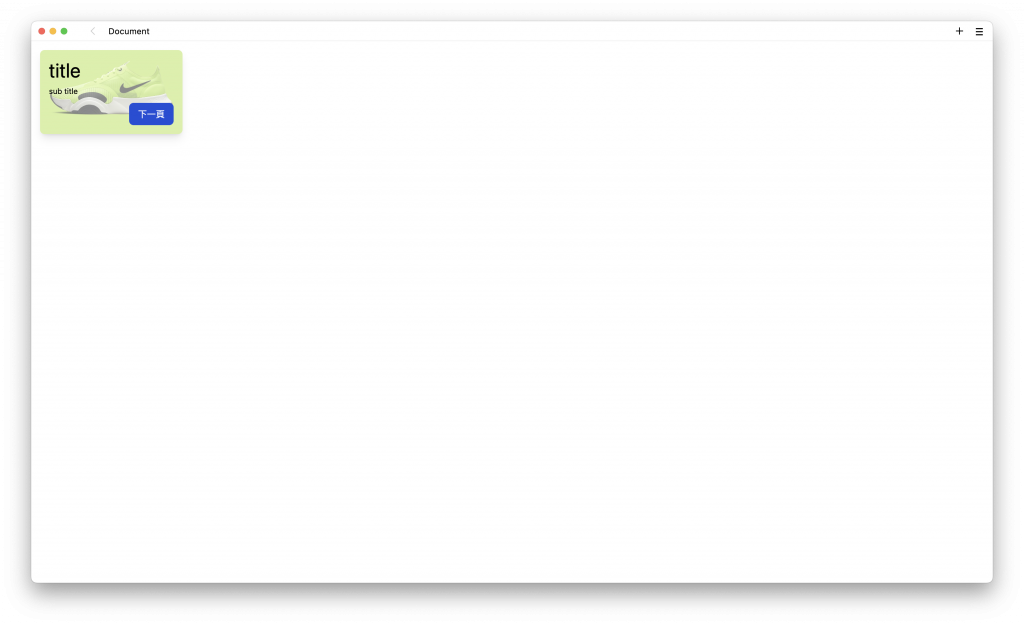
在上一個單元完成了一個有圖片的卡片排版,接下來將這個卡片排版修改成圖片是用背景的方式呈現,最終的成果如:
首先,延續上一個單元所完成的宣告:
<div class="m-4 w-1/5 rounded-lg shadow-lg">
  <img src="https://daisyui.com/images/stock/photo-1606107557195-0e29a4b5b4aa.jpg" class="rounded-t-lg" />

  <div class="p-4">
    <p class="text-4xl">title</p>
    <p class="mt-2 text-sm">sub title</p>
  </div>

  <div class="mt-4 flex justify-end p-4">
    <button type="button" class="rounded-lg bg-blue-700 px-4 py-2 text-white hover:bg-blue-200 hover:text-blue-700">下一頁</button>
  </div>
</div>
在瀏覽器的效果如:

讓圖片直接變成背景的方式,有很多種方式,這裡介紹使用 relative 與 absolute 來製作,在最上層加入 relative,文字與按鈕加入 absolute:
<div class="m-4 w-64 rounded-lg shadow-lg relative">
  <img src="https://daisyui.com/images/stock/photo-1606107557195-0e29a4b5b4aa.jpg" class="rounded-t-lg" />

  <div class="absolute">
    <p class="text-4xl">title</p>
    <p class="mt-2 text-sm">sub title</p>
  </div>

  <div class="absolute">
    <button type="button" class="rounded-lg bg-blue-700 px-4 py-2 text-white hover:bg-blue-200 hover:text-blue-700">下一頁</button>
  </div>
</div>
會呈現這個樣子:
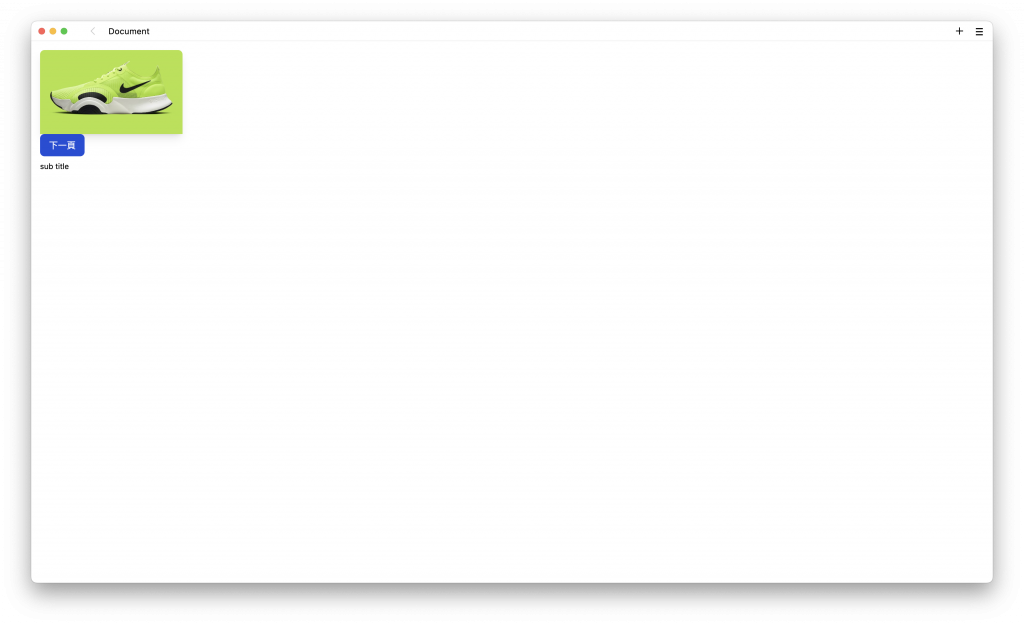
使用 relative 與 absolute 可以讓標籤以相對位置的方式呈現,也就是會針對最上層所設定的 relative 產生相對位置的功能。但由於已經變成相對位置,所以還必須要宣告相對於什麼位置。
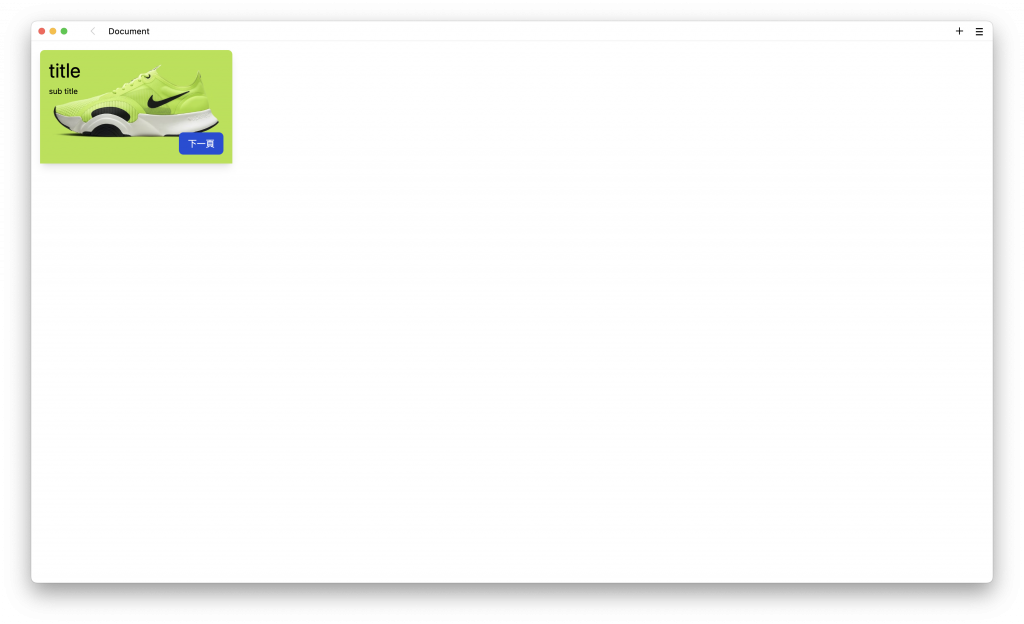
分別針對文字使用 left-0 與 top-0 ,表示會直接貼齊左邊與上面,並且間格為 0。針對按鈕使用 bottom-4 與 right-4 ,表示會直接貼齊下面與右邊,並且間格為 0。
<div class="bg relative m-4 w-1/5 rounded-lg shadow-lg">
  <img src="https://daisyui.com/images/stock/photo-1606107557195-0e29a4b5b4aa.jpg" class="rounded-t-lg" />

  <div class="absolute left-0 top-0 p-4">
    <p class="text-4xl">title</p>
    <p class="mt-2 text-sm">sub title</p>
  </div>

  <div class="absolute bottom-4 right-4">
    <button type="button" class="rounded-lg bg-blue-700 px-4 py-2 text-white hover:bg-blue-200 hover:text-blue-700">下一頁</button>
  </div>
</div>
會呈現這個樣子:
最後針對圖片修改圓角的宣告 rounded-lg,新增透明度 opacity-50:
<div class="bg relative m-4 w-1/5 rounded-lg shadow-lg">
  <img src="https://daisyui.com/images/stock/photo-1606107557195-0e29a4b5b4aa.jpg" class="rounded-lg opacity-50" />

  <div class="absolute left-0 top-0 p-4">
    <p class="text-4xl">title</p>
    <p class="mt-2 text-sm">sub title</p>
  </div>

  <div class="absolute bottom-4 right-4">
    <button type="button" class="rounded-lg bg-blue-700 px-4 py-2 text-white hover:bg-blue-200 hover:text-blue-700">下一頁</button>
  </div>
</div>
就可以得到最終結果了:
這裡也介紹另外一種方式,使用 style 標籤來宣告背景圖片:
<div class="m-4 w-1/5 shadow-lg">
  <div class="rounded-lg bg-cover" style="background-image: url('https://daisyui.com/images/stock/photo-1606107557195-0e29a4b5b4aa.jpg');">
    <div class="p-4">
      <p class="text-4xl">title</p>
      <p class="mt-2 text-sm">sub title</p>
    </div>

    <div class="mt-4 flex justify-end p-4">
      <button type="button" class="rounded-lg bg-blue-700 px-4 py-2 text-white hover:bg-blue-200 hover:text-blue-700">下一頁</button>
    </div>
  </div>
</div>
tailwindcss - 從零開始學 - Day11 [完]


 iThome鐵人賽