因為這是一個專案,所以我會希望會有版本控制,通常在做專案不會只有自己一個人做,所以如果今天會其他人加入的話,就會需要用到這個,或是你想給別人看你的專案的時候也會用到,總之,我認為學會Git是一項蠻重要的技能,現在我們開始來安裝Git吧~
首先我們先到Git官網下,這裡提供了很多安裝方法:
https://git-scm.com/download/mac
我是透過brew安裝的:
brew install git
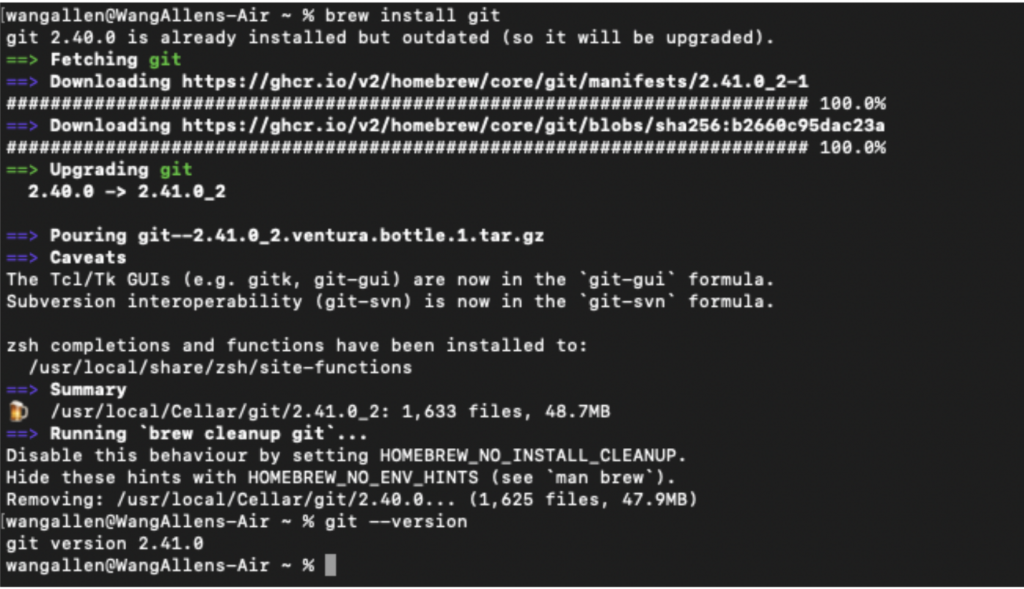
檢查是否安裝成功:
git --version

我們需要先在 Git 平台上建立一個帳戶,網址如下,
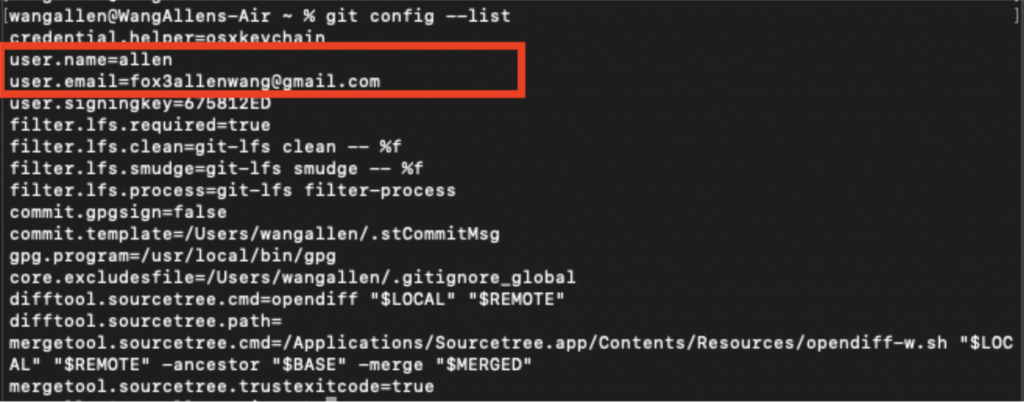
建立完帳戶之後,我們就可以在 Terminal 打上,
 git config --global user.name "使用者名稱"
 git config --global user.email "使用者信箱"
來設置你基礎的 git 設定,
那設置完之後,要怎麼知道有沒有錯呢,這時候只需要打上,
git config --list
然後照著下面輸入:
$ ssh-keygen -t ed25519 -C "<your_email@example.com>"
如果上面不行就改用這個:
ssh-keygen -t rsa -b 4096 -C "<your_email@example.com>"
然後他會問你Key要放的位置,沒有要改就直接Enter 然後一直Enter。
接著輸入
vim ~/.ssh/id_rsa.pub
就可以看到SSH Key的位置了,接著全部複製,貼到 GitHub 頭像 -> Settings -> SSH and GPG keys -> New SSH key -> Key 裡面。
把GitHub生好的SSH Key 記好
然後去註冊一個GitHub,註冊好之後建立一個Repository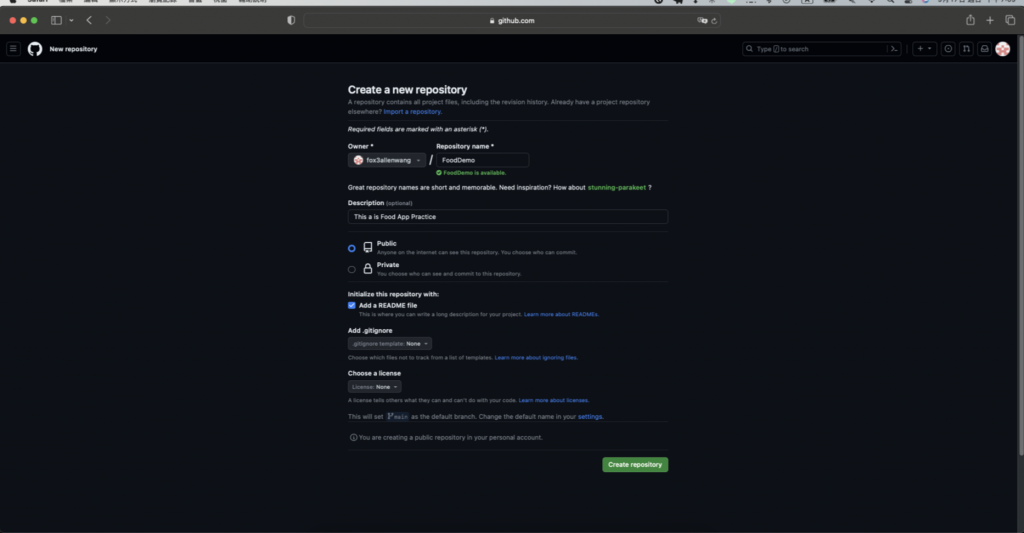
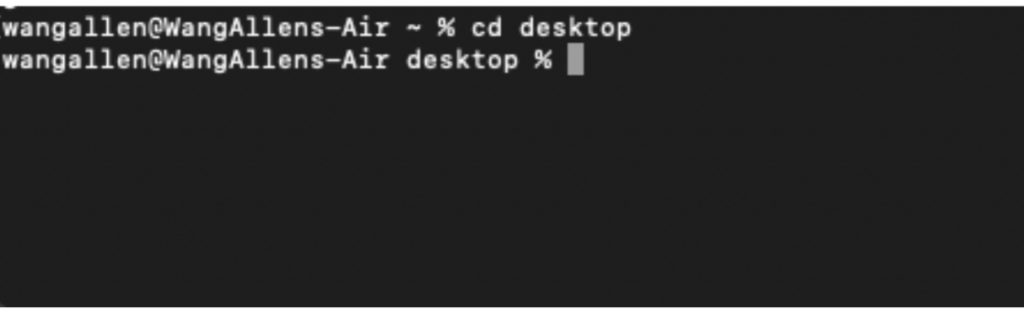
好了之後我們把他用git指令複製一份副本到桌面
終端機先cd到你要把檔案放置的地方,我的話是放在桌面:
cd desktop
 然後去到 Repository 這裡把他複製起來:
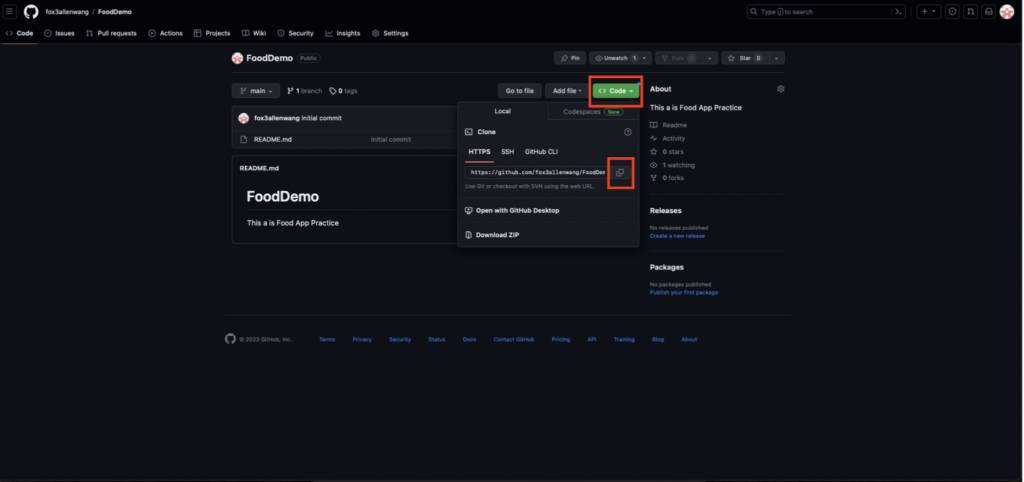
接著下:
git glone 你複製的東西
例如我的就是
git clone https://github.com/fox3allenwang/FoodDemo.git
看到他有寫完成代表就有了! ### XCode & Swift
接著我們去官網下載XCode
https://developer.apple.com/download/all/
目前我所使用的版本是:XCode 14.3.1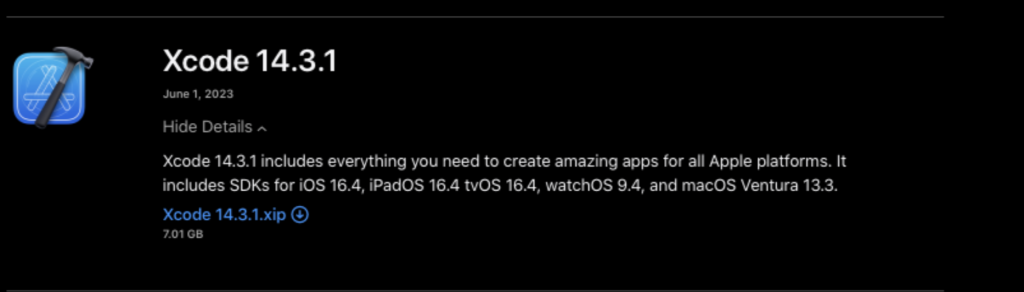 直接下載這個就可以了,下載好之後我們先介紹一點基本的Swift語法:
基本的運算我就不介紹了,介紹一些我自己常在用的語法吧!
Protocol
@objc protocol CustomViewListener:NSObjectProtocol{
    @objc optional func target(tag:String)

}
因為有時候我們會需要調用到像是TableView Cell 或者是 CollectionView Cell 的 indexPath.row的值,但是他只能在他自己本身的ViewController 去呼叫,所以這會有點麻煩,像是之前我有做過一的Demo,是他點了當前的Cell會要作暫存值還有變色的功能,就會需要用到這種Protocal的方法。
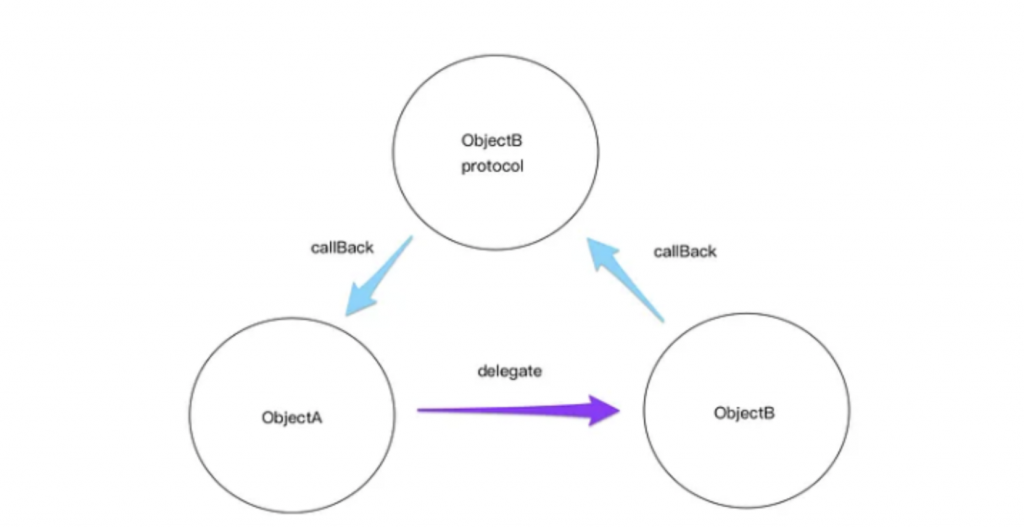 (圖片來源:https://franksios.medium.com/ios-protocol-and-delegate-2019852d4f14)
var delegate: CustomViewListener?
然後我可能要按下按鈕會變顏色,所以我會有一個IBAction:
@IBAction func didTapBtn(_ sender: Any) {
    delegate?.target?(tag: stringTag)
}
然後我在我Cell的ViewController裏面去呼叫:
MainViewControllerCustomView.delegate = self
MainViewControllerCustomView.setInit(tag: "MainCustomView", text: "123", image: UIImage(systemName: "pencil")!)
之後我寫一個擴展,當然你可以直接繼承在你那頁的ViewController裡面也可以:
extension MainVC:CustomViewListener{
    func target(tag: String) {
        switch tag {
            case "你的String名稱"
            //你想要的功能
        }
    }
await/async 的範例:
@MainActor func 打API() async {
    let data = await 發送指令()
    處理資料(data)
}
所以代表我的 let data = await那邊可能會被暫停,具體多久時間我沒辦法知道。
Task的範例:
print("Start")
Task {
    await 發送指令
}
print("End")
這邊從Start到End中間會建立一個獨立的空間,但程式不會等到發送指令完成後才會去執行print("End"),會直接做到底。
enum Vehicle {
    case Car
    case Ship
    case Bicycle
}

var myVehicle= Vehicle.Car

switch Vehicle {
case .Car: //你要做的事
case .Ship: //你要做的事
case .Bicycle: //你要做的事
default: break
}
typealias EventType = (eventID: EventID, eventValue: Int, eventValueDetail: String)
enum MealEventValue: Int, CaseIterable {
    case Breakfast = 0, Lunch, Dinner, Snack, Drink
    var value: EventType {
        switch self {
        case .Breakfast:
            return (.Meal, 0, NSLocalizedString("Breakfast", comment: ""))
        case .Lunch:
            return (.Meal, 1, NSLocalizedString("Lunch", comment: ""))
        case .Dinner:
            return (.Meal, 2, NSLocalizedString("Dinner", comment: ""))
        case .Snack:
            return (.Meal, 3, NSLocalizedString("Snack", comment: ""))
        case .Drink:
            return (.Meal, 4, NSLocalizedString("Drinks", comment: ""))
        }
    }
}
以上大概這些。
接著我們學習怎麼把專案Push上去到我們的GitHub吧!
先cd到檔案路徑:
git status 這是讓我們看一下當前的狀態,可以看到終端機顯示一個“未追蹤的的檔案:”然後出現一段紅紅的,這樣就是我這個檔案還沒更新到GitHub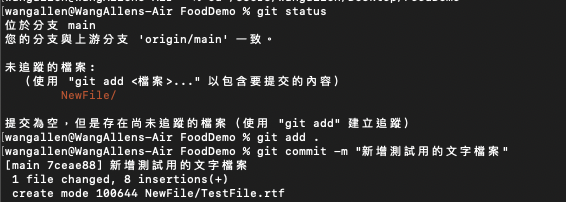
git add .
git commit -m "你做了什麼更動".
因為現在他不支援密碼push改用token的方式,所以我們進到Setting -> Developer settings -> Personal access token (classic) ,我是把他設成永不過期,然後我只用到Repo的功能所以就只打勾Repo,好了之後他會給你一組Token,把那個記好,之後push輸入的密碼都會是那組token!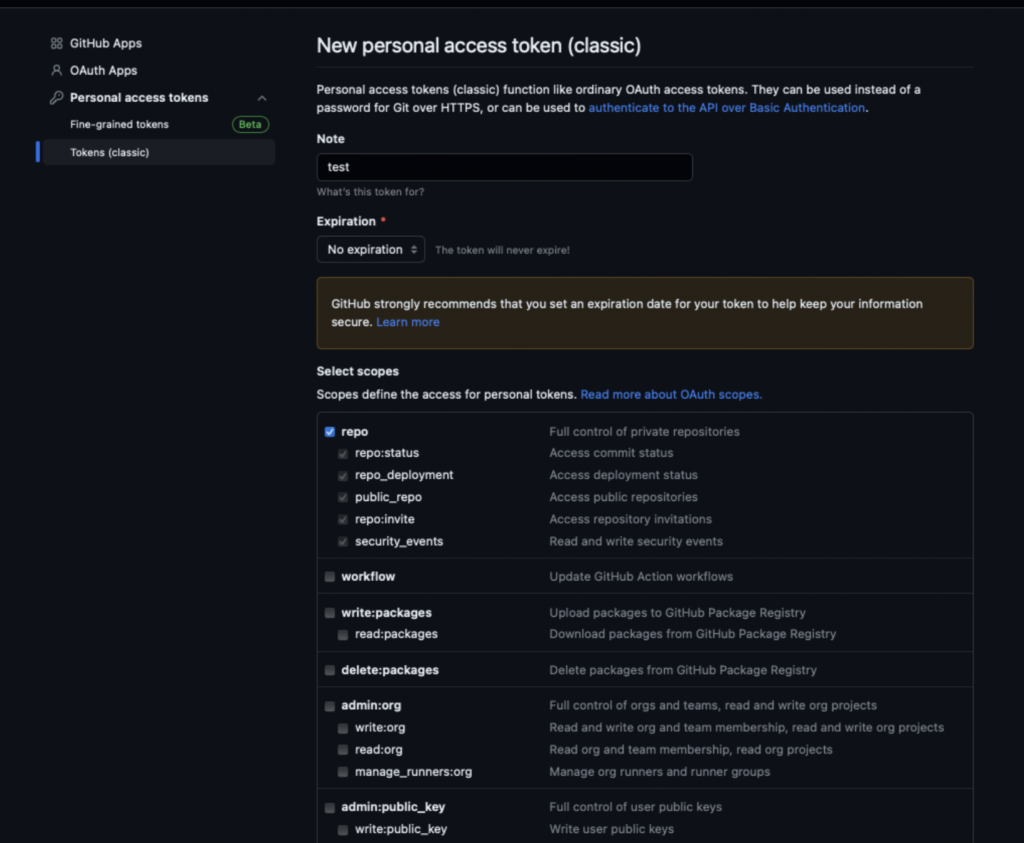
git push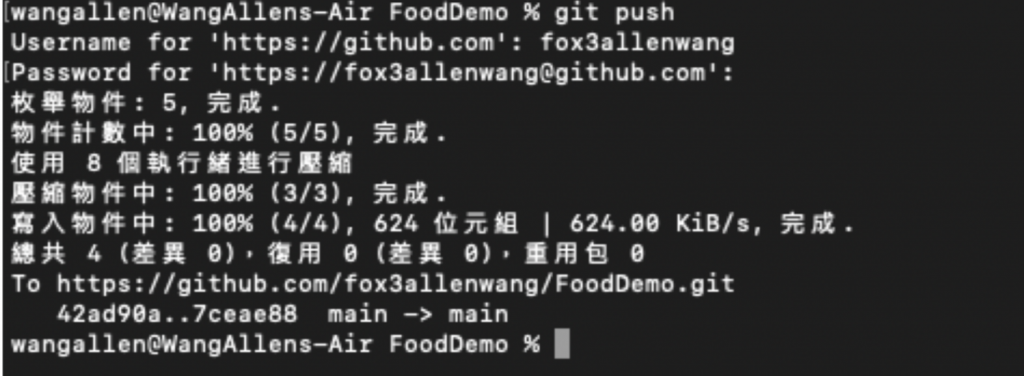
結果: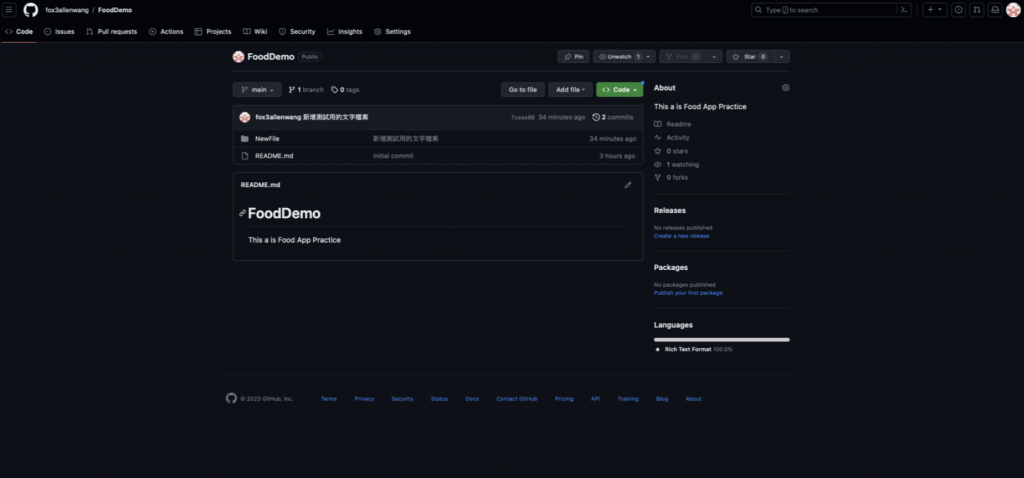
以上就是今天的內容了!

