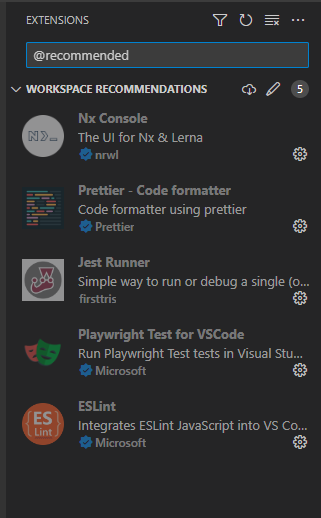
.editorconfig、.eslintrc.json 和 .prettierrc。首先,為了讓開發過程更順利,我們先將 NX 專案推薦的 VSCode 擴展安裝起來。
{
  "recommendations": [
    "nrwl.angular-console",
    "esbenp.prettier-vscode",
    "firsttris.vscode-jest-runner",
    "ms-playwright.playwright",
    "dbaeumer.vscode-eslint"
  ]
}
接下來我們來設定一下代碼格式化工具。
代碼格式化工具是一類專門用於自動修正和整理程式碼以符合特定風格或規範的軟體工具。這些工具的主要目的是確保代碼保持一致的風格和結構,從而提高代碼的可讀性、維護性,以及團隊協作的效率。
這裡,我們簡要介紹幾個常用的代碼格式化工具:
接著,我們會來設定代碼格式化工具,主要是設定 .editorconfig、.eslintrc.json 和 .prettierrc。
EditorConfig是由專案中的配置文件與各式編輯器的插件所組成的,藉由使用的編輯器插件讀取配置文件,從而將編輯器的設定修改為與EditorConfig的配置一致,而不用因為不同的編輯器而要重新配置。
首先,我們先打開定義編輯器的配置文件。我們將.editorconfig打開,並且原始設定如下:
# Editor configuration, see http://editorconfig.org
root = true

[*]
charset = utf-8
indent_style = space
indent_size = 2
insert_final_newline = true
trim_trailing_whitespace = true

[*.md]
max_line_length = off
trim_trailing_whitespace = false
接著對該文件進行部分修改
# Editor configuration, see http://editorconfig.org
root = true

[*]
charset = utf-8
end_of_line = lf
indent_style = tab
indent_size = 2
max_line_length = 120
insert_final_newline = true
trim_trailing_whitespace = true

[*.md]
max_line_length = off
trim_trailing_whitespace = false
由於vscode沒有直接支持EditorConfig接下來我們安裝extension到我們的vscode上: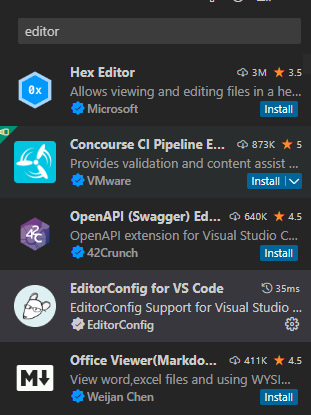
啟用,並且加到我們的專案上的.vscode\extensions.json:
{
  "recommendations": [
    "nrwl.angular-console",
    "esbenp.prettier-vscode",
    "firsttris.vscode-jest-runner",
    "ms-playwright.playwright",
    "dbaeumer.vscode-eslint",
    "editorconfig.editorconfig"
  ]
}
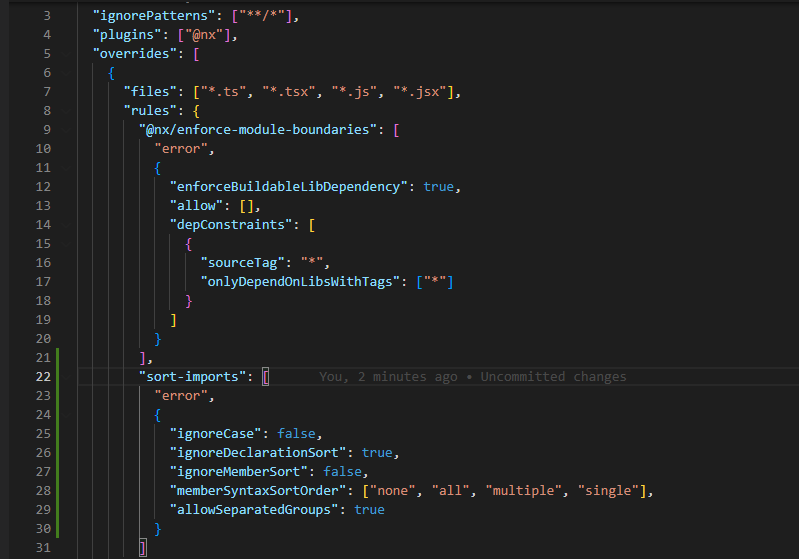
接著,我們打開.eslintrc.json,目前沒有什麼地方要進行修改的,我們這裡就簡單地看一下該設定目前是做什麼。
{
  "root": true,
  "ignorePatterns": ["**/*"],
  "plugins": ["@nx"],
  "overrides": [
    {
      "files": ["*.ts", "*.tsx", "*.js", "*.jsx"],
      "rules": {
        "@nx/enforce-module-boundaries": [
          "error",
          {
            "enforceBuildableLibDependency": true,
            "allow": [],
            "depConstraints": [
              {
                "sourceTag": "*",
                "onlyDependOnLibsWithTags": ["*"]
              }
            ]
          }
        ]
      }
    },
    {
      "files": ["*.ts", "*.tsx"],
      "extends": ["plugin:@nx/typescript"],
      "rules": {}
    },
    {
      "files": ["*.js", "*.jsx"],
      "extends": ["plugin:@nx/javascript"],
      "rules": {}
    }
  ]
}
enforce-module-boundaries規則是用來控制訪問repo中不同項目(project)之間的資源。並且在Enforcing strict boundaries有助於防止計劃外的交叉依賴
這裡我們添加一個新的規則,我們要加入將import做排序。Link
        "sort-imports": [
          "error",
          {
            "ignoreCase": false,
            "ignoreDeclarationSort": true,
            "ignoreMemberSort": false,
            "memberSyntaxSortOrder": ["none", "all", "multiple", "single"],
            "allowSeparatedGroups": true
          }
ESlint的規則一般有兩種:
如果我們想知道那些規則是能被自動修復的,可以去看ESLint的Rule文檔,如果有小板手那就是可以使用指令去修復

我們試著跑一下lint指令,來測試問題檢測
pnpm exec nx lint iron-ecommerce-next
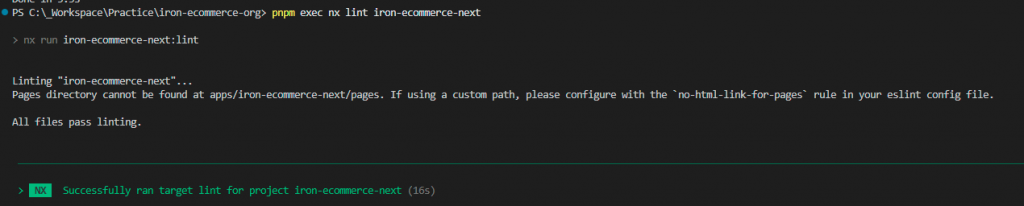
並且我們可以試著使用風格和格式化來嘗試修正
pnpm exec nx lint iron-ecommerce-next --fix
接著,我們加入了提示規則後,我們打開prettier進行設置。
首先,我們先安裝prettier-plugin-sort-imports
pnpm add -D @trivago/prettier-plugin-sort-imports
接著打開我們的.prettierrc:
{
  "singleQuote": true
}
接下來我們修改我們的prettier規則。
{
  "endOfLine": "lf",
  "printWidth": 120,
  "useTabs": true,
  "semi": true,
  "singleQuote": false,
  "trailingComma": "none",
  "plugins": ["@trivago/prettier-plugin-sort-imports"],
  "importOrder": ["^@core/(.*)$", "^@server/(.*)$", "^[a-z]"],
  "importOrderSeparation": true
}
修改好後,我們已經將自動修正代碼給設定好了。接著,我們希望能在每次修改檔案儲存後能自動修正代碼格式,我們需要進行設定。(可以參考該篇Link)
在.vscode\settings.json進行設定:
{
	"editor.formatOnSave": true,
	"editor.defaultFormatter": "esbenp.prettier-vscode"
}
接著,我們就可以在儲存時自動排版代碼了。
在本篇文章中,我們了解了如何在 NX 專案中進行一些基本的開發環境設定,包括安裝 VSCode 擴展和設定代碼格式化工具,並且讓專案能以相同的規範進行協作開發。