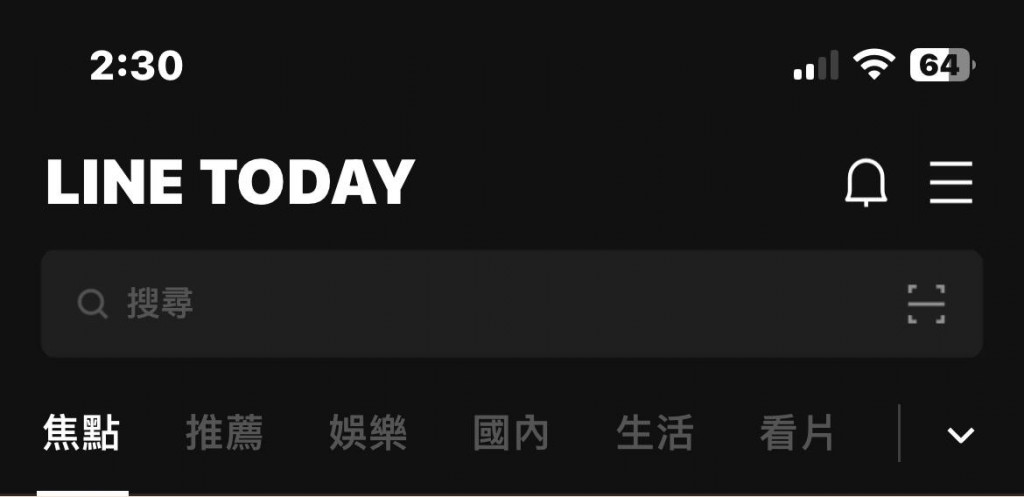
上篇有介紹「底部切換式分頁」
React Navigation 其實還有提供「頂部切換式分頁」
大家可以先打開Line APP,然後點開LineToday左右滑動
會發現分類被切換,內容也隨著分類改變
在其他APP其實也廣泛使用
例:FoodPanda點餐、Instagram個人檔案、DCard首頁
這技術是怎麼辦到的呢
一樣的帶大家實作吧
本篇使用套件為@react-navigation/material-top-tabs
版本:6.6.3
官方網站:https://reactnavigation.org/docs/material-top-tab-navigator
※由於前篇使用了「底部切換式分頁」
會先來比較後再進行實作
| BottomTab | MaterialTopTabs | |
|---|---|---|
| 擺放位置 | 底部 | 頂部 |
| 滑動效果 | 無 | 有 |
| Icon支援 | 有 | 有 |
| 主要導航效果 | 圖示導航 | 文字導航 |
npx expo install @react-navigation/material-top-tabs react-native-tab-view
Expo專案額外安裝分頁套件npx expo install react-native-pager-view
通常頂部分頁使用於同一個畫面裡做分類
與前篇用法、設定相同
只差在初始化時使用createMaterialTopTabNavigator
import { View, Text, Alert, TouchableOpacity } from "react-native";
import { createMaterialTopTabNavigator } from "@react-navigation/material-top-tabs";
import { SafeAreaView } from "react-native-safe-area-context";

export default function MemberScreen() {
  const TopTab = createMaterialTopTabNavigator();
  return (
    <SafeAreaView className="flex-1">
      <TopTab.Navigator
        initialRouteName="System"
        screenOptions={{
          tabBarLabelStyle: { fontSize: 16 },
          tabBarStyle: { backgroundColor: "white" },
        }}
      >
        <TopTab.Screen
          name="System"
          component={SystemScreen}
          options={{ title: `系統部門` }}
        />
        <TopTab.Screen
          name="Business"
          component={BusinessScreen}
          options={{ title: `業務部門` }}
        />
      </TopTab.Navigator>
    </SafeAreaView>
  );
}
function SystemScreen() {
  return (
    <View className="flex-1 items-center justify-center">
      <Text>系統部門人員清單</Text>
    </View>
  );
}

function BusinessScreen() {
  return (
    <View className="flex-1 items-center justify-center">
      <Text>業務部門人員清單</Text>
    </View>
  );
}
使用Android模擬器測試,效果如下:
※樣式部分可依個人需求進行文字大小、顏色、背景色...等
一樣在screenOptions做調整
結語:
React Navigation 系列文到這邊就告一段落了
在整個APP的Navigation導航系統都介紹完後
接下來就是一個個的完成各項功能
下一篇開始
會依照需求,持續介紹/使用React Native 核心 Component
做出清單列、下拉刷新功能。
