先前我們介紹了路由以及Model,一般來說流程大概是
使用者→View→Controller→Model
前一篇從最後面開始Model開始,現在開始介紹Controller
Controller可以翻作控制器,為什麼要使用控制器呢?
上篇我們已經提到MVC分工的好處
想像一下,今天我要取得資料庫裡資料表posts的post並依據使用者的條件篩選、排序
或者需要呼叫第三方API取得物流資料、金流付款,整理並回傳到使用者端(可能還需要新增到資料庫)
這些都是控制器需要去控制
還記得這張圖嗎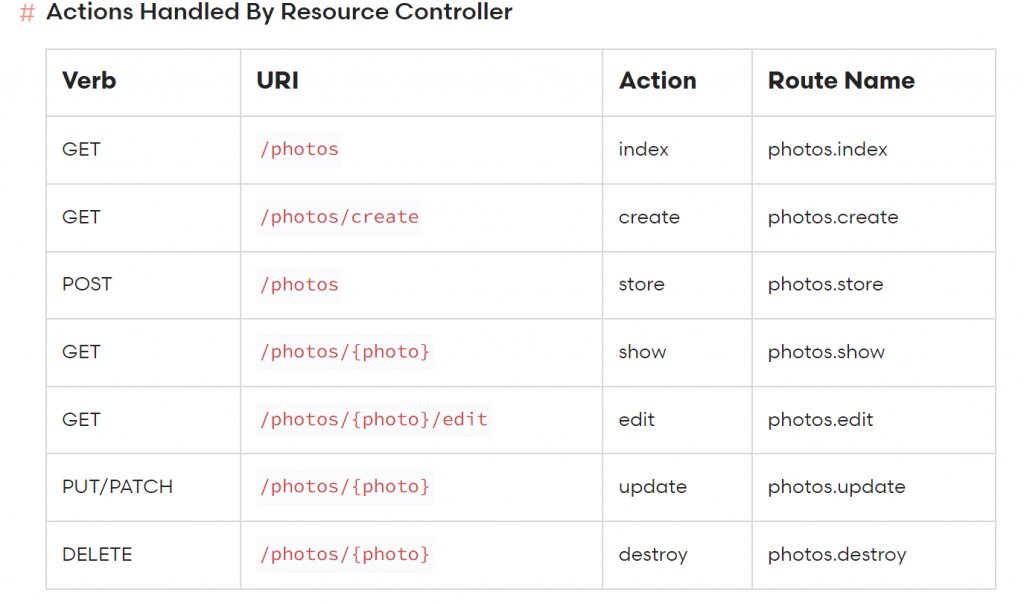
(忘記或沒看過請去看這篇
今天就用這張建構圖來完成第一個RESTful API Controller吧!
routes/web.php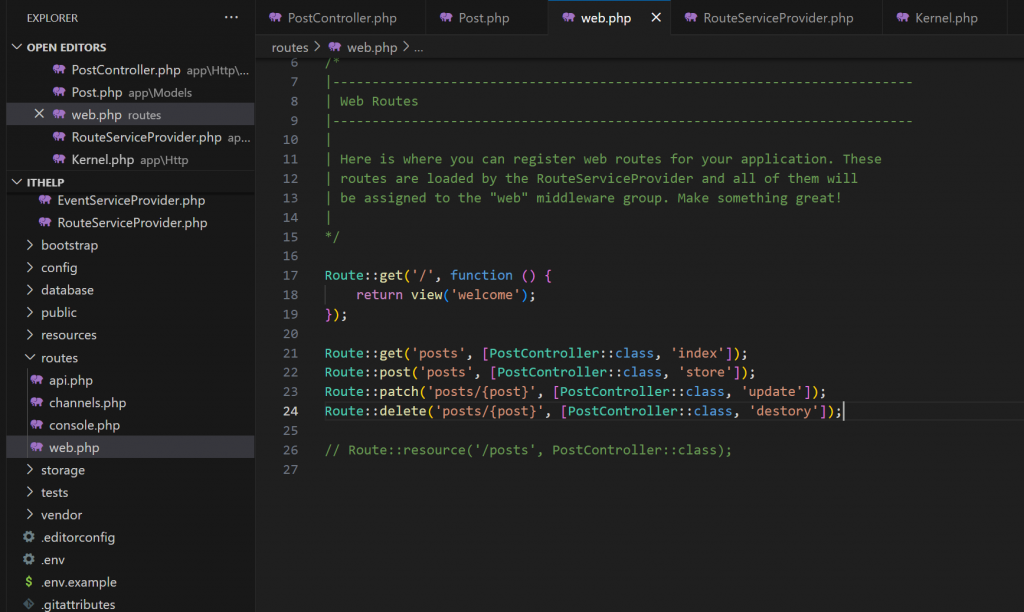
Route::get('posts', [PostController::class, 'index']);
Route::post('posts', [PostController::class, 'store']);
Route::patch('posts/{post}', [PostController::class, 'update']);
Route::delete('posts/{post}', [PostController::class, 'destory']);
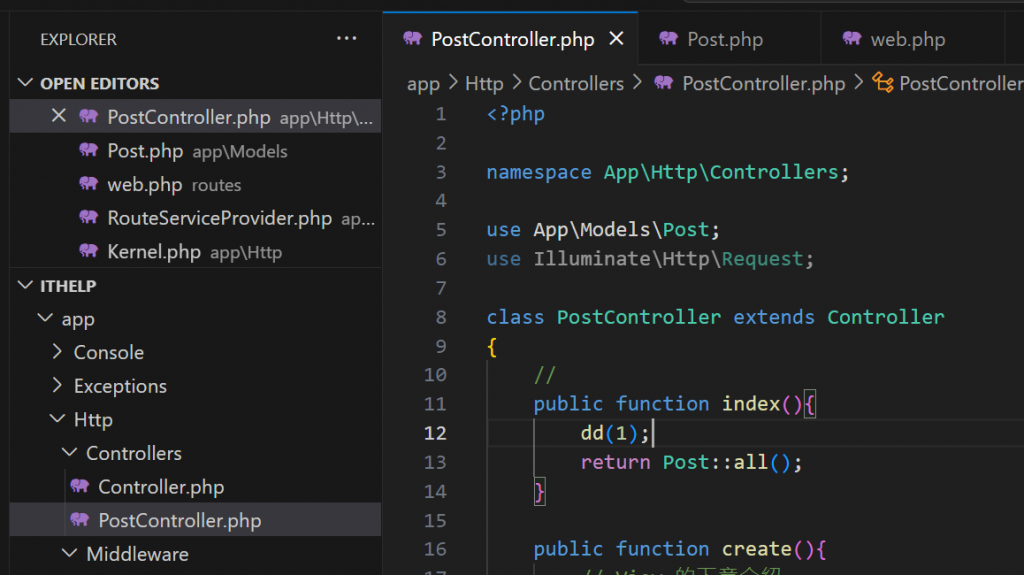
app\Http\Controllers\PostController.php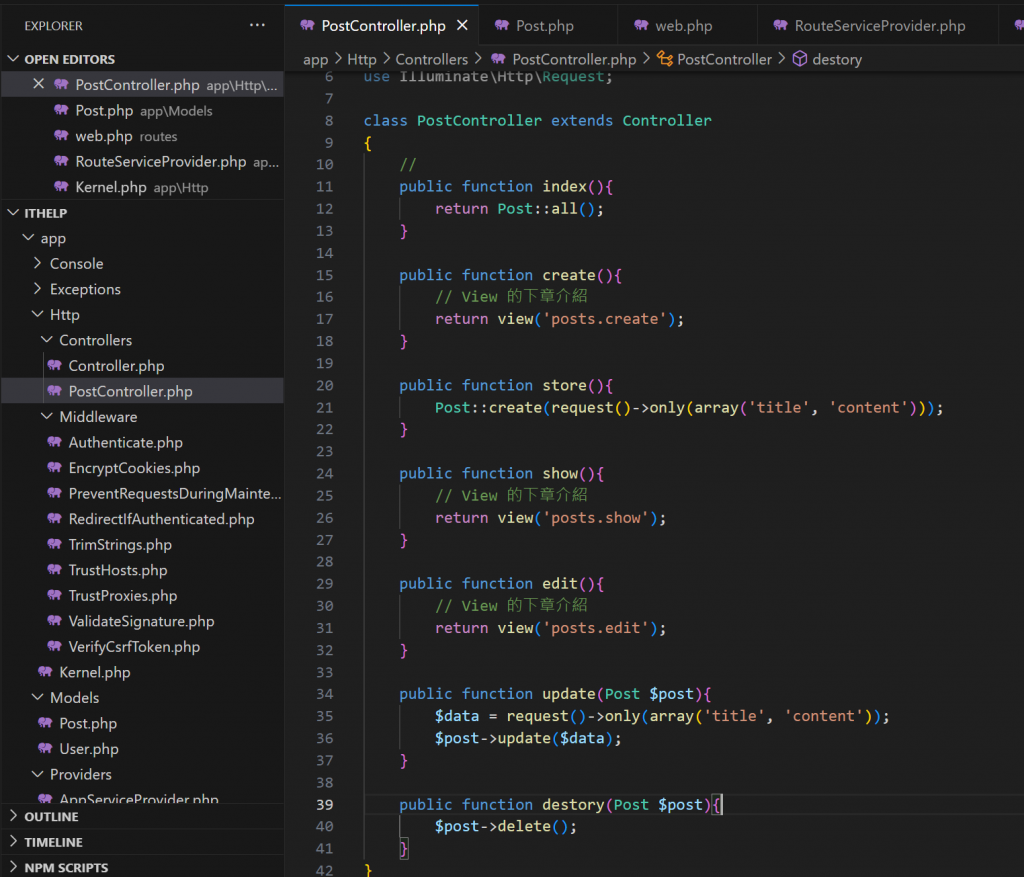
public function index(){
    return Post::all();
}

public function create(){
    // View 的下章介紹
    return view('posts.create');
}

public function store(){
    Post::create(request()->only(array('title', 'content')));
}

public function show(){
    // View 的下章介紹
    return view('posts.show');
}

public function edit(){
    // View 的下章介紹
    return view('posts.edit');
}

public function update(Post $post){
    $data = request()->only(array('title', 'content'));
    $post->update($data);
}

public function destory(Post $post){
    $post->delete();
}
Postman是測試API的一個方便的工具
簡單在這邊演示:
index: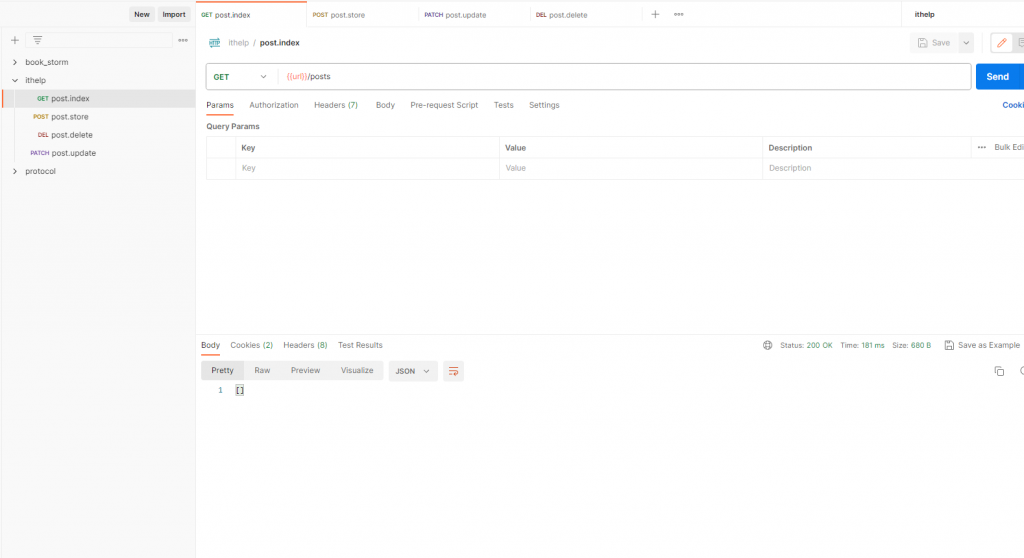
store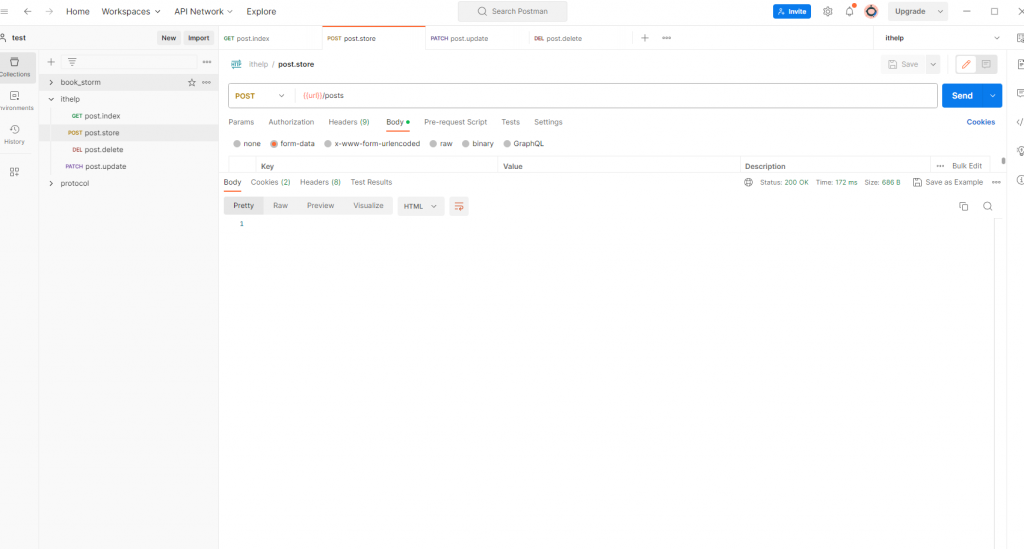
(沒有回傳
store後index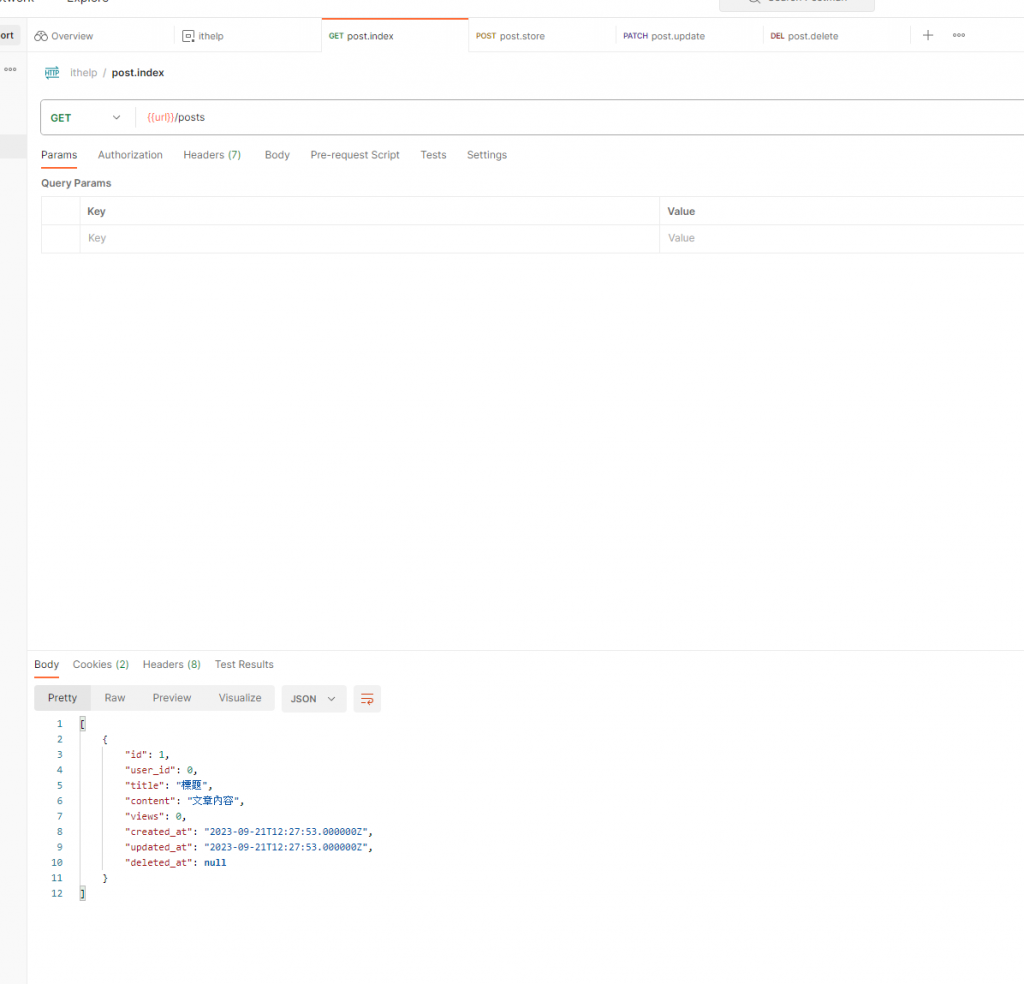
update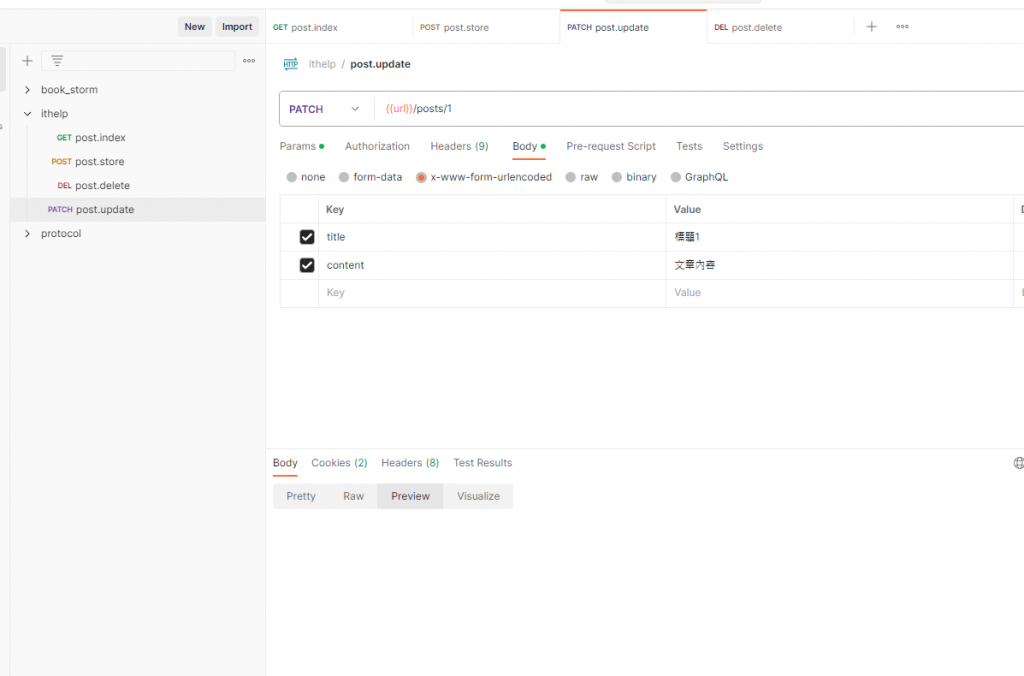
*patch為甚麼要用x-www-url-formurlencoded
(沒有回傳
update後index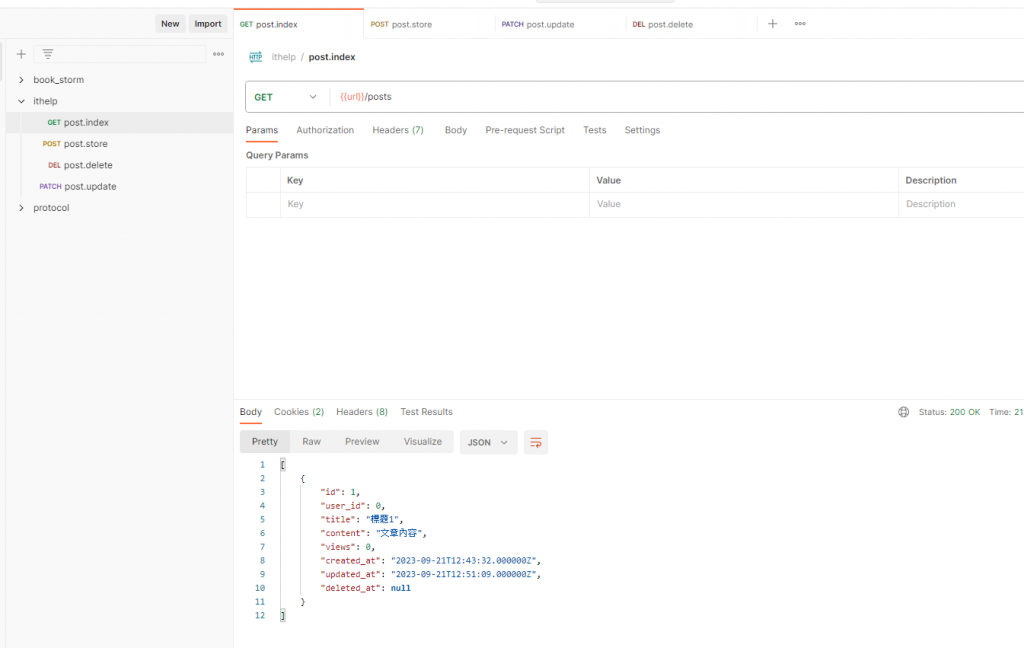
delete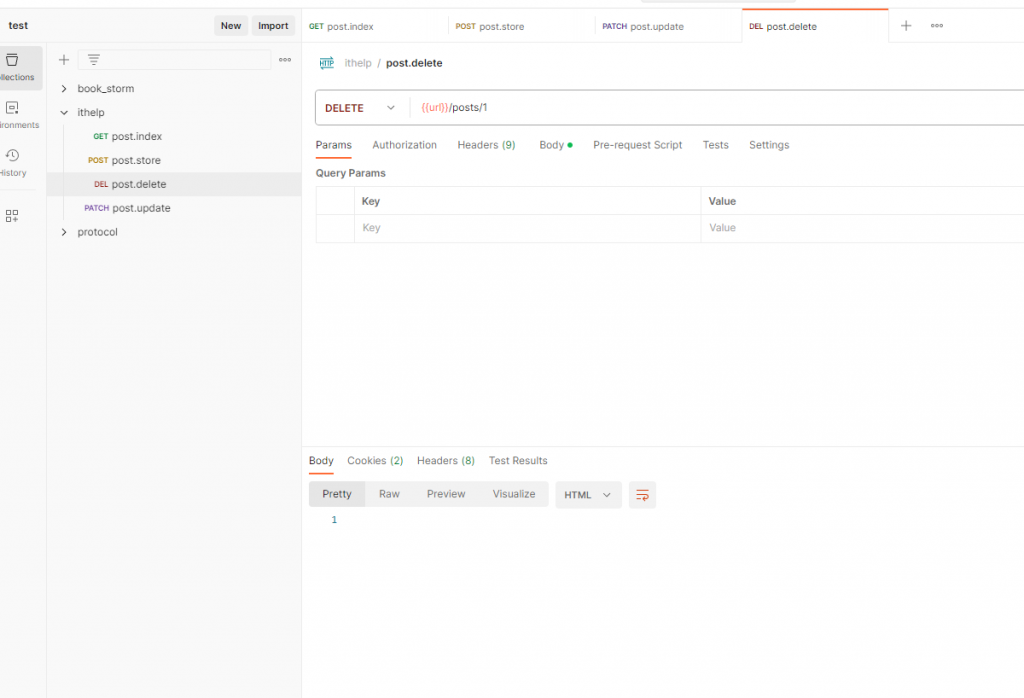
delete後index
一、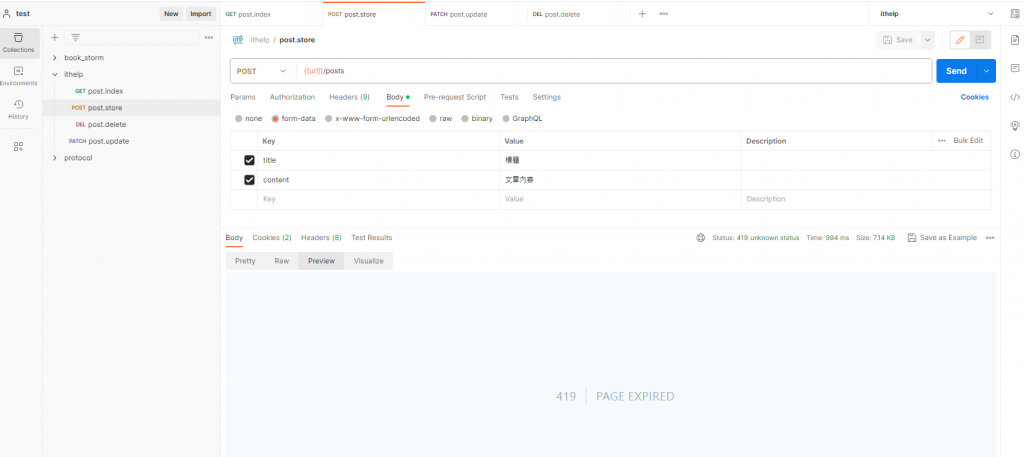
這是因為我們用的web.php有CSRF檢測(CSRF Middleware),如果用Postman會被擋下
因為是本地測試先將CSRF檢測關閉,之後在View的時候可以把其開啟
app\Http\Kernel.php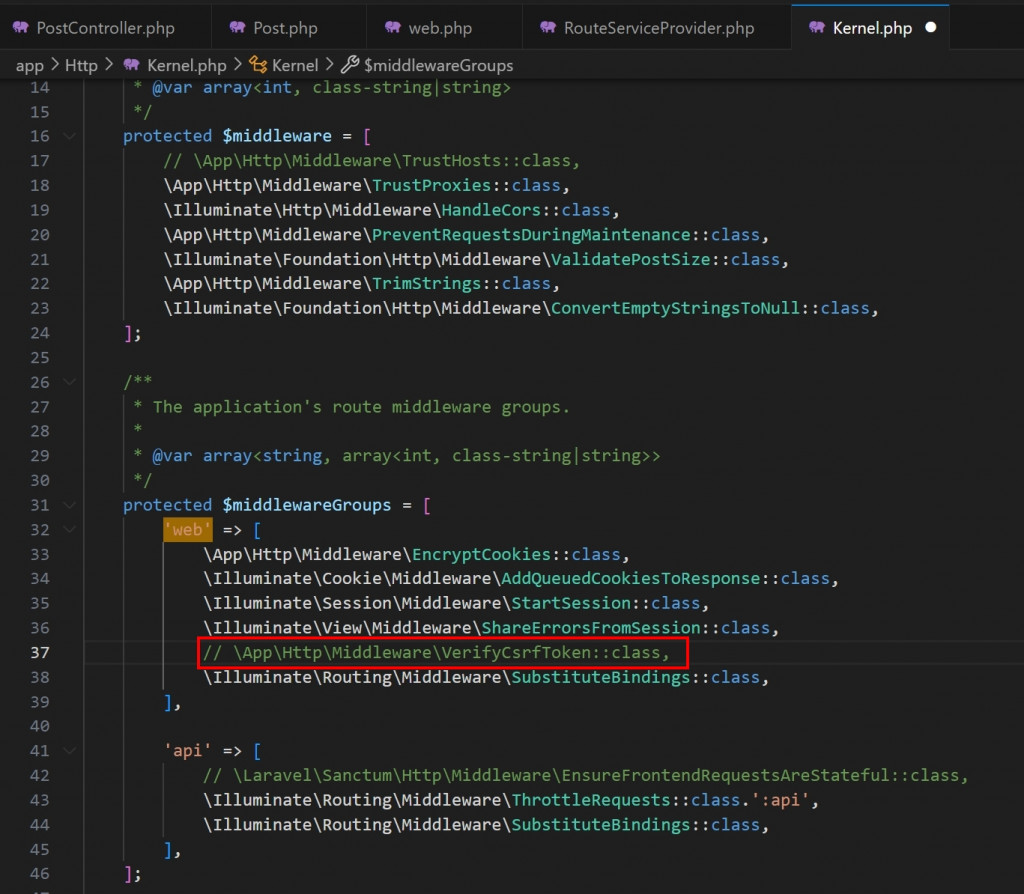
將紅框註解(如圖
重要!這是本地測試,正式環境請不要這樣使用
重要!這是本地測試,正式環境請不要這樣使用
重要!這是本地測試,正式環境請不要這樣使用
開發純API可以使用routes/api.php,筆者是之後會搭配View才使用web.php
CSRF
跨站請求偽造 (Cross-site request forgery),跨站請求偽造,也被稱為one-click attack或者session riding,通常縮寫為CSRF或者XSRF,是一種挾制使用者在當前已登入的Web應用程式上執行非本意的操作的攻擊方法。
簡單來說就是如果你自家的網站的表單,不想被外部的網站請求,就需要CSRF防護
二、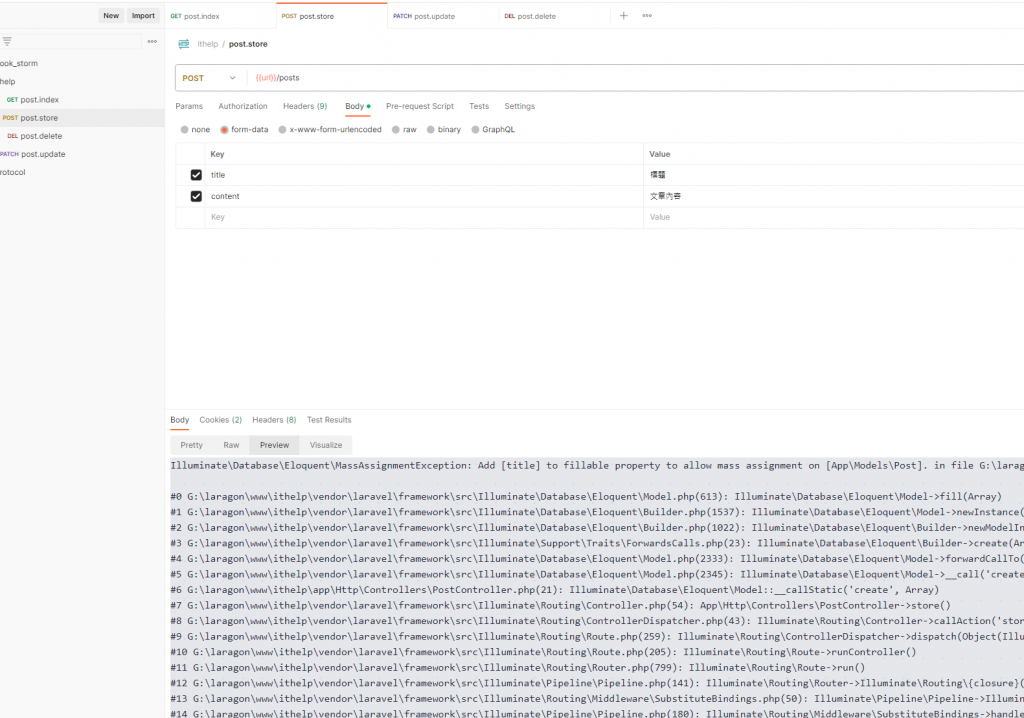
*Add [title] to fillable property to allow mass assignment on [App\Models\Post]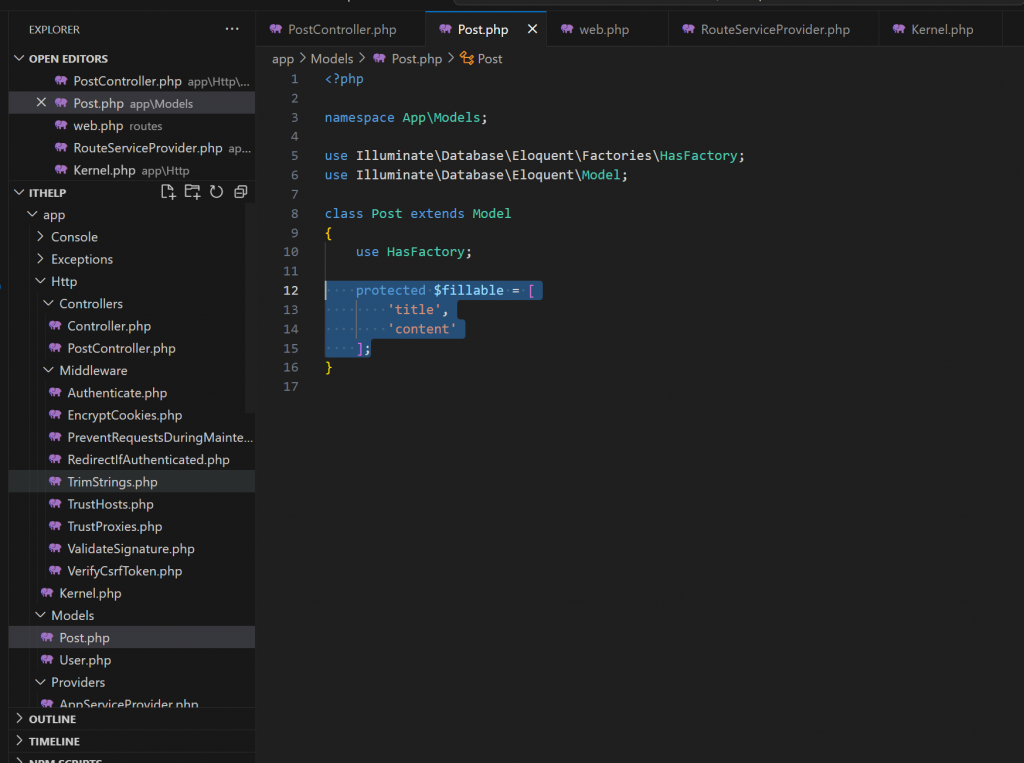
$fillable是Model的方法之一,代表資料表的 欄位哪些可以被寫入
$fillable 相對應的是 $guarded
$guarded代表 欄位哪些不可以被寫入
如果要全部都可以寫入
protected $guarded = [];
Laravel提供了一個方便的debug方法,就是dd();
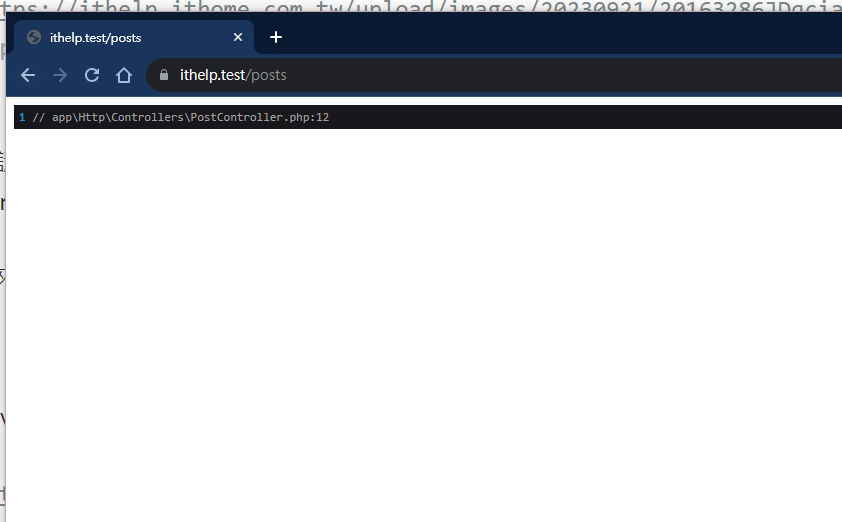
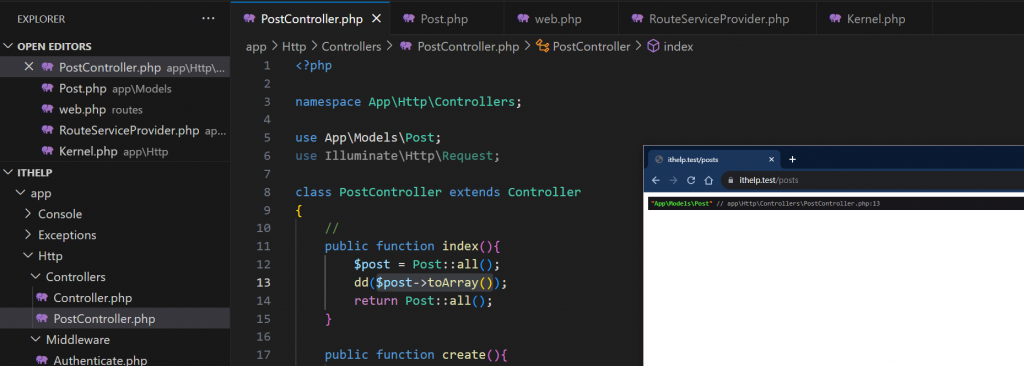
3.(基本上)全部都可以dd出來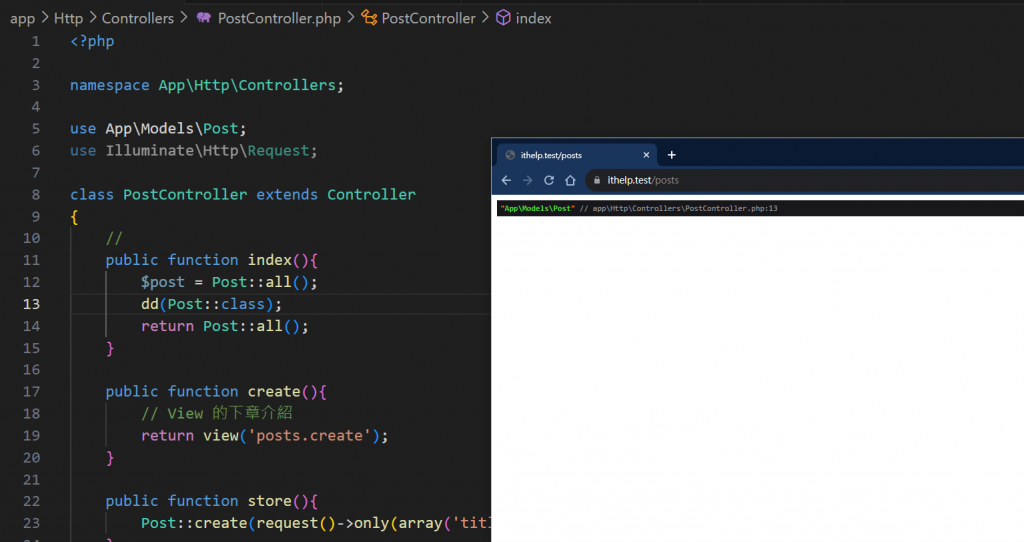
今天大致帶過Controller的美妙,還有簡易測試的方式
相信我,Contoller的美妙不只如此,而且之後還會一直用到
控制器(Controller)是應用的大廚,每一行代碼都是一道菜。 - Chatgpt


 iThome鐵人賽