在前幾天的文章中,我們已經學會了如何建立文章列表和實現分頁功能。
然而,目前的文章列表頁面看起來相當簡單,而日期格式也不符合我想要的需求。
所以今天要實做兩個組件。分別是 日期格式化顯示、與卡片樣式
以下是完成後的畫面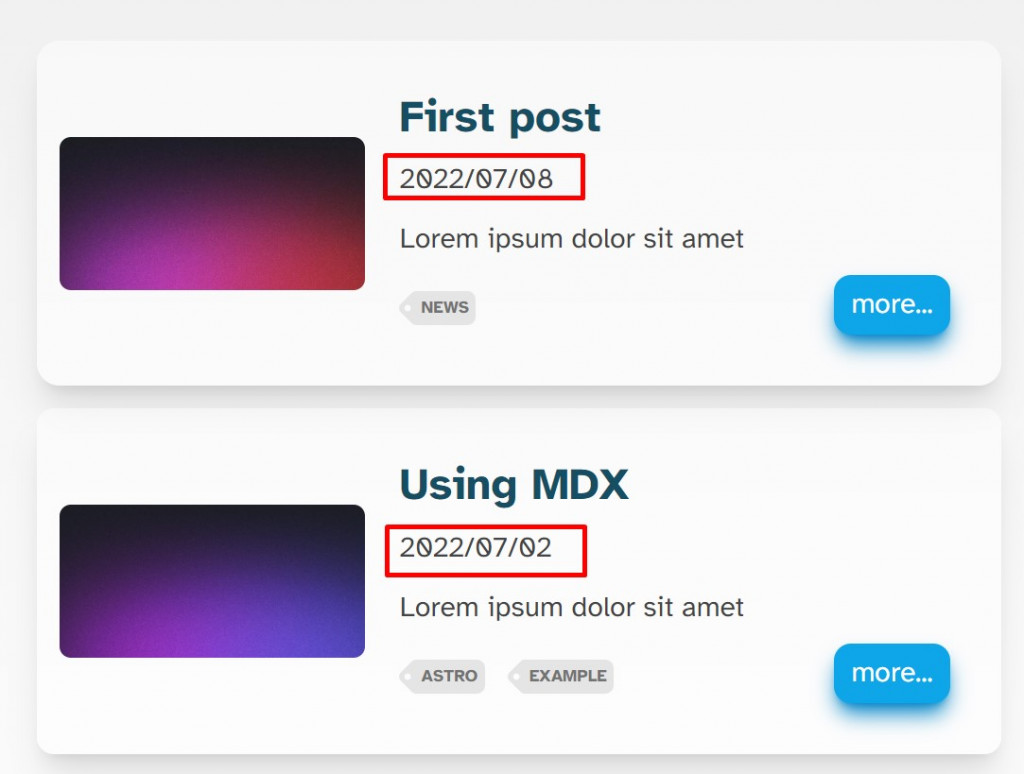
在 src/components 裡建立一個 FormattedDate.astro 的組件
這個組件將用於格式化日期的顯示,以便按照 YYYY/MM/DD 的格式呈現日期。
---
interface Props {
  date: Date;
}

const { date } = Astro.props;
---

<time datetime={date.toISOString()}>
  {date.getFullYear()}/{(date.getMonth() + 1).toString().padStart(2, '0')}/{
    date.getDate().toString().padStart(2, '0')
  }
</time>
這裡定義了一個 Props 類型,其中包含了一個名為 date 的屬性,該屬性的類型是 Date。這是一個通用的方式,用來告訴程式碼後續將使用 Props 物件中的 date 屬性。
我們將 Astro.props 中的 date 屬性解構賦值給一個叫做 date 的變數。
使用 JavaScript 的日期方法來格式化日期。
最後,將這些值插入到 <time> 標籤的內容中,形成一個完整的日期顯示。
在 src/components 裡建立一個 Card.astro 的組件
一樣在 Tailwind Components Card 這裡選一個我們喜歡的卡片樣式,且稍作調整。
Card.astro
---
import FormattedDate from './FormattedDate.astro';
import Tags from './Tags.astro';
const { post } = Astro.props;
---

<div
  class="mb-4 p-4 items-center justify-center w-full rounded-xl group sm:flex space-x-6 bg-white bg-opacity-50 shadow-xl hover:rounded-2xl"
>
  <img
    class="mx-auto block sm:w-4/12 w-full rounded-lg"
    alt="art cover"
    src={post.data.heroImage}
  />
  <div class="sm:w-8/12 pl-0 p-5">
    <div class="space-y-2">
      <div class="space-y-4">
        <a
          class="text-md font-semibold text-justify"
          href={`/blog/${post.slug}/`}
        >
          <h4 class="text-cyan-900">{post.data.title}</h4>
        </a>
      </div>
      <FormattedDate date={post.data.pubDate} />

      <p>{post.data.description}</p>
      <div class="flex items-center space-x-4 justify-between">
        <div>
          <Tags tags={post.data.tags} />
        </div>
        <div
          class="bg-sky-500 shadow-lg shadow- shadow-sky-600 text-white cursor-pointer px-3 text-center justify-center items-center py-1 rounded-xl flex space-x-2 flex-row"
        >
          <a
            class="text-white hover:text-neutral-50"
            href={`/blog/${post.slug}/`}
          >
            more...
          </a>
        </div>
      </div>
    </div>
  </div>
</div>
FormattedDate 組件 與昨天做的 Tags 組件接著將昨天建立好的 card 引用到原本的文章列表
src/page/[page].astro
修改 section 區塊如下
---
import Card from '../../../components/Card.astro';
---
<!-- ...略 -->
<section>
  <ul>
    {
      data.map((post) => {
        return <Card {post} />;
      })
    }
  </ul>
</section>
<!-- ...略 -->
今天,我們學到了:
範例連結:https://stackblitz.com/edit/withastro-astro-e2tb8i


 iThome鐵人賽