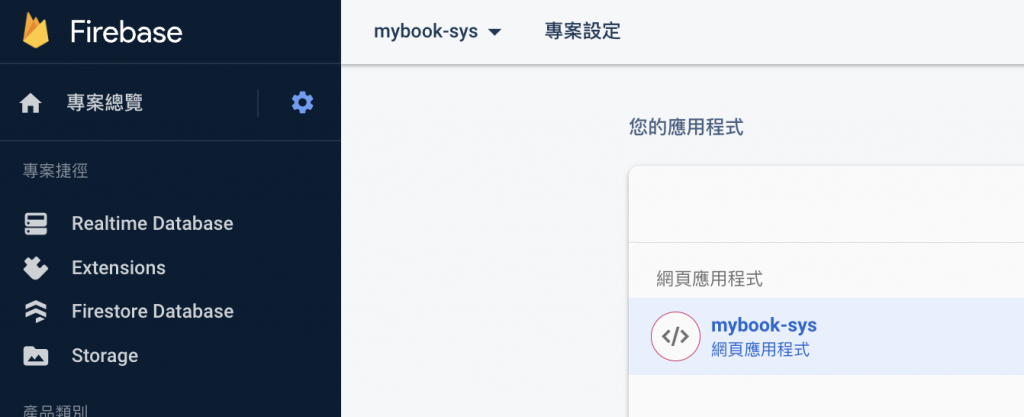
現在,Firebase 已經有了我們直接塞進去的填充資料
接下來,我們將使用 VueFire 的方法
將這些數據抓取出來到我們的畫面上
來測試資源是否串接成功
基本的操作CRUD
有可能拆解至4~5篇
會一步步建構我們的書單系統
首先呢
我們先建立一隻檔案firebase.ts
且引入firestore
import { initializeApp } from "firebase/app";
import {
  getFirestore,
  collection
} from "firebase/firestore";
去Firebase 控制台 把我們的設定複製下來

貼到檔案裡 firebase.ts
export const firebaseApp = initializeApp({
  // your application settings
  apiKey: "(apiKey)",
  authDomain: "mybook-sys.firebaseapp.com",
  databaseURL: "https://mybook-sys-default-rtdb.firebaseio.com",
  projectId: "mybook-sys",
  storageBucket: "mybook-sys.appspot.com",
  messagingSenderId: "777777777",
  appId: "(appId)",
  measurementId: "(measurementId)",
});
在程式碼中引入vuefire還有firebase
main.ts
import { createApp } from 'vue'
import './style.css'
import App from './App.vue'
import router from './router'
import { VueFire, VueFireAuth } from 'vuefire'
// the file we created above with `database`, `firestore` and other exports
import { firebaseApp } from './firebase'

const app = createApp(App)
app.use(VueFire, {
  // imported above but could also just be created here
  firebaseApp,
  modules: [
    // we will see other modules later on
    VueFireAuth(),
  ],
})

app.use(router).mount('#app')
我們在規則內已經確定了集合bookInfo
才能撈到這份集合的資料
const db = getFirestore(firebaseApp);
export const bookRef = collection(db, "bookInfo");
一樣如前幾篇的方法
建立一個測試用的component
去呼叫我們資料ref
Test.vue
<script setup lang="ts">
import { useCollection } from 'vuefire'
import { collection } from 'firebase/firestore'
import { useFirestore } from 'vuefire'


const db = useFirestore()
const todos = useCollection(collection(db, 'bookInfo'))

</script>

<template>
 <h1>測試測試..</h1>
 {{ books }}
</template>
然後直接印到畫面上

看起來有資料就是成功的囉!
在這一章中
我們迅速從官方文件中學到了實作的方式
為下一個章節的開發鋪平了道路
製作一個書單系統
其實並不是一個艱鉅的任務
讓我們繼續前進
一起緊張而又充實地度過每一天!^______^🚀🚀
