當我們使用 **create-react-app (CRA)**來建立一個新的 React 專案的時候,專案的結構大致上會像這樣。
dialogue-project/
|-- node_modules/
|-- public/
|   |-- index.html
|   |-- manifest.json
|   |-- favicon.ico
|-- src/
|   |-- App.tsx
|   |-- index.tsx
|   |-- react-app-env.d.ts
|   |-- logo.svg
|-- package.json
|-- tsconfig.json
首先我們先大概了解一下每個資料夾跟主要檔案負責的事項吧~
npm install 或 yarn add 安裝新的套件時,套件都會放在這裡。index.html 和其他可能的靜態檔案。這些檔案在建構過程中會被複製到輸出資料夾,而不會被 Webpack(專案能打包成瀏覽器吃的)進行任何處理。<App /> 組件( App.tsx )到 index.html 中的一個 div 元素。對於專案有大致上的聊解之後,我們就可以開始進行之前對話小遊戲的建置了,如果要進行之前我們得先建立一個主要概念就是 「React 是一個陳述式、高效且具有彈性的 JavaScript 函式庫,用以建立使用者介面。它讓你使用小巧而獨立的組件(component ),來建立複雜的 UI。」。
也就是說我們在建立的時候必須盡可能小而巧,這也多虧他原先的組件( component)、props(屬性,父傳子) 和 state(狀態、私有資料)、單向資料流、虛擬 DOM(有變化才會更新)。
回歸正題,如果要套用對話小遊戲的話,首先需要一個(按鈕來控制對話視窗)組件(component),並且會有自己的 state (私有的對話視窗的文字)。
首先在 dialogue-project/src/ 下建立一個 DialougueComponent 的資料夾。
並建立兩個檔案 DialogueBox.tsx 和 type.tsx 。
DialogueBox.tsx :用於顯示對話的視窗type.tsx :用於定義型別。小心檔案名稱不要取名為
ts了,我們需要取名為tsx這樣才能讓 TypeScript 吃到 JSX 的語法。(JSX 可以讓 JavaScript 內吃到 XML/HTML 語法)
// DialogueBox.tsx
import React, { useState } from 'react';
import { DialogueProps, European, Asian, Person } from './type'
const DialogueBox: React.FC<DialogueProps> = () => {
    const [currentDialogueIndex, setCurrentDialogueIndex] = useState<number>(0);

    const peter = new European("Peter", ["你好!", "歐洲真的很美!", "我們一天只要上五小時的班。"]);
    const lee = new Asian("Lee", ["嗨!", "真的嗎?那真的太棒了!", "Emotional damage, 受到 1000000 點傷害 QQ"]);

    const combinedDialogues: { person: Person, text: string }[] = [];
    for(let i = 0; i < Math.max(peter.dialogues.length, lee.dialogues.length); i++) {
        if (peter.dialogues[i]) {
            combinedDialogues.push({ person: peter, text: peter.dialogues[i] });
        }
        if (lee.dialogues[i]) {
            combinedDialogues.push({ person: lee, text: lee.dialogues[i] });
        }
    }
    const proceedToNextDialogue = () => {
        setCurrentDialogueIndex(prevIndex => prevIndex + 1);
    };
  return (
    <div>
      {currentDialogueIndex < combinedDialogues.length ? (
        <div>
            <p> {combinedDialogues[currentDialogueIndex].person.name}: {combinedDialogues[currentDialogueIndex].text} </p>
            <button onClick={ proceedToNextDialogue }>Next</button>
        </div>
      ) : (
        <div> <p>End of the dialogue.</p></div>
      )}
    </div>
  );
};

export default DialogueBox;
// type.tsx

export type DialogueProps = {
};

export type Person = {
    name: string;
    dialogues: string[];
};

export class European implements Person {
    constructor(public name: string, public dialogues: string[]) {}
}

export class Asian implements Person {
    constructor(public name: string, public dialogues: string[]) {}
}
完成後組件( component )建立後,就可以回到 APP.tsx 上去編寫一點點小地方。
// App.tsx

import React from 'react';
import DialogueBox from './DialogueComponentes/DialogueBox';

const App: React.FC = () => {

  return (
    <div className="App">
      <DialogueBox />
    </div>
  );
}

export default App;
接下來在專案底下運行指令 npm start 就可以看到跟之前一樣的效果。
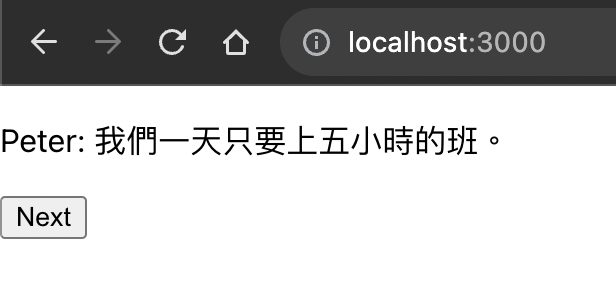
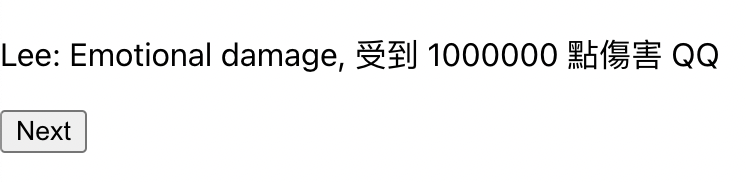
這樣就達成跟之前一樣的目的了,明天就來盡可能完善以及分開雜亂的程式碼,順便用上 props 來傳遞資料。