
Jupyter Notebook 是一個基於 Web 的互動式計算環境,用來建立 Jupyter Notebook 檔案。Jupyter Notebook 檔案是由一個 JSON 檔案所構成,裡面包含了輸入輸出的 Cells(單元格列表),這些單元格可包含文字檔案(使用 Markdown 格式)、程式碼、數學公式、圖表與多媒體檔案。Jupyter Notebook的檔案以 「.ipynb」為副檔名。
這些筆記本檔案可以透過 nbconvert 函式庫轉換成許多開源標準輸出格式,像是 HTML、PDF、Markdown 等格式),為了更容易在網頁中呈現,nbconvert 函式可透過 nbviewer 產生一組可公開存取的 URL,將執行結果動態地轉換成網頁內容,讓使用者閱讀。
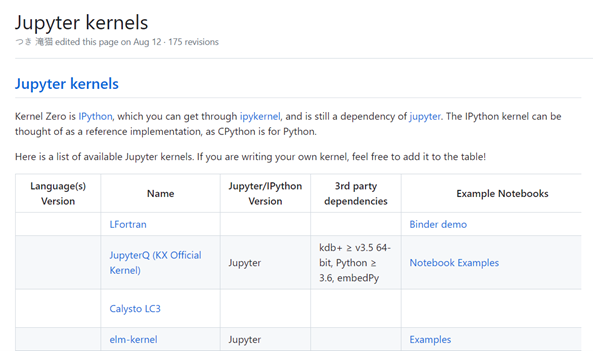
Jupyter Notebook 支援多種程式語言進行程式設計。如果您要讓系統核心支援其他的程式語言,您需要額外安裝核心程式,相關核心擴充支援,請參考此網址:
https://github.com/jupyter/jupyter/wiki/Jupyter-kernels

為了可以讓 Jupyter Notebook 環境在我們的 Windows 電腦上執行,首先我們要先安裝 Python3 的執行環境,各位可到 Python 官網下載 Python 3 的安裝程式,安裝到系統中。
安裝完 Python 3 後,請開啟命令列,執行下列指令。
更新 Python 套件管理程式 pip
python -m pip install --upgrade pip

python -m pip install jupyter
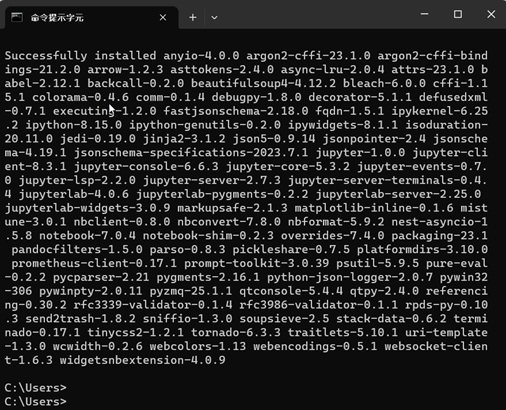
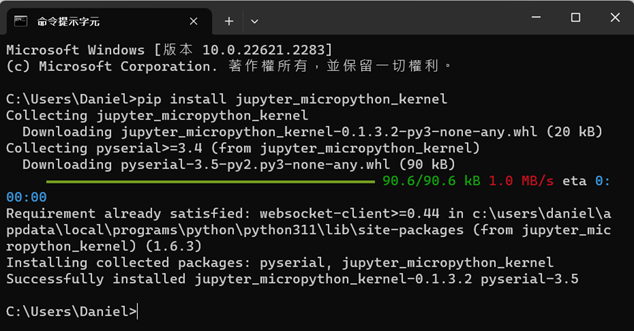
pip install jupyter_micropython_kernel
python -m jupyter_micropython_kernel.install
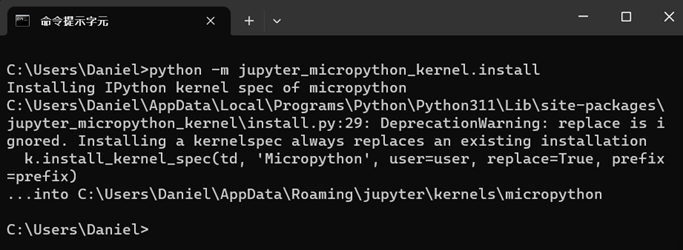
安裝完基本系統與支援 MicroPython的核心後,此時再開啟 Jupyter Notebook 環境。
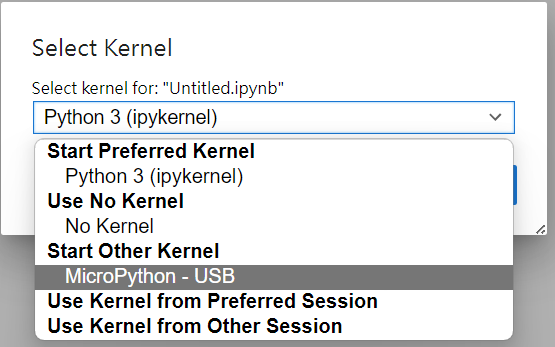
第一次啟動筆記本需要選擇支援的程式語言,請選擇「MicroPython - USB」。
開啟筆記本檔案,請先輸入「%serialconnect –port=COM6」,%serialconnect 是Jupyter Notebook micropython 核心內建的一個魔術指令,請先確認玩學機在此台電腦的 COM port,我這台玩學機被作業系統識別的 Com port 是 「COM6」。鍵盤按下 Shift-Enter,指令就會執行。此時您可以看到 Jupyter Notebook 環境已與玩學機連線。

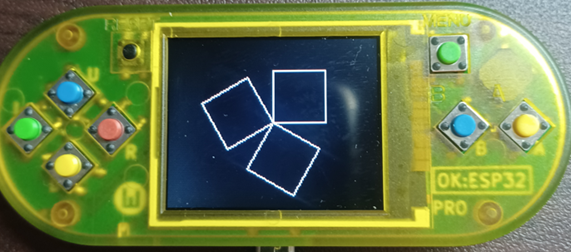
我們此時可以用前面的例子來驗證是否可在網頁中開發玩學機程式。底下是使用小龜繪圖函式庫畫出三個旋轉的正方形。
wb.cls()
wb.ttreset()
for count2 in range(3):
	for count in range(4):
		wb.ttgo(40)
		wb.ttrot(90)
	wb.ttrot(120)
另外,Jupyter Notebook MicroPython 核心還有內建眾多的魔術指令,底下是我們列出來支援的指令:
%capture [--quiet] [--QUIET] outputfilename
    records output to a file

%comment
    print this into output

%disconnect [--raw]
    disconnects from web/serial connection

%esptool [--port PORT] {erase,esp32,esp8266} [binfile]
    commands for flashing your esp-device

%fetchfile [--binary] [--print] [--load] [--quiet] [--QUIET]
                  sourcefilename [destinationfilename]
    fetch and save a file from the device

%ls [--recurse] [dirname]
    list files on the device

%lsmagic
    list magic commands

%mpy-cross [--set-exe SET_EXE] [pyfile]
    cross-compile a .py file to a .mpy file

%readbytes [--binary]
    does serial.read_all()

%rebootdevice
    reboots device

%sendtofile [--append] [--mkdir] [--binary] [--execute]
                   [--source [SOURCE]] [--quiet] [--QUIET]
                   [destinationfilename]
    send cell contents or file/direcectory to the device

%serialconnect [--raw] [--port PORT] [--baud BAUD] [--verbose]
    connects to a device over USB wire

%socketconnect [--raw] ipnumber portnumber
    connects to a socket of a device over wifi

%suppressendcode
    doesn't send x04 or wait to read after sending the contents of the cell
  (assists for debugging using %writebytes and %readbytes)

%websocketconnect [--raw] [--password PASSWORD] [--verbose]
                         [websocketurl]
    connects to the webREPL websocket of an ESP8266 over wifi
    websocketurl defaults to ws://192.168.4.1:8266 but be sure to be connected

%writebytes [--binary] [--verbose] stringtosend
    does serial.write() of the python quoted string given

%%writefile [--append] [--execute] destinationfilename
    write contents of cell to a file

https://github.com/jupyter/jupyter/wiki/Jupyter-kernels
感謝各位讀者支持,明天我們將會介紹如何用 Arduino IDE 來開發玩學機的程式。
