iT邦幫忙

2023 iThome 鐵人賽

DAY 29
0

本日內容

  • 用 NSIS 打包
  • 預告

Day 29 - Colab
為了節省重 build cross compiler 的時間, 我事先將 toolchain 放到雲端了, 如果想要重製的話, 請重 build 一版 x86_64-w64-mingw32 toolchain~

Day 28 我們 build 了 x64 Windows cross compiler 並且成功 build 出 Windows .exe 可執行檔, 下載到 Windows 上後確認可以執行

但是...記得我們在 Day 22 介紹過的打包方式嗎? 當時我們示範了如何打包成 TXZ
而 archive 只是一個壓縮檔, 沒有所謂的 "安裝介面"

今天, 在知道如何 cross compile Windows binary 後, 我們來將前一篇產出的 Main.exe 用 Windows 用的 installer 打包吧!

用 NSIS 打包

我們會修改Day 22 的 package script packaging/CMakeLists.txt, 加上一些 NSIS 用的設定

詳細選項請見 官網

然後用 cpack 打包

cpack -G NSIS

就能看到我們的安裝檔了
https://ithelp.ithome.com.tw/upload/images/20230929/20161950QnTtP2y3Kk.png

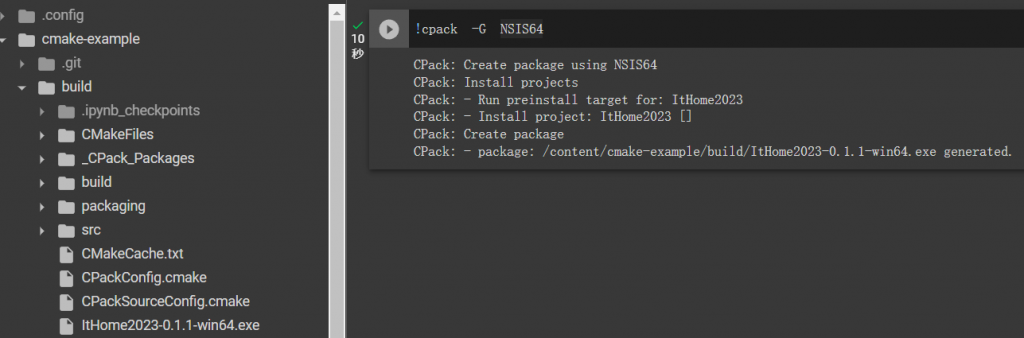
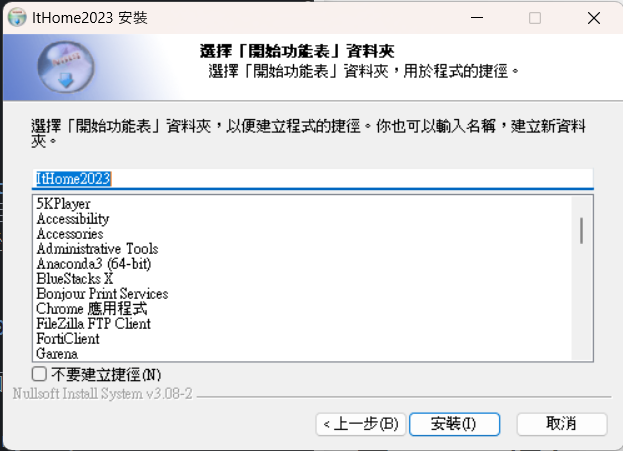
然後我們一樣下載到 Windows 安裝, 就能看到我們熟悉的傳統安裝介面啦!
https://ithelp.ithome.com.tw/upload/images/20230929/201619504dWPSKUcVF.png
https://ithelp.ithome.com.tw/upload/images/20230929/20161950IZqQKpIJvn.png
https://ithelp.ithome.com.tw/upload/images/20230929/20161950MOX5mY1KKC.png
https://ithelp.ithome.com.tw/upload/images/20230929/20161950C0AG3ZB9kI.png

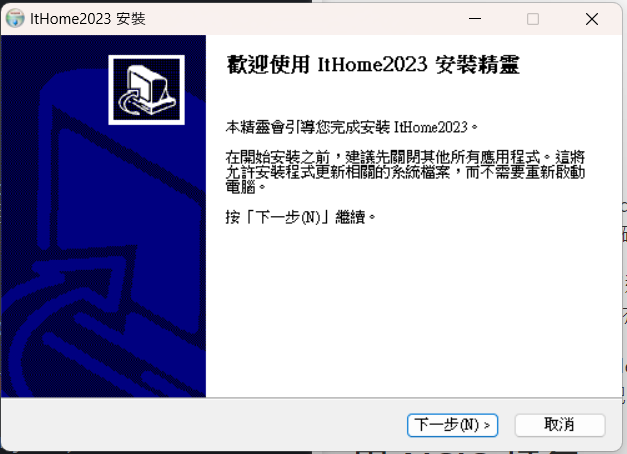
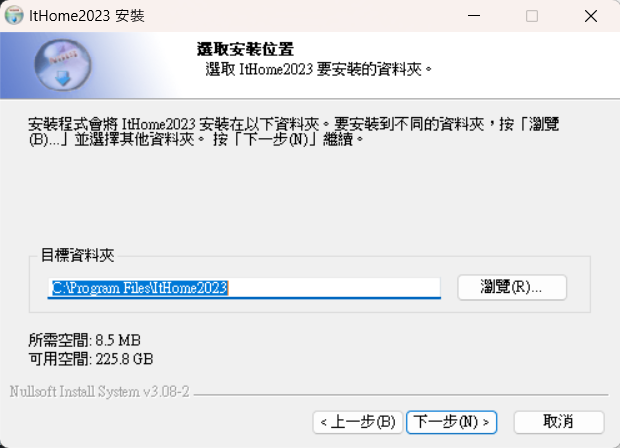
安裝完成後, 我們就能安裝路徑找到我們的 Main.exe 執行檔了~
由於沒有特別設定, 所以安裝的結構還是依照 FHS 架構
https://ithelp.ithome.com.tw/upload/images/20230929/201619501ULwDI2GkN.png

預告

下一篇是最後一篇了, 就讓我們看看一些大型 CMake 專案的架構吧!


上一篇
[Day 28] Cross Compile Windows Binaries
下一篇
[Day 30] Real-world example - PyTorch
系列文
30 天 CMake 跨平台之旅30
圖片
  直播研討會
圖片
{{ item.channelVendor }} {{ item.webinarstarted }} |
{{ formatDate(item.duration) }}
直播中

尚未有邦友留言

立即登入留言