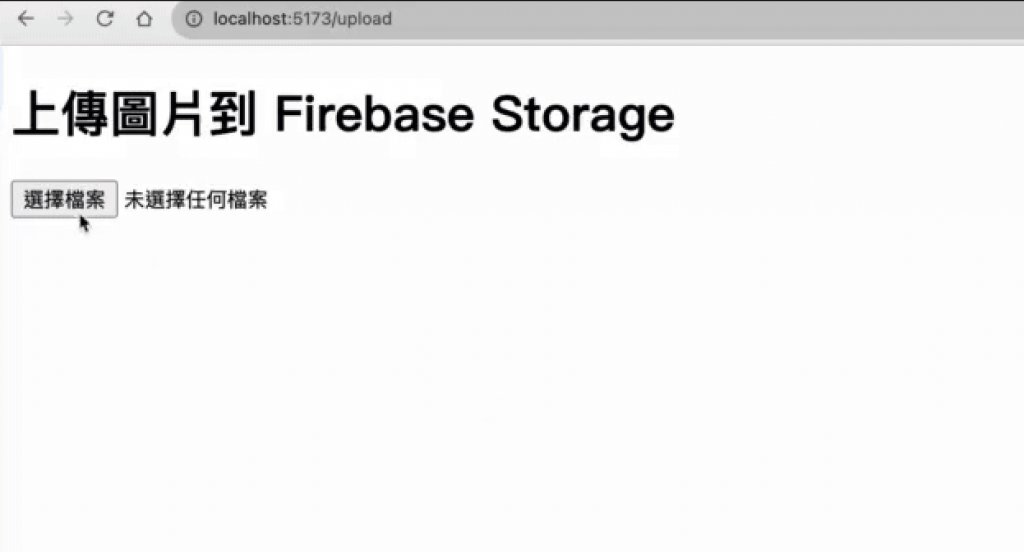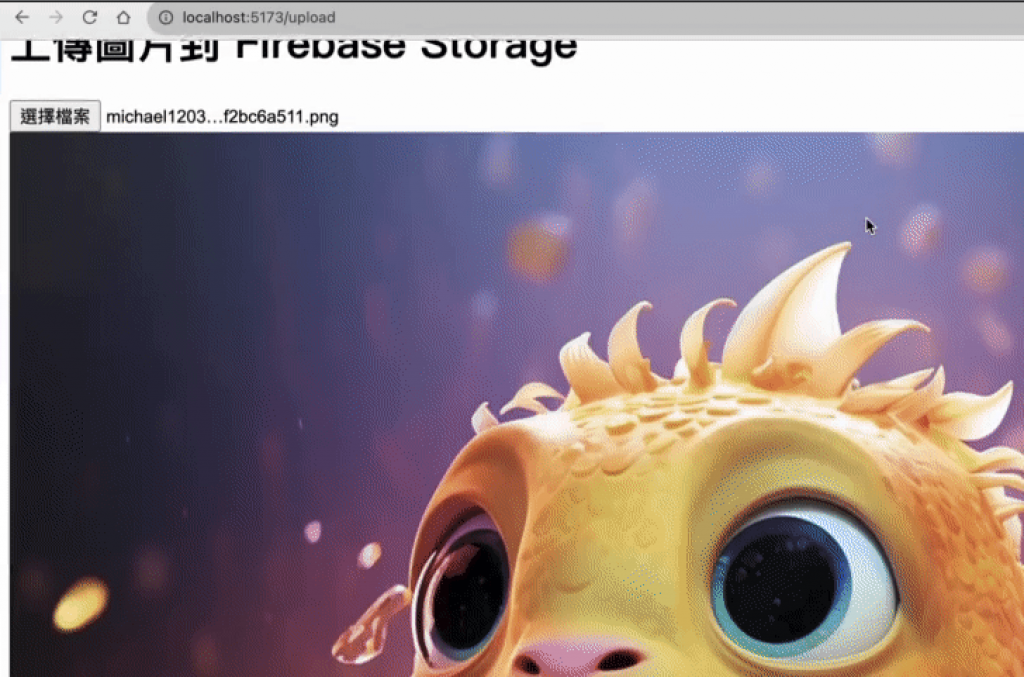
歡迎來到[Day18]的教程
今天這章節我們將學習如何將圖像上傳到Firebase Storage
借助Vue 3的強大功能
相信我們可以輕鬆實現這一功能
然後讓我們的書單系統可以有美美的書封圖片^____^
一樣的用指令建立一隻檔案
touch UploadImage.vue
我們會先做一個Demo 簡單的圖像上傳功能
最後再做路徑的處理
我們可以讓使用者選擇圖像檔案並將其上傳到Firebase Storage
然後在頁面上顯示已上傳的圖像
<template>
  <div>
    <h1>上傳圖片到Firebase Storage</h1>
    <input type="file" @change="uploadImage" accept="image/*">
    <img v-if="imageUrl" :src="imageUrl" alt="Uploaded Image">
  </div>
</template>
<input>元素是一個文件輸入框,允許使用者選擇要上傳的圖像文件,透過@change事件監聽文件選擇變化。<img>元素用於顯示已上傳的圖像,它的v-if指令根據imageUrl是否存在來控制圖像是否顯示。
再來寫方法
使用Firebase Storage API建立一個儲存引用storageRef
以指定上傳檔案的路徑
還有Firebase提供的uploadBytesResumable,getDownloadURL
<script setup lang="ts">
import { ref } from 'vue';
import { getStorage, ref as storageRef, uploadBytesResumable, getDownloadURL } from 'firebase/storage';

const imageUrl = ref<string>("");

const uploadImage = async (event: Event) => {
  const fileList = (event.target as HTMLInputElement);
  if(fileList.files === null) return;

  const file = fileList.files[0];
  if(file.size === 0) return;

  const storage = getStorage();
  const imageRef = storageRef(storage, `images/${file.name}`);

  try {
    const uploadTask = uploadBytesResumable(imageRef, file);
    await uploadTask;
    alert('上傳成功');
    const url = await getDownloadURL(imageRef);
    imageUrl.value = url;
  } catch (error) {
    alert('上傳失敗');
  }
};
</script>
imageUrl是一個變量,用於儲存上傳後的圖像URL。它初始化為空字串uploadImage是一個非同步函數
在使用者選擇檔案後觸發
目標是上傳選定的圖像檔案到Firebase Storage
並更新imageUrl變數以顯示已上傳的圖像
影片不知道為何不能看
只好先放圖片示意


下一篇
我們會進一步完善這個上傳功能
把上傳圖片路徑存儲在Firestore中
讓整個功能更完整^_________^
