
通常在滾動時,為了要讓使用者更好看到欲呈現的資訊,又不讓資訊範圍遮蓋到視窗大小,我們會使用SliverAppBar用來建立一個具有可折疊效果的AppBar。以下我們將分為三個部分呈現製作步驟
我們會先在Scaffold的body中,創建:
CustomScrollView: 用於放置整個滾動項目(SilverAppBar與SilverList)slivers: 放置SliverAppBar並且可以注意,在這個Scaffold中,我們並沒有用到在Basic Widgets中介紹的AppBar屬性,轉而代之,只有body本體
Scaffold(
  // 沒有appBar屬性,只有body本體
  body: CustomScrollView(
      // 下一步驟中將會在silver中添加SilverAppBar與SilverList
      slivers: <Widget>[]),
);
接著,我們在CustomScrollView的silvers中添加SliverAppBar的部分,包含
CustomScrollView(
  slivers: [
    // 添加SilverAppBar
    const SliverAppBar(
              expandedHeight: 300.0, // AppBar展開高度
              floating: false, //向下滾動時SilverAppBar是否固定在頂部
              pinned: true, // 滾動時是title名稱是否固定在頂部
              flexibleSpace: FlexibleSpaceBar(
                title: const Text('SliverAppBar示例'), // 標題
                background: Image.network( // 背景图片
                  'https://images.unsplash.com/photo-1493514789931-586cb221d7a7?ixlib=rb-4.0.3&ixid=M3wxMjA3fDB8MHxwaG90by1wYWdlfHx8fGVufDB8fHx8fA%3D%3D&auto=format&fit=crop&w=2071&q=80',
                  fit: BoxFit.cover,
                ),
              ),
            ),
再來,我們運用昨天提到的SliverList創立一個由Index0~999的項目列表
// 加入SliverList
SliverList(
  delegate: SliverChildBuilderDelegate(
    (context, index) => ListTile(title: Text('Item #$index')),
    // Builds 1000 ListTiles
    childCount: 1000,
  ),
)
我們綜合以上的步驟後,就可以達成一個在滾動時動態摺疊SliverAppBar的效果!
import 'package:flutter/material.dart';

void main() => runApp(const MyApp());

class MyApp extends StatelessWidget {
  const MyApp({super.key});

  @override
  Widget build(BuildContext context) {
    const title = 'Floating App Bar';

    return MaterialApp(
      title: title,
      home: Scaffold(
        // No appbar provided to the Scaffold, only a body with a
        // CustomScrollView.
        body: CustomScrollView(
          slivers: [
            // Add the app bar to the CustomScrollView.
              SliverAppBar(
              expandedHeight: 300.0, // AppBar展開高度
              floating: false, //向下滾動時SilverAppBar是否固定在頂部
              pinned: true, // 滾動時是title名稱是否固定在頂部
              flexibleSpace: FlexibleSpaceBar(
                title: const Text('SliverAppBar 示例'), // 標題
                background: Image.network( // 背景图片
                  'https://images.unsplash.com/photo-1493514789931-586cb221d7a7?ixlib=rb-4.0.3&ixid=M3wxMjA3fDB8MHxwaG90by1wYWdlfHx8fGVufDB8fHx8fA%3D%3D&auto=format&fit=crop&w=2071&q=80',
                  fit: BoxFit.cover,
                ),

              ),
            ),
            // Next, create a SliverList
            SliverList(
              // Use a delegate to build items as they're scrolled on screen.
              delegate: SliverChildBuilderDelegate(
                // The builder function returns a ListTile with a title that
                // displays the index of the current item.
                (context, index) => ListTile(title: Text('Item #$index')),
                // Builds 1000 ListTiles
                childCount: 1000,
              ),
            ),
          ],
        ),
      ),
    );
  }
}
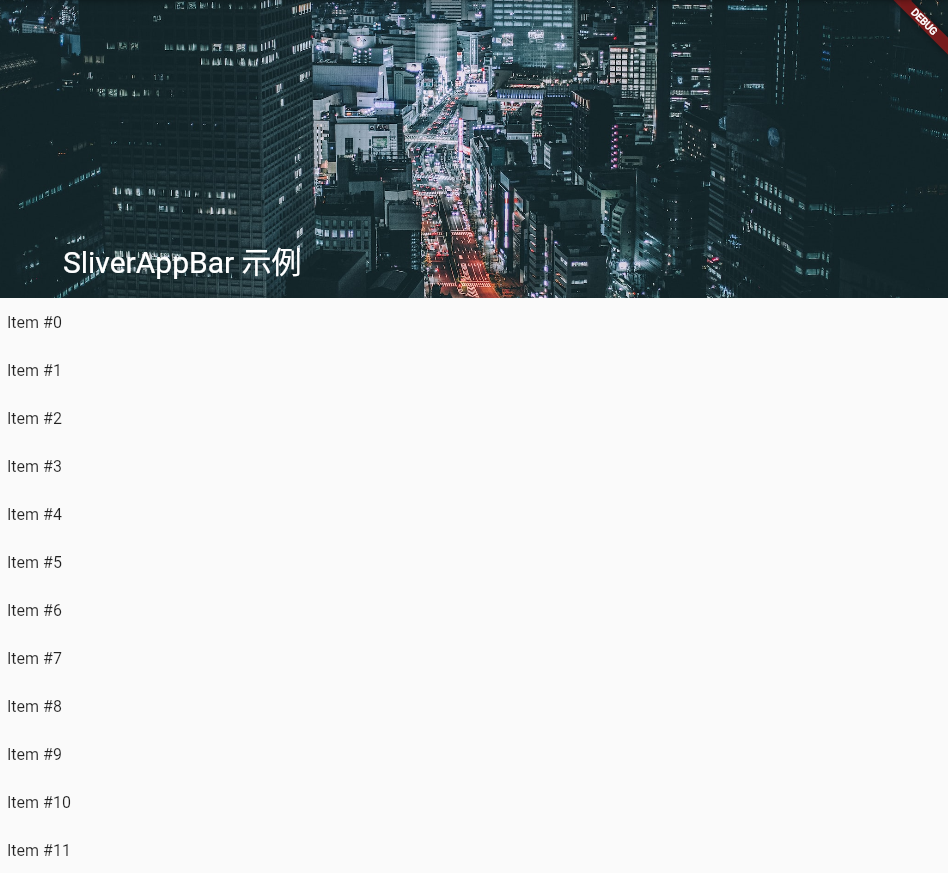
尚未滾動前(滾動範圍尚未超過expandedHeight),我們可以看到背景的街道圖片完整的呈現
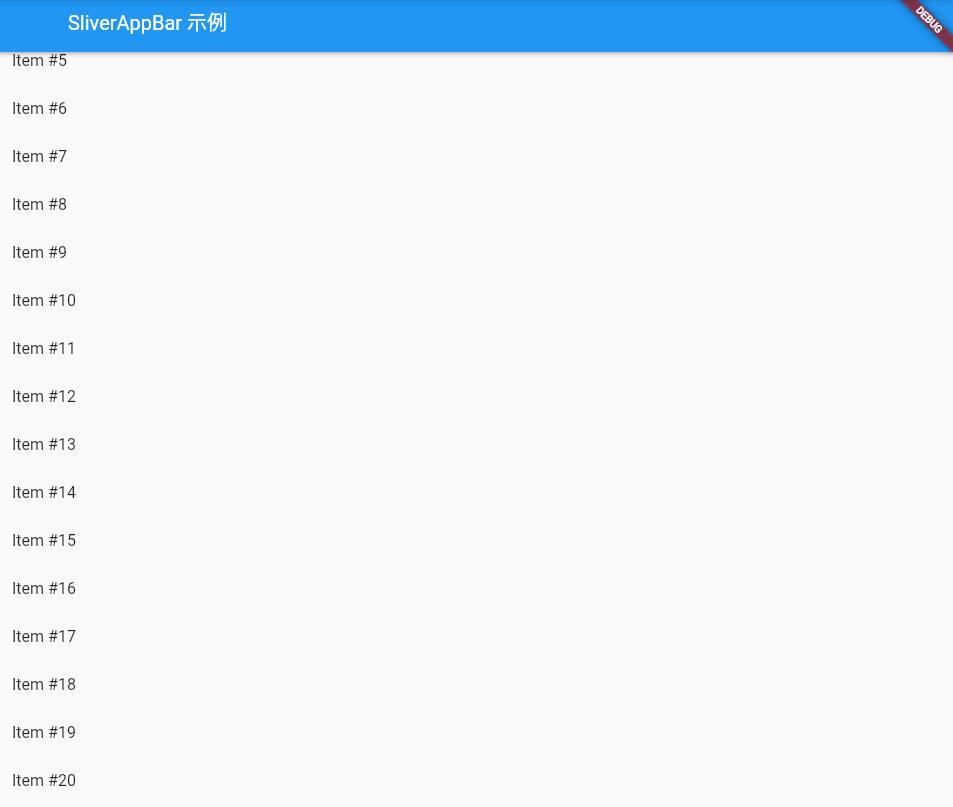
在滾動的過程中會將AppBar摺疊放置,僅會顯示SilverAppBar的名稱
參見: https://docs.flutter.dev/ui/layout/scrolling/slivers
參見: Building scrolling experiences in Flutter | Workshop Codelab
我們結合上述範例,來做一個簡易的每周天氣預報頁面展示,將分為兩大部分「元件佈局區塊」、「資料傳遞區塊」
在HorizonsApp的class中,包含以下
注意: 在資料傳遞的區塊內,有涉及與後端資料模型串接的格式與傳遞的方式,在此不詳加敘述,有興趣的同學可以再去加以研究!本段程式碼主要以結構化的概念與頁面呈現為主要宗旨!
明天我們將會連同程式與執行結果展示出來!
