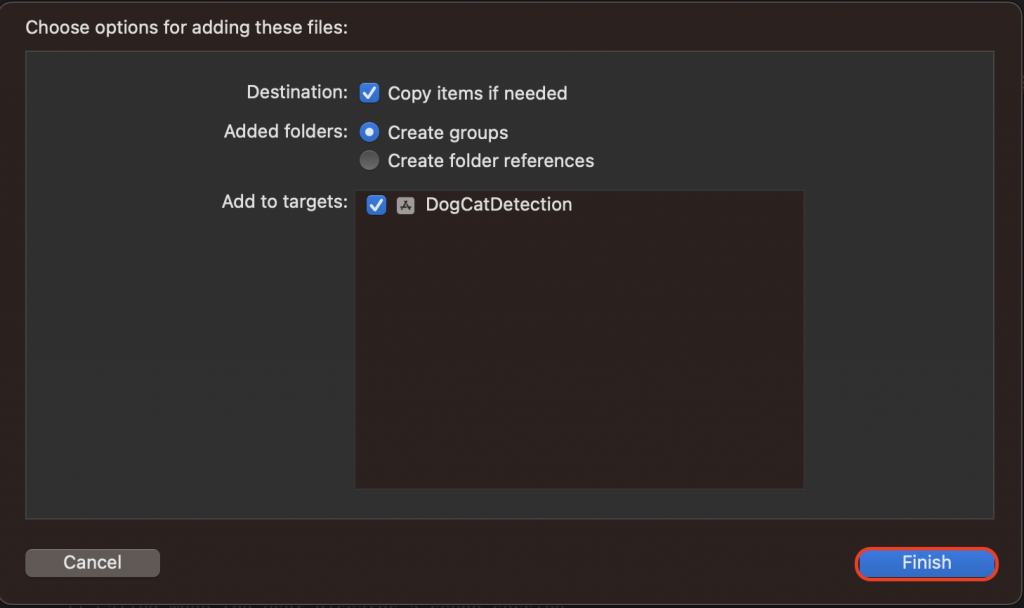
今天要教大家如何在 Xcodce 專案中使用已經訓練好的模型!
不管自己訓練的模型或者是其他人已經訓練好的模型,只要遵照裡面的使用方法就都可以使用喔!
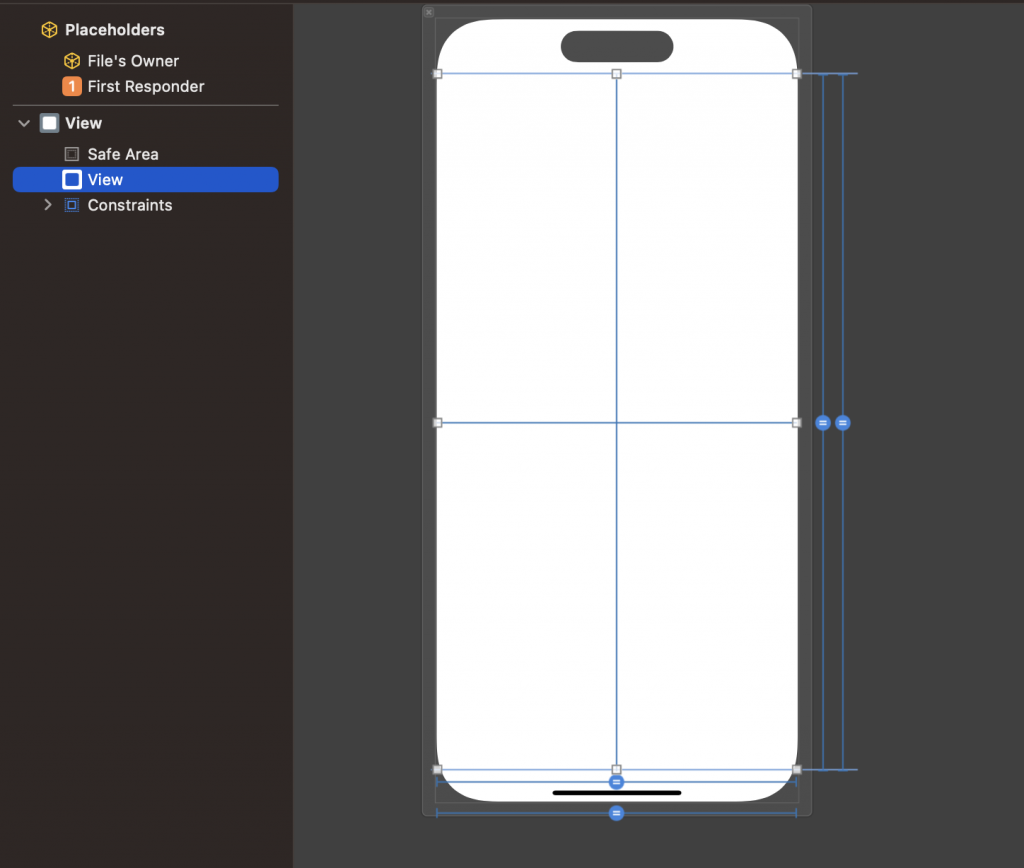
@IBOutlet weak var vVideo: UIView!
import CoreML
import AVFoundation
一個是 CoreML 的框架,另一個是蘋果的多媒體處理框架
 // 創建一個 AVCaptureSession 來管理音頻和視頻的捕獲設定
let captureSession = AVCaptureSession()

// 獲取預設的後置內置廣角攝像頭作為視頻捕獲設備
let captureDevice = AVCaptureDevice.default(.builtInWideAngleCamera, for: .video, position: .back)

// 聲明一个可選變量来儲存捕獲設備的輸入源
var input: AVCaptureDeviceInput?

// 使用 do-catch ,創建 AVCaptureDeviceInput 從捕獲設備。如果
do {
    input = try AVCaptureDeviceInput(device: captureDevice!)
} catch {
    print(error.localizedDescription)
}
// 創建一個AVCaptureVideoPreviewLayer,用於在 vVideo UIView 上顯示攝像頭預覽
let previewLayer = AVCaptureVideoPreviewLayer(session: captureSession)

// 創建一個 AVCaptureVideoDataOutput ,用於處理捕獲到的視頻數據
let outputData = AVCaptureVideoDataOutput()

// 設置 outputData 的樣本緩衝協議代理為 self ,並指定一個名為 "videoQueue" 的 DispatchQueue 用於處理捕獲的視訊數據
outputData.setSampleBufferDelegate(self, queue: DispatchQueue(label: "videoQueue"))

// 將 outputData 添加到捕獲會話(captureSession)的輸出(output)中
captureSession.addOutput(outputData)

// 設置 previewLayer 的框架大小,以匹配剛剛設定好的 UIView 的寬度和高度,用於顯示攝像頭預覽
previewLayer.frame = CGRect(x: 0, y: 0, width: vVideo.frame.width,
                                    height: vVideo.frame.height)

// 在 vVideo UIView 的圖層上添加previewLayer,以顯示攝像頭預覽
vVideo.layer.addSublayer(previewLayer)

// 將之前創建的捕獲設備輸入(input)添加到捕獲會話(captureSession)中
captureSession.addInput(input!)

// 使用背景排隊(DispatchQueue.global)啟動捕獲會話(captureSession),以開始捕獲視訊
DispatchQueue.global(qos: .background).async {
    captureSession.startRunning()
}
// 記得先繼承喔!


class MainViewController: AVCaptureVideoDataOutputSampleBufferDelegate
// AVCaptureVideoDataOutput 委託方法,當攝像頭輸出新的視頻幀時被調用
func captureOutput(_ output: AVCaptureOutput, didOutput sampleBuffer: CMSampleBuffer, from connection: AVCaptureConnection) {
// 從 CMSampleBuffer 中獲取像素緩衝區(pixelBuffer),該緩衝區包含捕獲的視頻幀數據
let pixelBuffer = CMSampleBufferGetImageBuffer(sampleBuffer)
do {
// 創建一個 MLModelConfiguration 來配置機器學習模型
let modelConfiguration = MLModelConfiguration()
// 創建 DogsAndCatsDetection 模型實例,該模型用於狗和貓的檢測
let model = try DogsAndCatsDetection(configuration: modelConfiguration)
// 創建一個 DogsAndCatsDetectionInput 對象,並使用像素緩衝區作為輸入圖像
let input = DogsAndCatsDetectionInput(image: pixelBuffer!)
// 使用機器學習模型進行預測,並獲取預測結果
let output = try model.prediction(input: input)
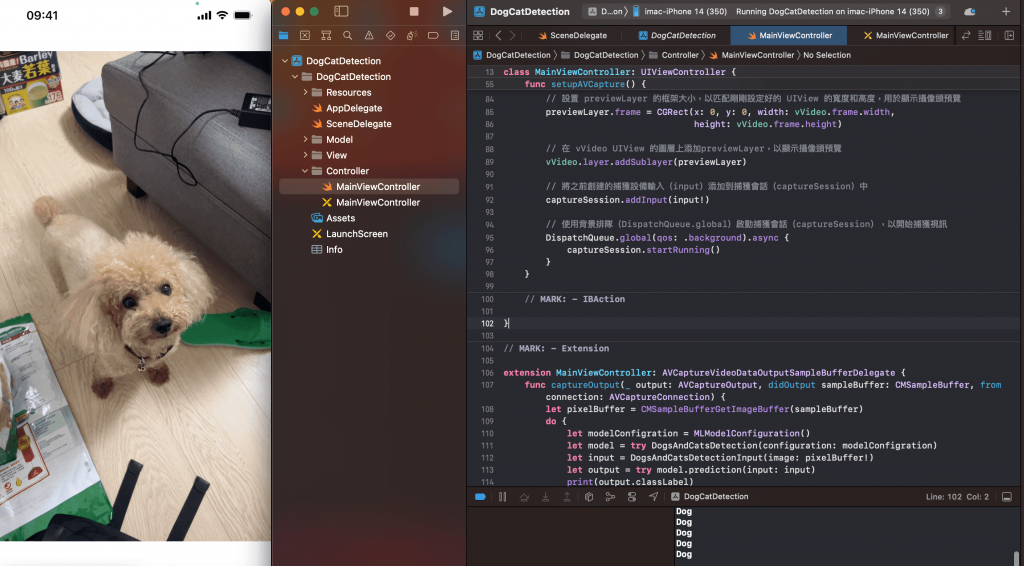
// print 出預測的類別標籤
print(output.classLabel)
} catch {
// 如果有錯誤發生,打印錯誤消息
print(error.localizedDescription)
}
}


 iThome鐵人賽