前言
前面Day 19 這幾天有使用.NET Core來建立資料的CRUD查找資料,除了這個方式以外.NET工程師還會使用**.NET Core Web API**來發送API去資料庫查找資料。
當你使用 ASP.NET Core Web API 來操作資料庫時,通常會包括以下步驟:
使用 Visual Studio 或其他適當的開發環境建立一個新的 ASP.NET Core Web API 專案。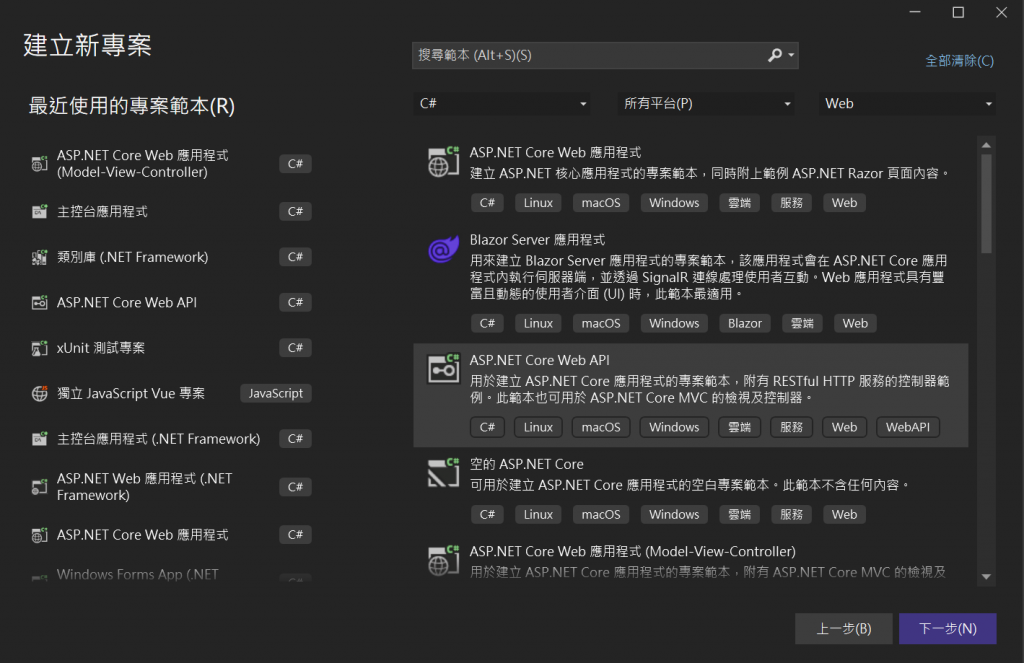
打勾Open API支援就會有Swagger 這個套件可以閱讀使用,就像說明書一樣,我們會知道需要傳入的資訊跟會傳出甚麼訊息或資訊。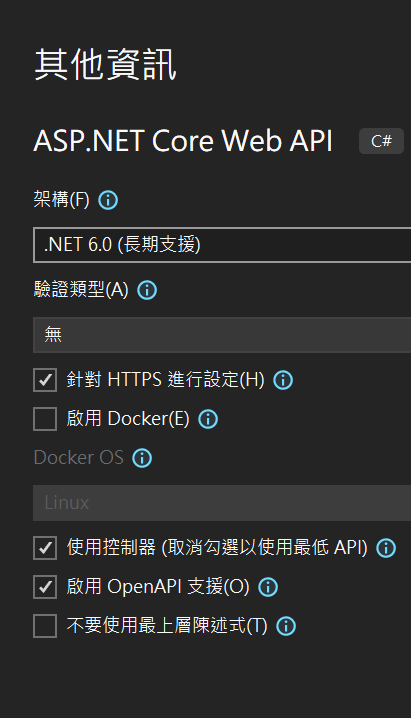
建立的類別一樣也是使用Day 17 使用.NET Core 建立簡單的CRUD (part 1)
創建一個“文章”類別:
public class Article
{
    public int Id { get; set; }
    public string Title { get; set; }
    public string Content { get; set; }
}
在 appsettings.json 中設定資料庫連接字串,指向你的 SQL Server 資料庫。
{
  "ConnectionStrings": {
    "DefaultConnection": "Server=localhost;Database=YourDatabaseName;User Id=YourUsername;Password=YourPassword;"
  }
建立 DbContext 類別,它用於連接和操作資料庫,上面建立好正確的連線字串以後,創建一個簡單的資料庫上下文類別:
using Microsoft.EntityFrameworkCore;

public class BlogDbContext : DbContext
	{
		public BlogDbContext(DbContextOptions<BlogDbContext> options) : base(options)
		{
		}
		public DbSet<Article> Articles { get; set; }

		protected override void OnConfiguring(DbContextOptionsBuilder optionsBuilder)
		{
			if (!optionsBuilder.IsConfigured)
			{
				var config = new ConfigurationBuilder()
					.SetBasePath(Directory.GetCurrentDirectory())
					.AddJsonFile("appsettings.json")
					.Build();

				optionsBuilder.UseSqlServer(config.GetConnectionString("ironDay"));
			}
		}
	}
創建了一個名為“BlogDbContext”的數據庫上下文類。
這裡類別建立好了以後,要到Program.cs裡面加上這段,在DI容器裡面注入BlogContext的類別
builder.Services.AddDbContext<BlogDbContext>(Options => {
	Options.UseSqlServer(builder.Configuration.GetConnectionString("ironDay"));
});
建立資料庫遷移:
參考Day18 使用.NET Core 建立簡單的CRUD (part 2 資料庫建立完成)這篇,使用裡面建立的資料庫,跟建立資料庫內容。
包含資料庫遷移 Migration
Add-Migration InitialCreate
然後運行以下命令來應用遷移並創建數據庫:
Update-Database
建立 Web API 控制器: 建立一個控制器,用於處理資料的 CRUD 操作。例如:
[Route("api/[controller]")]
	[ApiController]
	public class ArticleController : ControllerBase
	{
		private readonly BlogDbContext _context;

		public ArticleController(BlogDbContext context)
		{
			_context = context;
		}

		// GET: api/Article
		[HttpGet]
		public async Task<ActionResult<IEnumerable<Article>>> GetArticles()
		{
			return await _context.Articles.ToListAsync();
		}

		// GET: api/Article/5
		[HttpGet("{id}")]
		public async Task<ActionResult<Article>> GetArticle(int id)
		{
			var article = await _context.Articles.FindAsync(id);

			if (article == null)
			{
				return NotFound();
			}

			return article;
		}

		// POST: api/Article
		[HttpPost]
		public async Task<ActionResult<Article>> PostArticle(Article article)
		{
			_context.Articles.Add(article);
			await _context.SaveChangesAsync();

			return CreatedAtAction(nameof(GetArticle), new { id = article.Id }, article);
		}

		// PUT: api/Article/5
		[HttpPut("{id}")]
		public async Task<IActionResult> PutArticle(int id, Article article)
		{
			if (id != article.Id)
			{
				return BadRequest();
			}

			_context.Entry(article).State = EntityState.Modified;

			try
			{
				await _context.SaveChangesAsync();
			}
			catch (DbUpdateConcurrencyException)
			{
				if (!ArticleExists(id))
				{
					return NotFound();
				}
				else
				{
					throw;
				}
			}
			return NoContent();
		}

		// DELETE: api/Article/5
		[HttpDelete("{id}")]
		public async Task<IActionResult> DeleteArticle(int id)
		{
			var article = await _context.Articles.FindAsync(id);
			if (article == null)
			{
				return NotFound();
			}

			_context.Articles.Remove(article);
			await _context.SaveChangesAsync();

			return NoContent();
		}

		private bool ArticleExists(int id)
		{
			return _context.Articles.Any(e => e.Id == id);
		}
執行之後可以看到,Swagger預設的畫面如圖所示,裡面有我們建立好的API Controller,包含預設的WeatherForecast還有Article的控制器。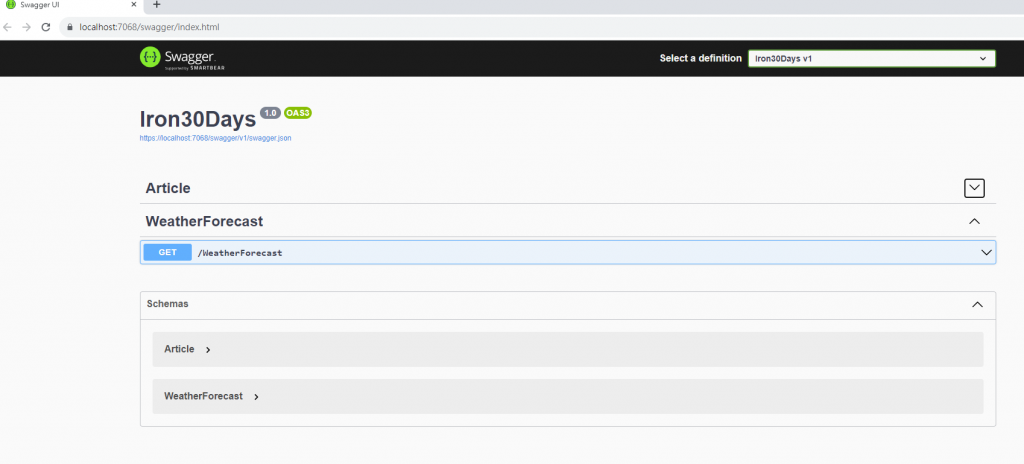
點GET出來的畫面就會試查詢到的資料。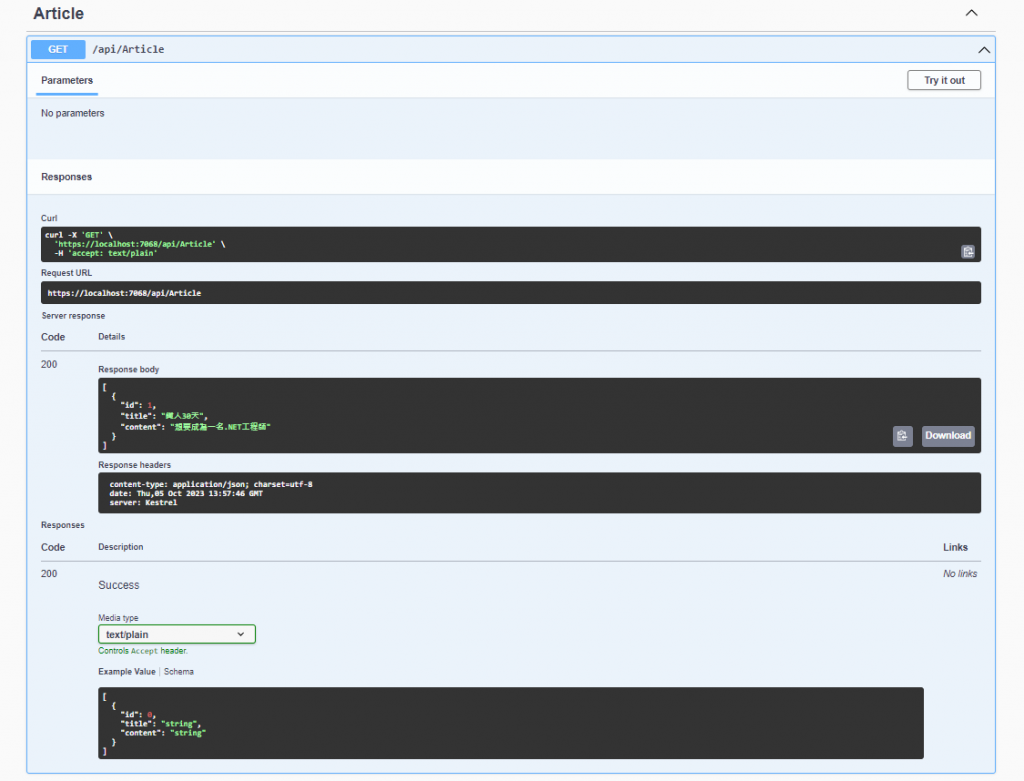
點擊POST表示新增一筆資料,id因為我們預設的是IDENTITY屬性,所以資料庫會根據我指定的(1,1)從一開始每次加1號的流水編號,下面Swagger可以看到Request body是傳入的資料。(執行查詢請按Execute的按鈕喔!!)
下面可以看到有個Code下面顯示數字201
HTTP 201 Created 成功狀態碼表示請求成功且有一個新的資源已經依據需要而被建立。
在下面一點就可以看到確實回傳建立成功的資料
第24天挑戰完成!!!