因為我使用的是 Vite 工具,在 Vite 官網上提供了將網站部署到 Github Page 上的步驟跟方法(部署靜態網站),內容大致如下:
以這個專案為例我的設定如下
export default defineConfig({
    base: '/TimelineQuest-ithelp-sample/',
    plugins: [
        vue(),
        Components({
            dirs: ['src/components'],
            resolvers: [IconsResolver()],
        }),
        Icons({
            autoInstall: true,
        }),
    ],
    resolve: {
        alias: [{ find: '@', replacement: fileURLToPath(new URL('./src', import.meta.url)) }],
    },
    test: {
        globals: true,
        environment: 'jsdom',
    },
});
Vite 提供的 yml 檔內容
# 将静态内容部署到 GitHub Pages 的简易工作流程
name: Deploy static content to Pages

on:
  # 仅在推送到默认分支时运行。
  push:
    branches: ['main']

  # 这个选项可以使你手动在 Action tab 页面触发工作流
  workflow_dispatch:

# 设置 GITHUB_TOKEN 的权限,以允许部署到 GitHub Pages。
permissions:
  contents: read
  pages: write
  id-token: write

# 允许一个并发的部署
concurrency:
  group: 'pages'
  cancel-in-progress: true

jobs:
  # 单次部署的工作描述
  deploy:
    environment:
      name: github-pages
      url: ${{ steps.deployment.outputs.page_url }}
    runs-on: ubuntu-latest
    steps:
      - name: Checkout
        uses: actions/checkout@v3
      - name: Set up Node
        uses: actions/setup-node@v3
        with:
          node-version: 18
          cache: 'npm'
      - name: Install dependencies
        run: npm install
      - name: Build
        run: npm run build
      - name: Setup Pages
        uses: actions/configure-pages@v3
      - name: Upload artifact
        uses: actions/upload-pages-artifact@v1
        with:
          # Upload dist repository
          path: './dist'
      - name: Deploy to GitHub Pages
        id: deployment
        uses: actions/deploy-pages@v1
一個人的 Git Flow
每次新功能分支推上 github就換跳出 PR 提示!
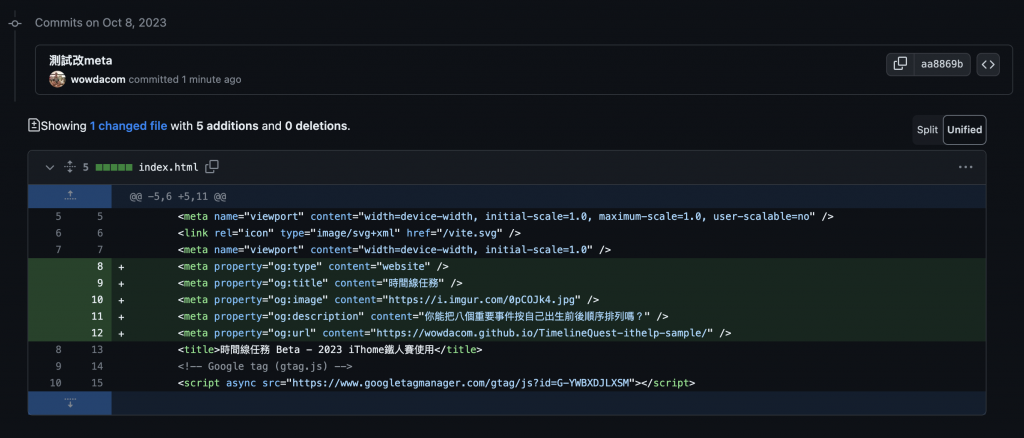
將新的功能合併到 main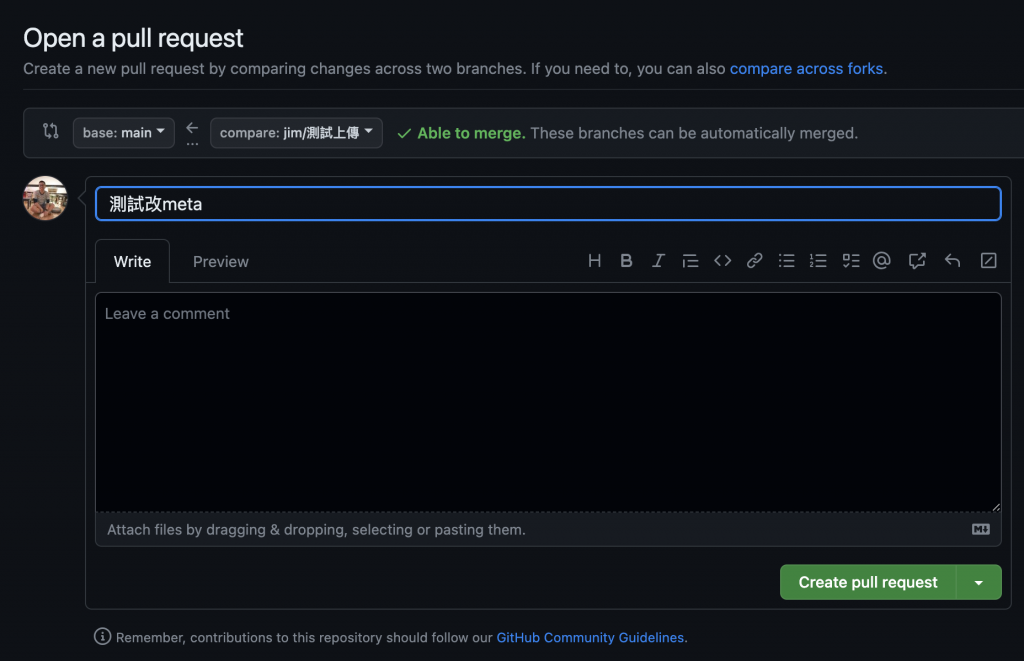
中間的合併流程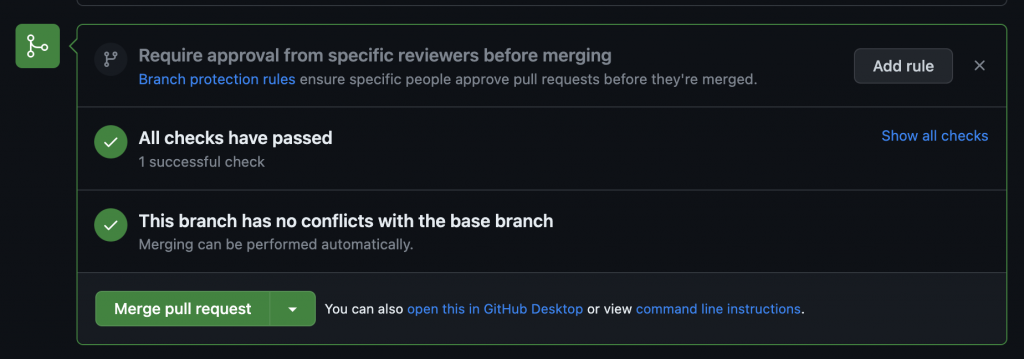
確認合併
cd your-repository/dist
git init
git checkout gh-pages
git add .
git commit -m "更新網頁"
部署到 GitHub Pages
git remote add origin https://github.com/your-username/your-repository.git
git push -u origin gh-pages
在設置完成後,GitHub 會提供一個 URL,我們可以通過這個 URL 訪問網站。
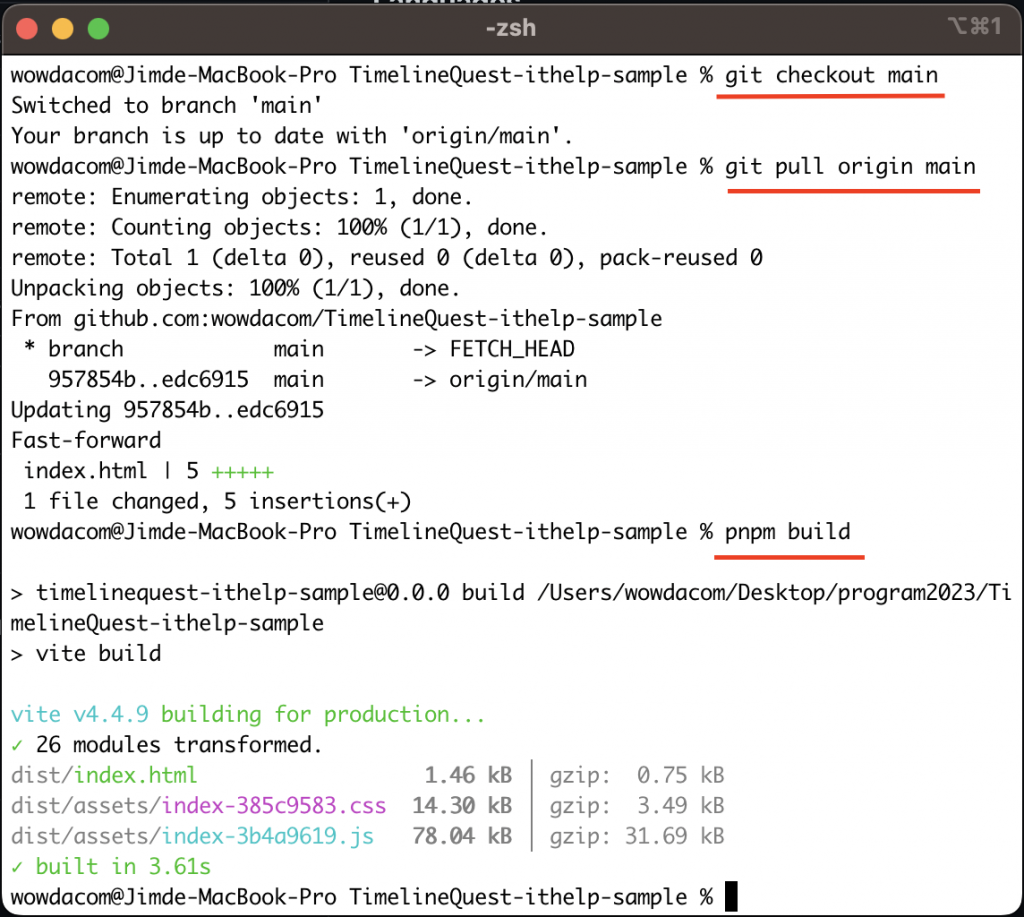
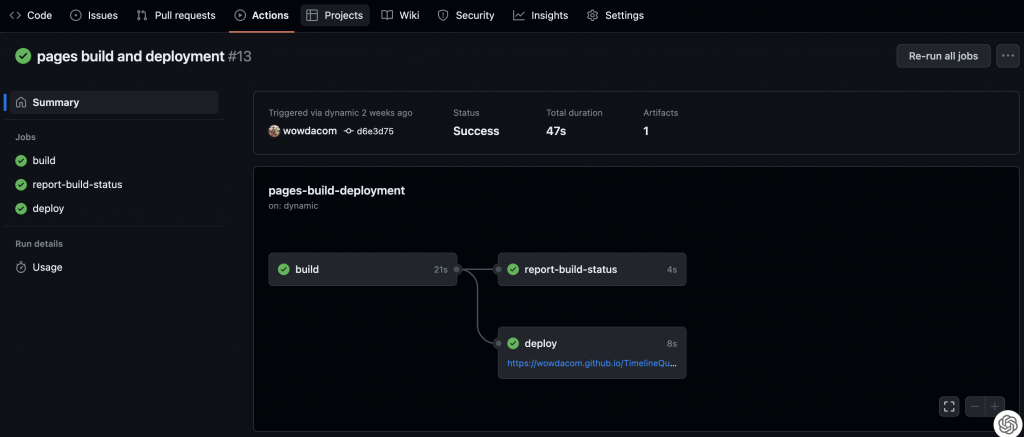
我們可以在 guthub action 裡面看到他會觸發部署流程。


 iThome鐵人賽