在接續後面的開發之前,可以先來嘗試測試佈署 static site 到雲服務上,這邊我會使用 Firebase Hosting 與 Vercel,再也不需要把 web 放在 S3 或是 cloud storage 了。
Firebase Hosting 是 Google 旗下 Friebase 的產品,提供了一個快速又彈性的代管方案,除了有全自動的 SSL 安裝外,還有進階的功能可以使用,像是 path rewrite 與設定 header 的選項,都是一般日常中會常常需要使用的情境。
使用上很簡單,初始化的步驟可以使用 firebase cli 去執行:
firebase init hosting
專案下就會出現了 firebase.json ,裡面會包含所有需要的設定
{
  "hosting": [
    {
      "target": "production",
      "public": "dist",
      "ignore": [
        "firebase.json",
        "**/.*",
        "**/node_modules/**"
      ],
      "trailingSlash": true,
      "headers": [
        {
          "source": "/",
          "headers": [
            {
              "key": "Cache-Control",
              "value": "max-age=3600, stale-while-revalidate=259200, public"
            }
          ]
        },
        {
          "source": "**/*.html",
          "headers": [
            {
              "key": "Cache-Control",
              "value": "max-age=259200, stale-while-revalidate=5184000, public"
            }
          ]
        },
        {
          "source": "**/*.@(jpg|jpeg|gif|png|js|css)",
          "headers": [
            {
              "key": "Cache-Control",
              "value": "max-age=15552000, stale-while-revalidate=604800, public"
            }
          ]
        }
      ],
      "rewrites": [
        {
          "source": "/sitemap.xml",
          "destination": "/static-sitemap.xml"
        },
        {
          "source": "**",
          "destination": "/index.html"
        }
      ]
    },
    {
      "target": "testing",
      "public": "dist",
      "ignore": [
        "firebase.json",
        "**/.*",
        "**/node_modules/**"
      ],
      "trailingSlash": true,
      "headers": [
        {
          "source": "/",
          "headers": [
            {
              "key": "Cache-Control",
              "value": "no-cache"
            }
          ]
        },
        {
          "source": "**/*.html",
          "headers": [
            {
              "key": "Cache-Control",
              "value": "no-cache"
            }
          ]
        },
        {
          "source": "**/*.@(jpg|jpeg|gif|png|js|css)",
          "headers": [
            {
              "key": "Cache-Control",
              "value": "max-age=3600, stale-while-revalidate=604800, public"
            }
          ]
        }
      ],
      "rewrites": [
        {
          "source": "/sitemap.xml",
          "destination": "/static-sitemap.xml"
        },
        {
          "source": "**",
          "destination": "/index.html"
        }
      ]
    }
  ]
}
可以看到 headers 可以根據需求去調整,在這邊我主要設定了 cache 相關的參數調整,但實際上你可以自由調整要輸出的 header 參數。
rewrite 部分除了可以設定特定的檔案與路徑規則,還可以指定去 cloud function 或是 cloud run
{
  "rewrites": [ {
    "source": "/ssr_api/**",
    "run": {
      "serviceId": "topListApi",
      "region": "asia-east1"
    }
  } ]
}
所以可以輕易的將專案中的 server side 的 function 一同整合至雲服務的無伺服器上。
Deploy 也很簡單,只需要執行這一段指令就可以讓 SDK 幫你執行打包跟 deploy 到主機上。
firebase deploy --only hosting
但是說到這邊, deploy 自動化是必備的選項之一,所以這邊可以跟 cloud build 一起整合:
steps:
  - name: 'gcr.io/cloud-builders/gcloud'
    entrypoint: 'bash'
    args:
      - '-c'
      - |
        gcloud beta secrets versions access latest --secret="${_NEXT_DOT_ENV}" > ./${_ENV_FILE}

  - name: 'gcr.io/cloud-builders/npm:node-20'
    entrypoint: 'bash'
    args:
      - '-c'
      - |
        apt update && apt install python3 python3-pip python -yq&& npm install

  - name: 'gcr.io/cloud-builders/npm:node-20'
    args: [ 'run', 'build' ]

  - name: 'gcr.io/$PROJECT_ID/firebase'
    args: [ 'deploy', '--project=$PROJECT_ID', '--only=hosting:production' ]

  - name: 'gcr.io/cloud-builders/gcloud'
    entrypoint: 'bash'
    args:
      - '-c'
      - |
        curl -X PURGE https://readcast.yhhbill.dev

substitutions:
  _ENV_FILE: '.env'
  _IMG_REPO: 'asia.gcr.io'
  _APP_NAME: 'web'
  _NEXT_DOT_ENV: 'web-production-env'
  _CLOUDSDK_COMPUTE_ZONE: 'asia-east1'
Vercel 是主導開發 Next.js 的公司,他們提供了很多方便的 web 雲服務,尤其以一鍵 deploy 的 hosting ,更是讓快速部屬與高效率的基礎設施普及化的重要角色。
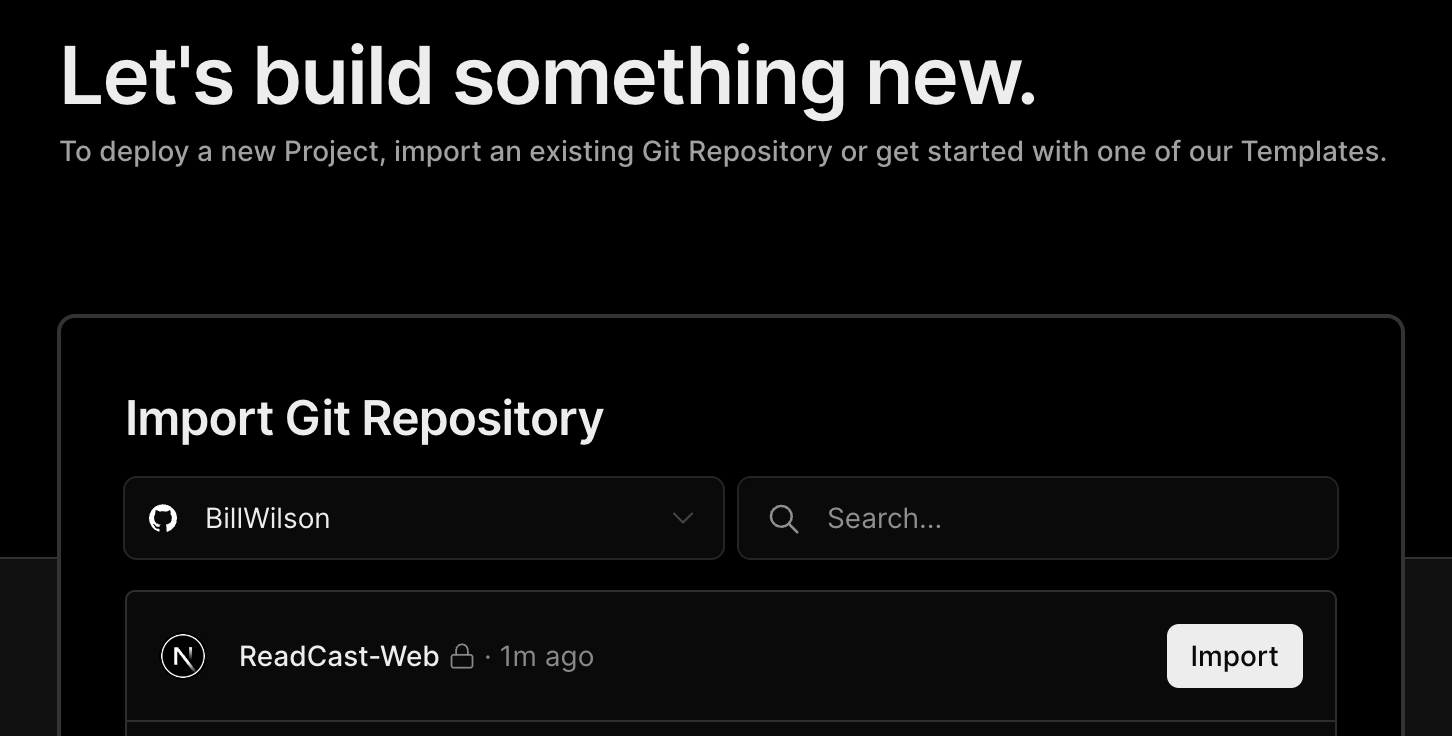
下面就是以加入專案到第一次 deploy 為例,可以看得出快速又不複雜的開發者體驗。
因為是使用 github 帳號來執行第三方登入的流程,所以同時綁定了 github 帳號的讀取權限,所以只要選取你的專案
在這邊有很多 preset ,如果沒有特別修改 next.js 的預設值,就可以直接不進行修正,直接下一步
接下來就會進入第一次執行 build 的流程,除了完整的 deployment detail 之外,還有配發的開發用 sub domain
接下來就可以直接進入瀏覽了!
從上面可以看到 Firebase 與 Vercel 的體驗可以說是不相上下,但由於兩邊的生態系整合方式不同,還有計費結構也是不一樣。在選用哪一邊的陣營之前,需要思考一下。
但是除此之外,兩邊都提供了高效率的基礎設施, Firebase Hsoting 的 CDN 是與 Fastly 合作。Vercel 則是建構在 AWS 的基礎之上,使用了 AWS Global Accelerator 來建構出他們自己的 Edge Network,所以在 CDN 的效率與可靠度都可以是高水準的。
所以基本上,如果沒有考慮使用到很複雜的 SSR 情境時,Vercel, Firebase Hosting or cloudflare page 等等的類似服務,絕對是考慮的首選,而不是大費周章去使用了各種的 obejct storage 搭配了不是很簡單可以設定完成的 Load balancer 或是 cloudfront 這種參數設定難度門檻不低的雲服務等等,始終要把使用雲服務的認知成本當作優先的考量。
