我們今天要把camunda放到雲端,請準備好您的aws帳號,一起部署吧~
我們到IDEA的File > Project Structure
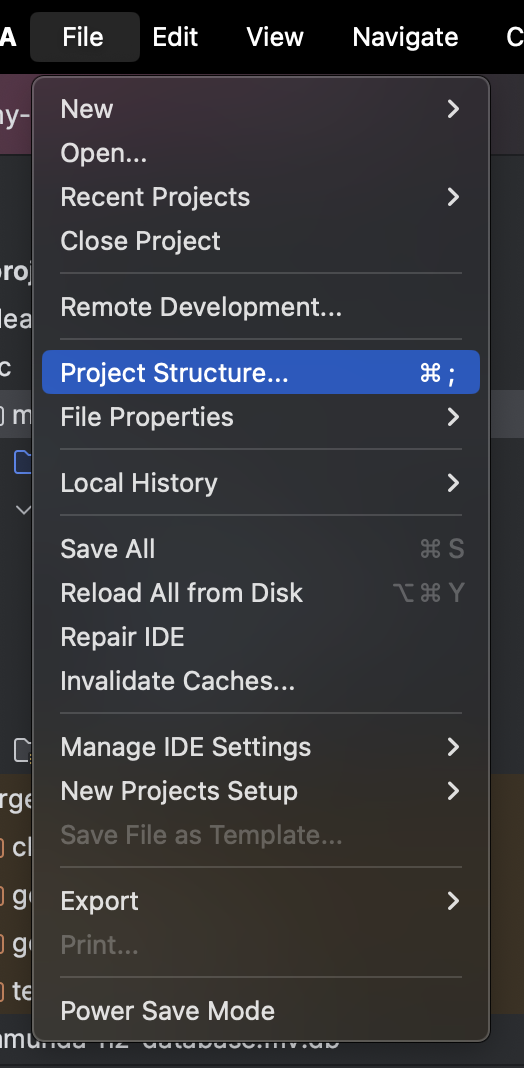
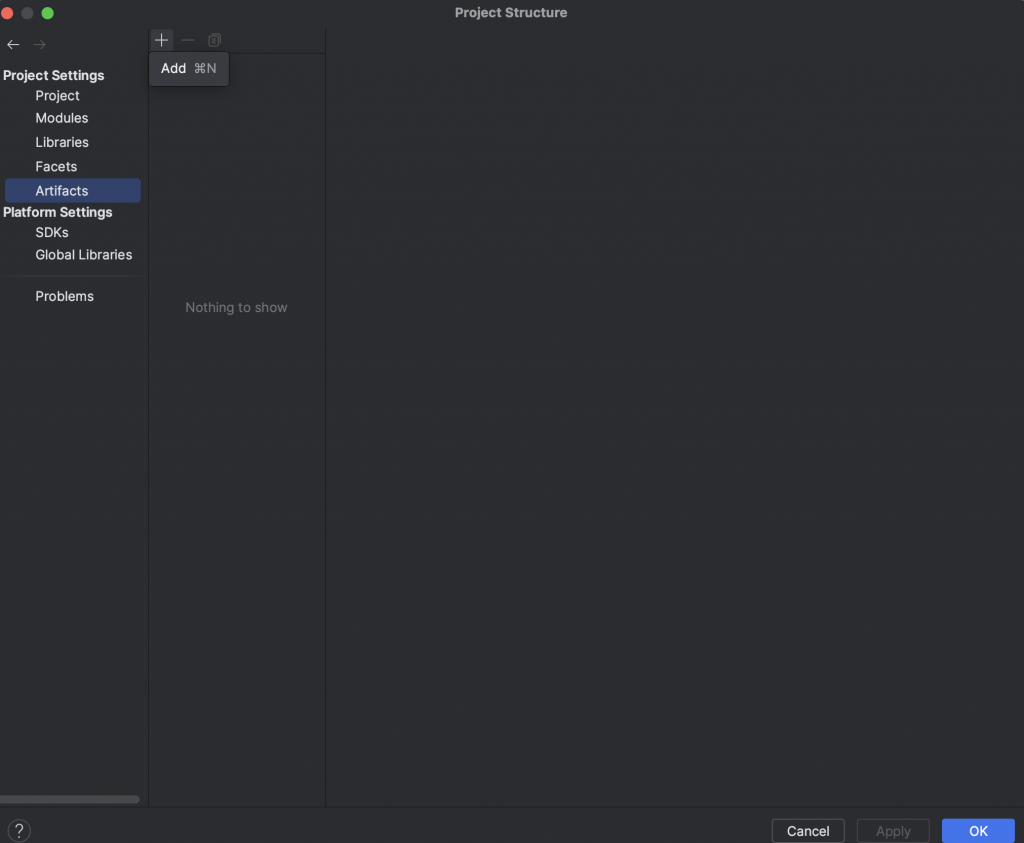
點擊Artifacts>add(+字號)
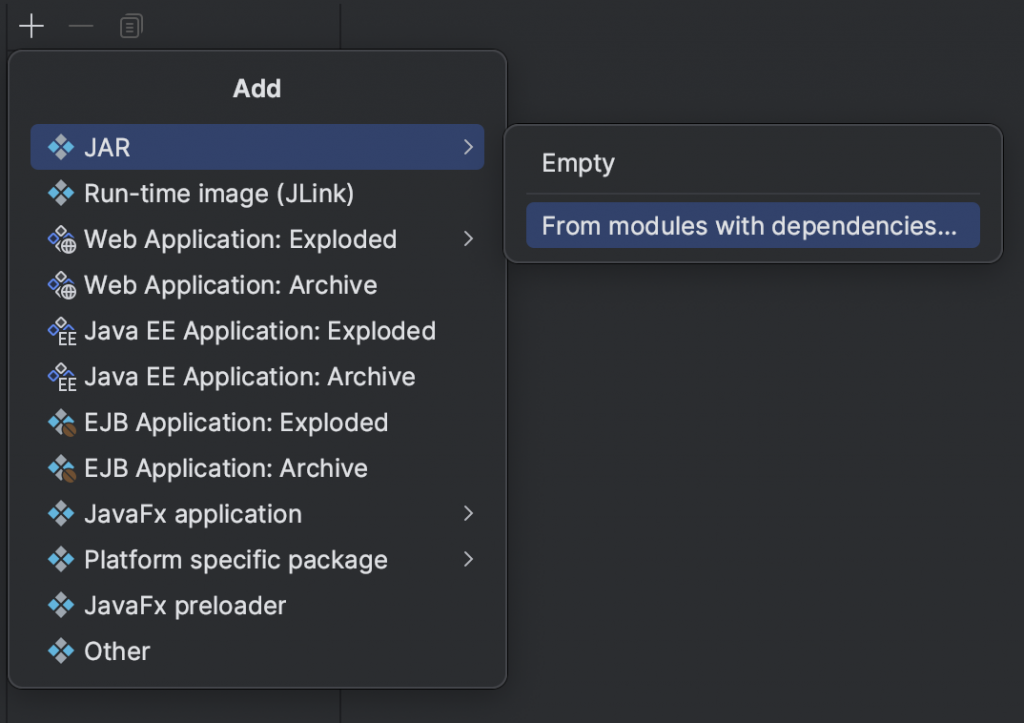
選擇JAR > From modules with dependencies
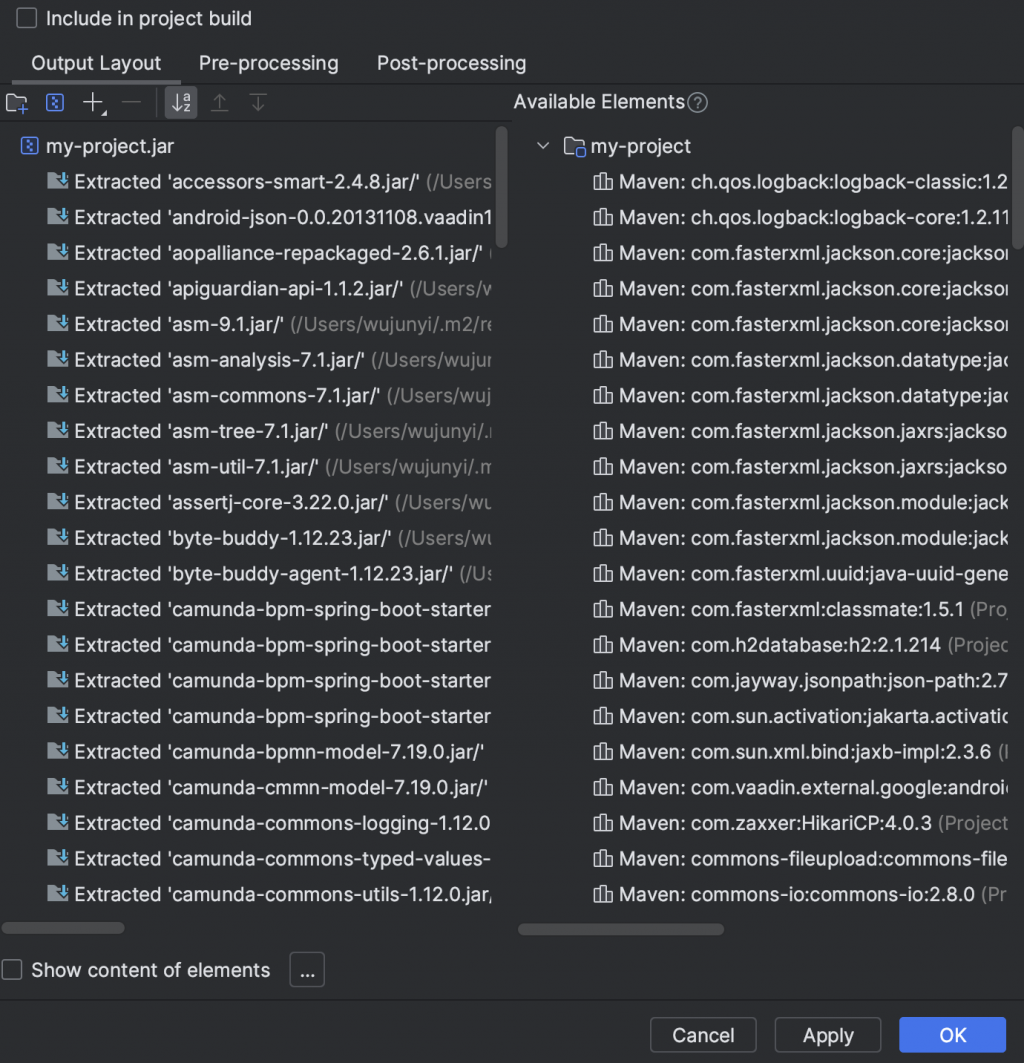
配置如下:
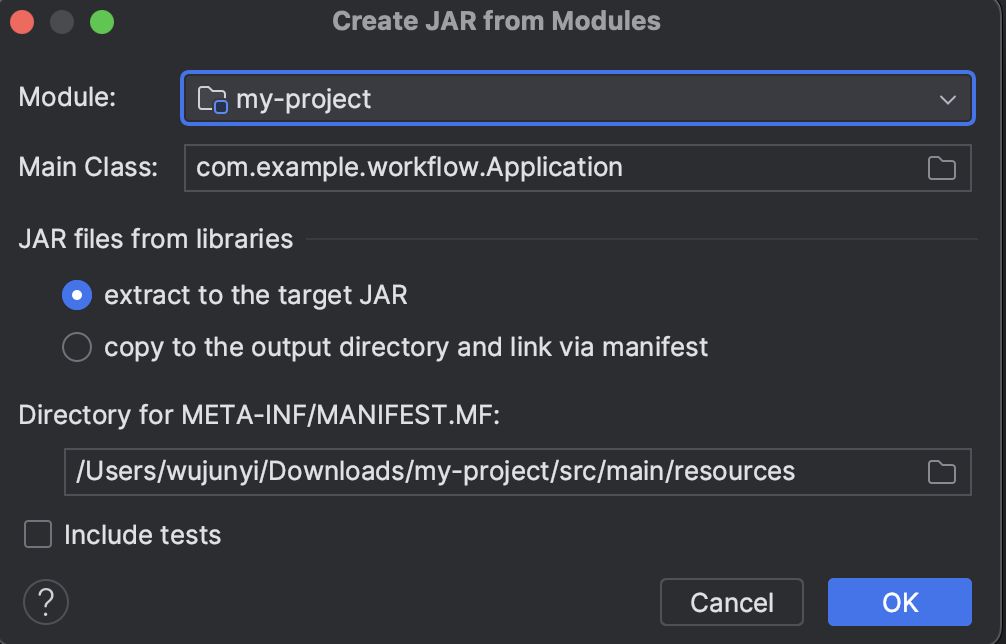
儲存在my-project根目錄,點擊OK
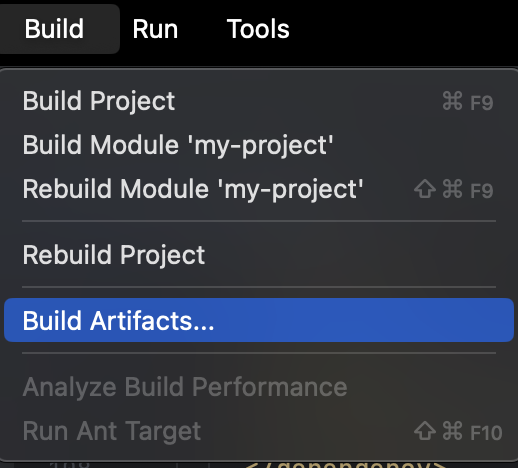
接著到Build>Build Artifacts
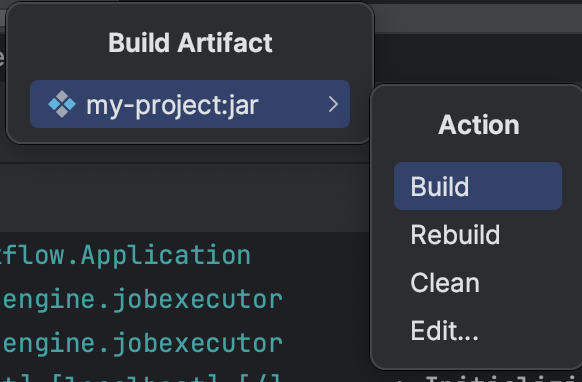
點擊Build
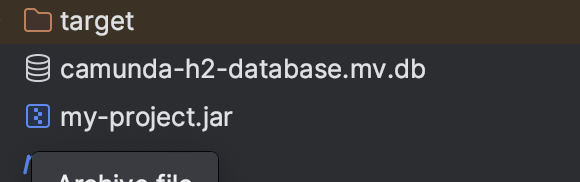
有看到my-project.jar表示您打包成功。
如果您要按照IDEA
預設的位置存儲是沒有問題的
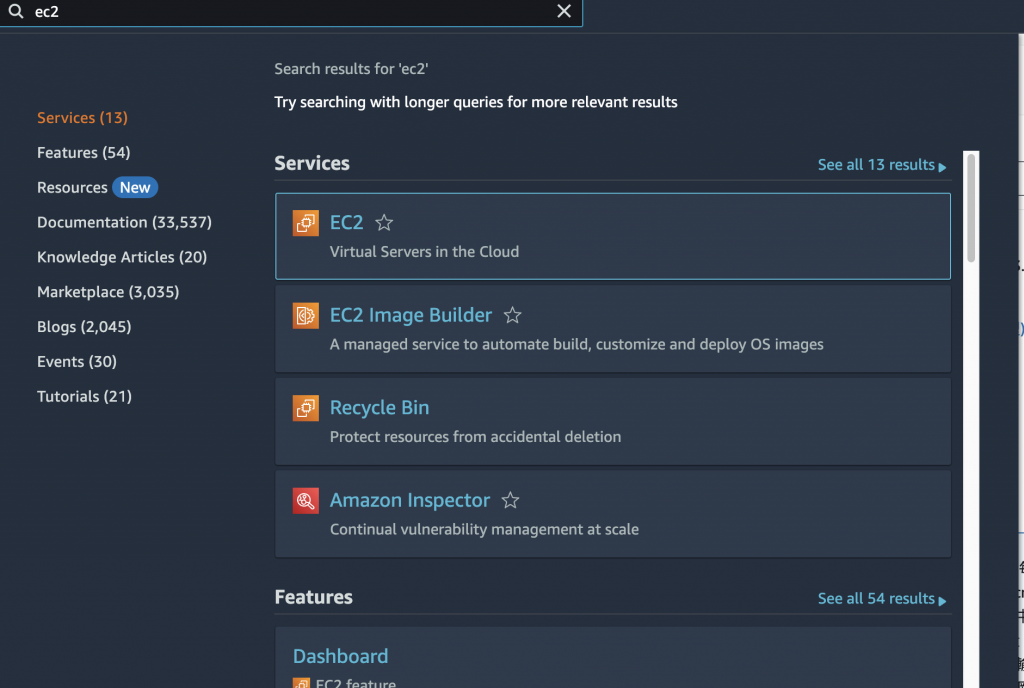
進入到AWS EC2
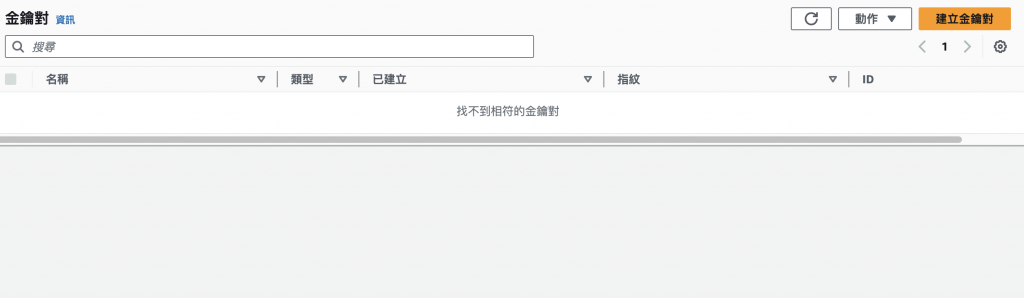
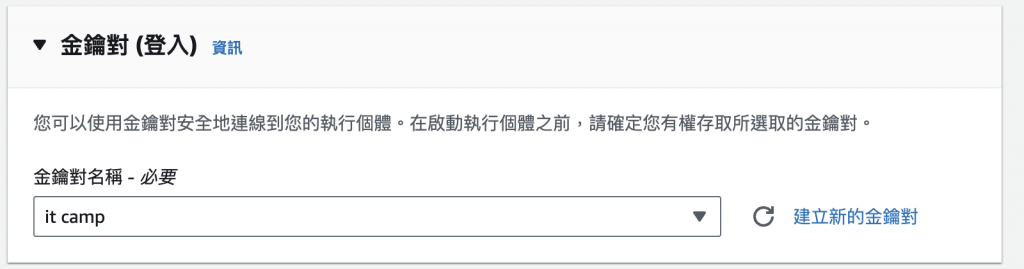
我們生成一個金鑰對

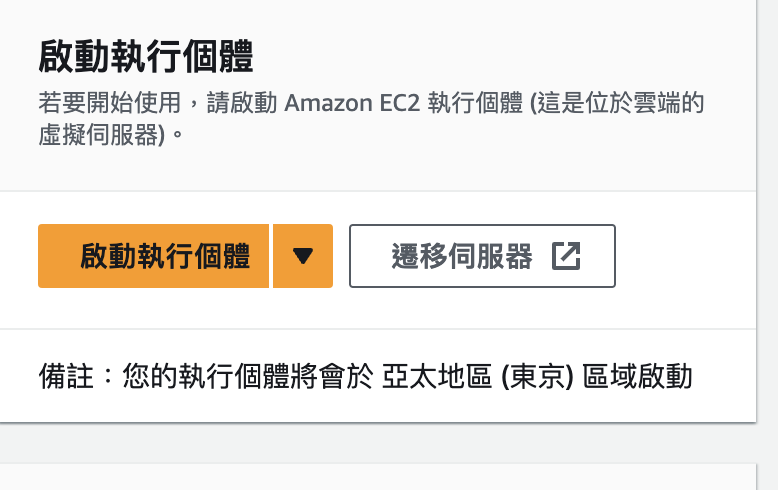
點選「啟動執行個體」
配置如下:
名稱和標籤: it-camp
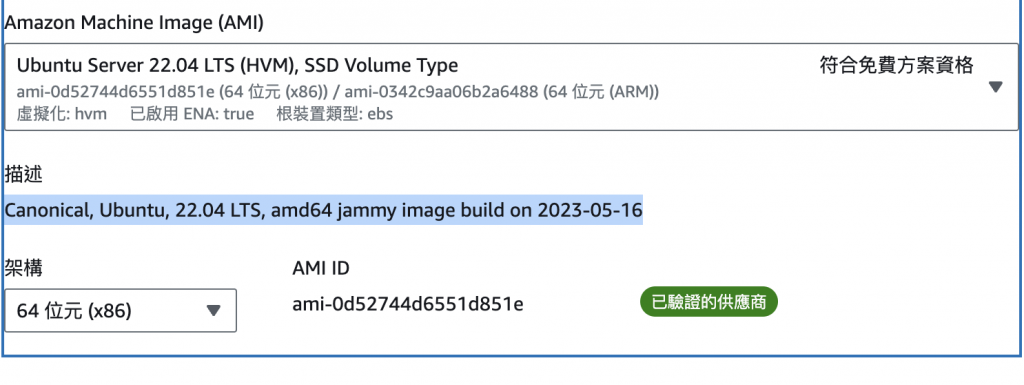
應用程式和作業系統映像: Canonical, Ubuntu, 22.04 LTS, amd64 jammy image build on 2023-05-16
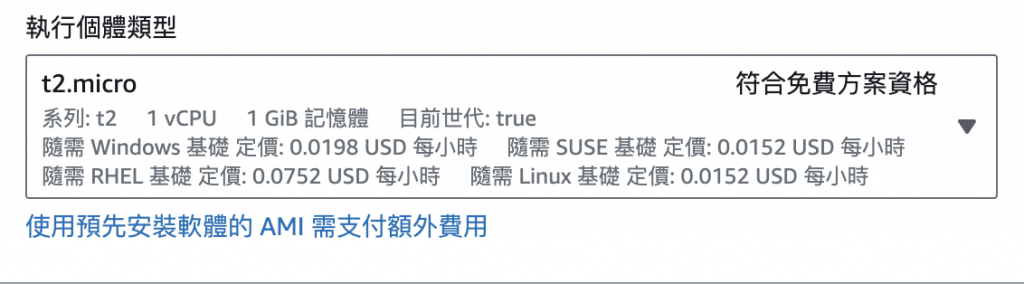
機器選擇免費的t2.micro:
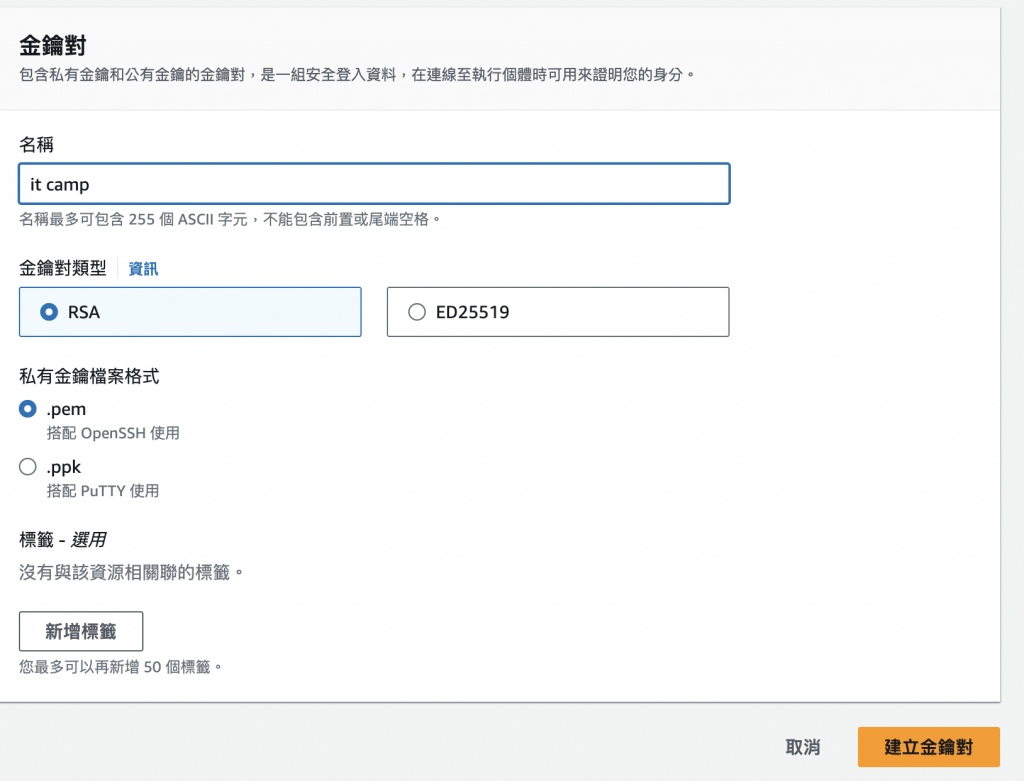
建立金鑰對
網路設定如下

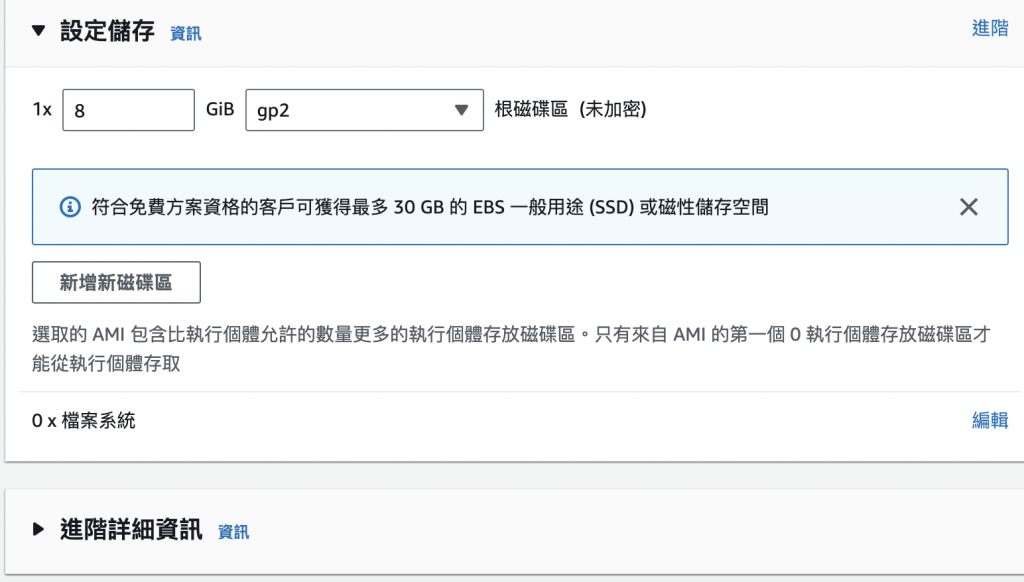
硬碟如下:
這樣就成功部署囉
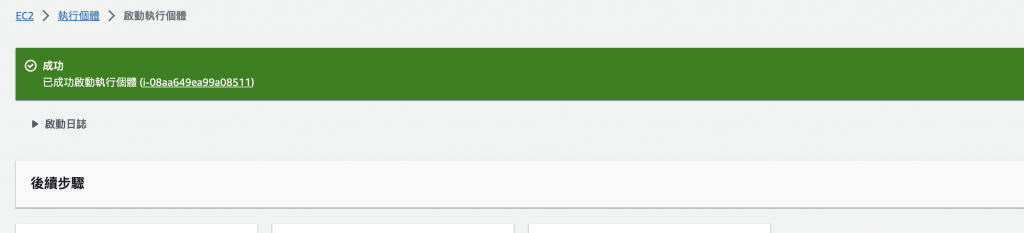
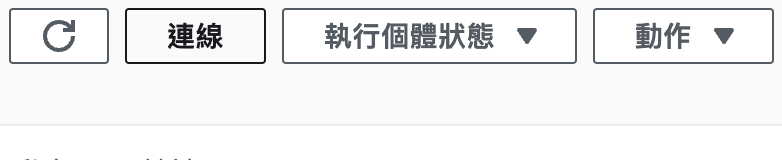
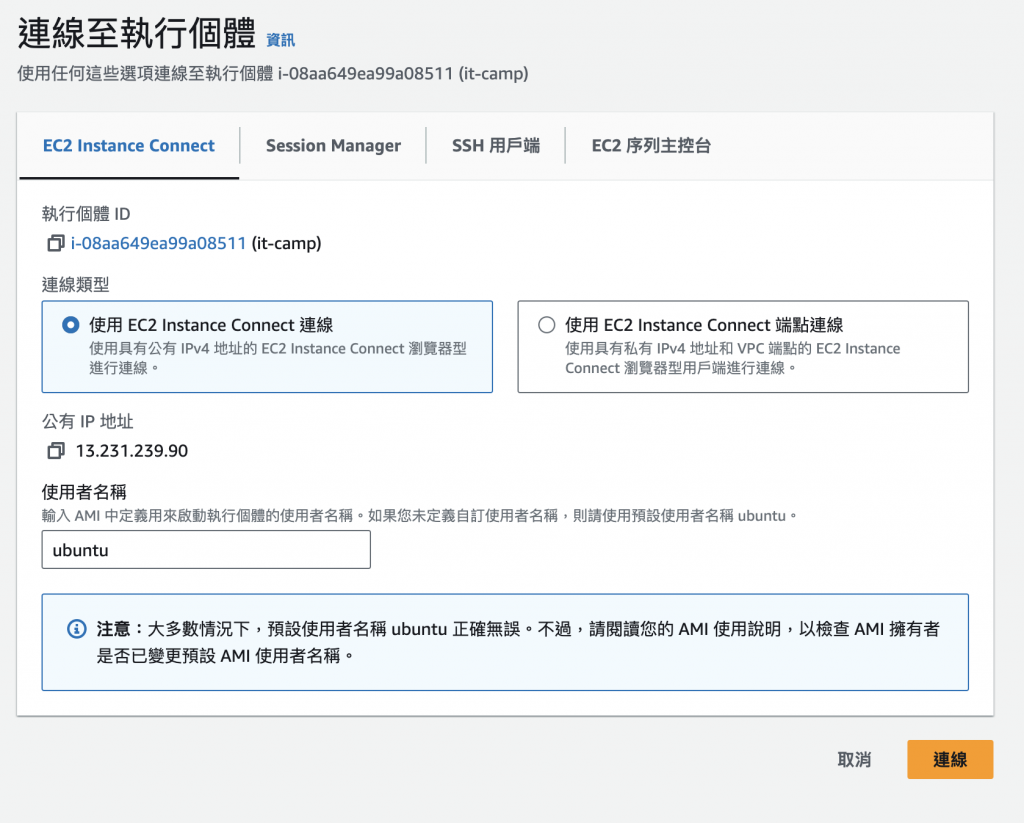
接著我們點選右上角的「連線」
使用預設的連線方式
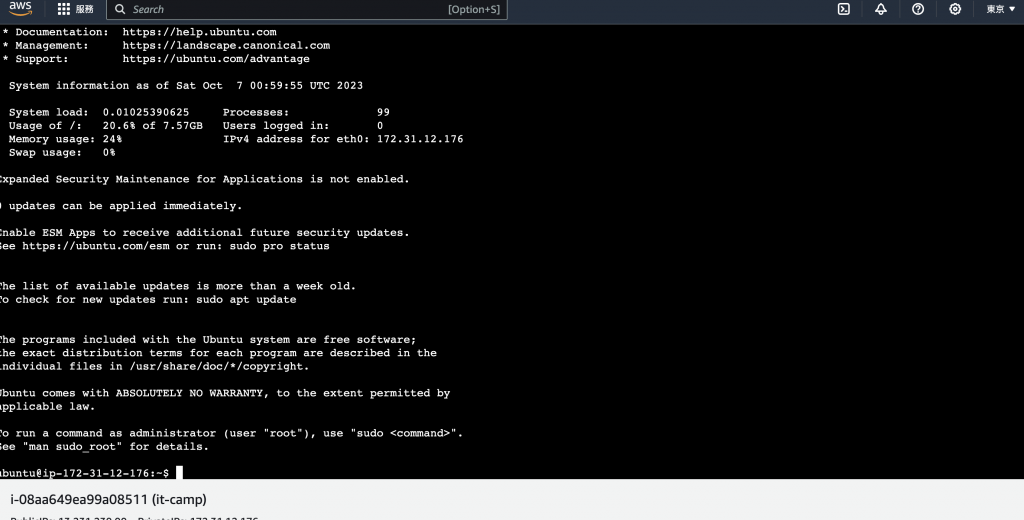
您會在網頁看到操作介面
接著我指令碼輸入到命令列
sudo apt update
sudo apt install openjdk-17-jdk
sudo apt install openjdk-17-jre
輸入 java —version
檢查有沒有出現java 版本17

scp /Users/wujunyi/Downloads/my-project/my-project.jar ubuntu@ec2-13-231-239-90.ap-northeast-1.compute.amazonaws.com:/
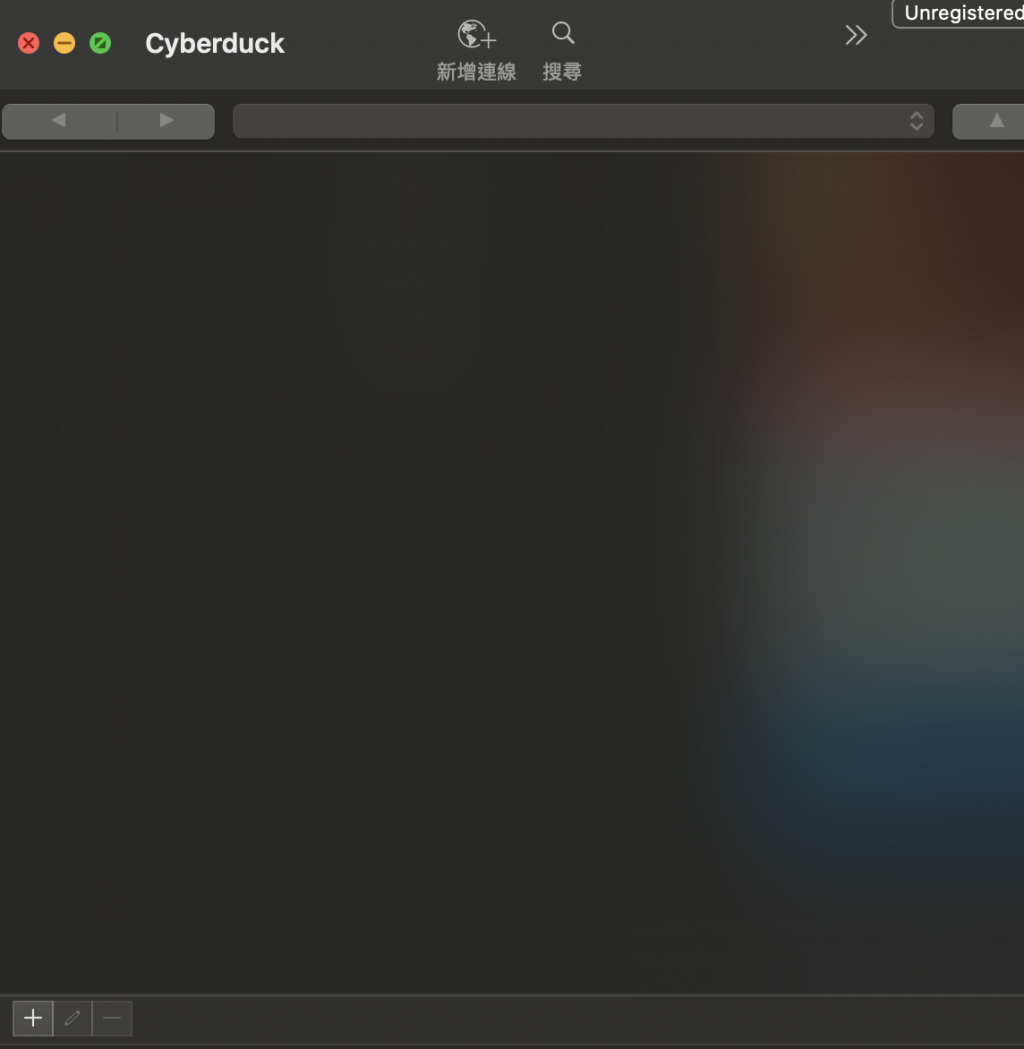
接著開啟cyberduck
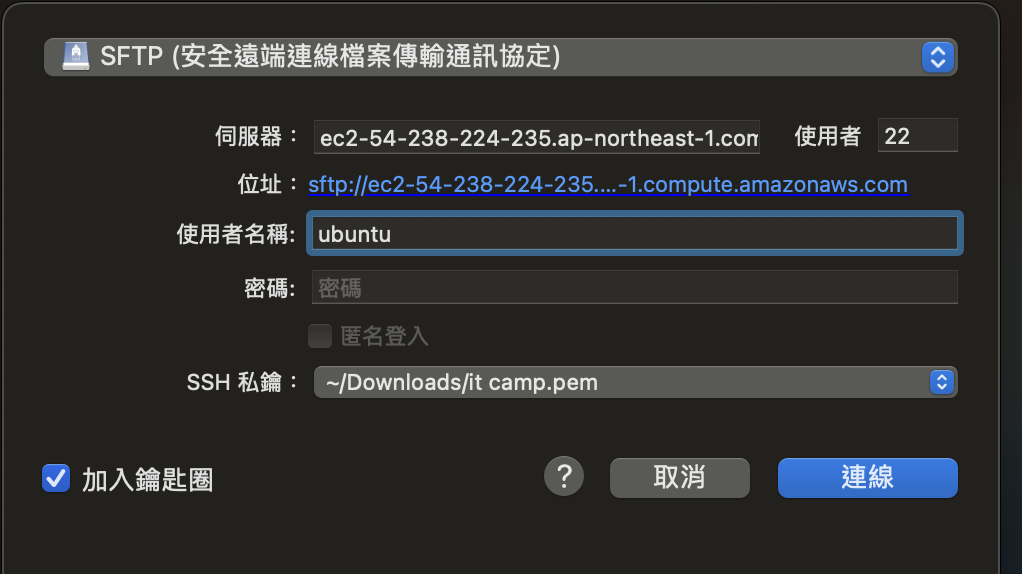
連線配置
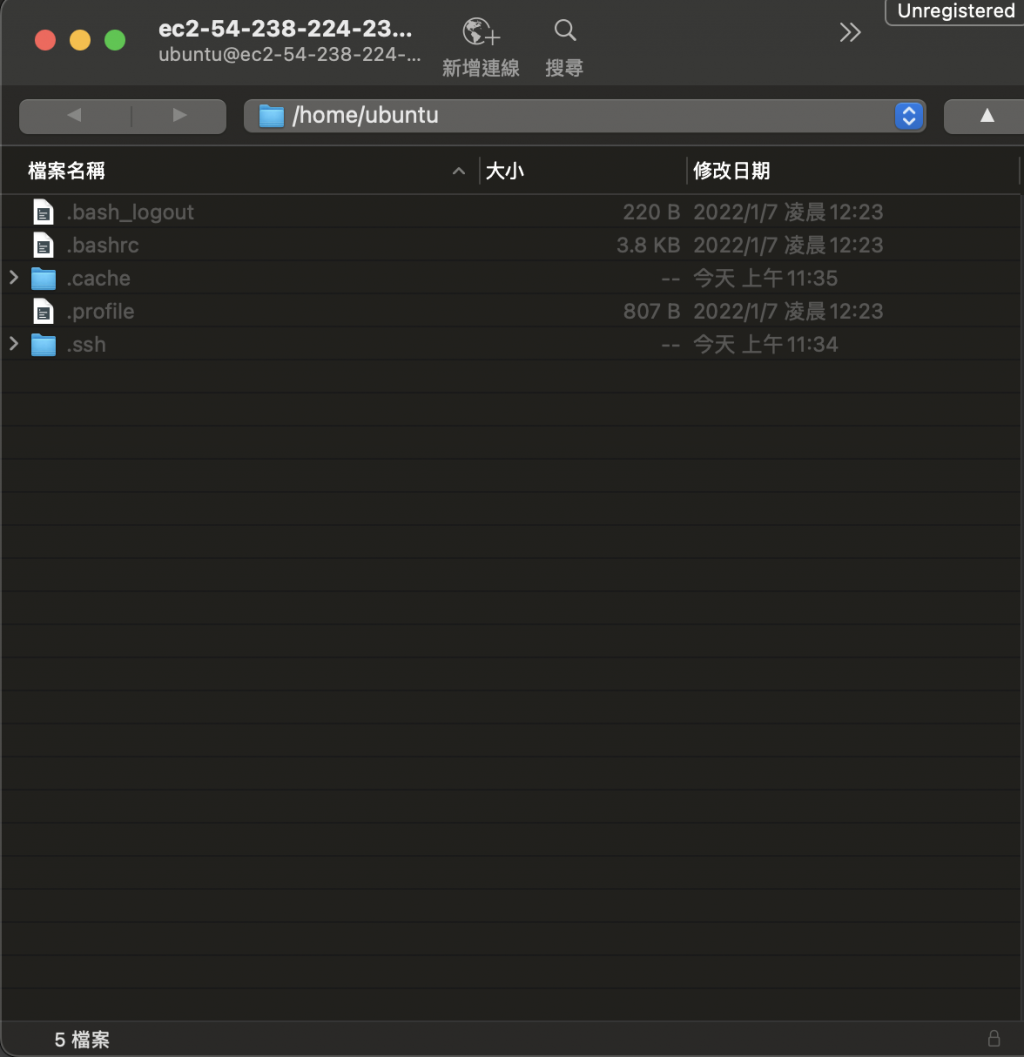
就會看到系統文件
選擇剛才的jar

接著我們將文件上傳

我們輸入ls

我們在輸入java -jar my-project.jar

這樣就部署成功了
如果有任何問題,歡迎在下方留言!! 筆者頭一回寫技術文,如果內容有誤,或者內容的呈現上有所缺陷,如果您願意,歡迎在下方留言給我呦~~
這是我的部落格,歡迎點擊閱覽喔~~會不定期更新文章


 iThome鐵人賽