
Photo by Sébastien Goldberg on Unsplash
Lake Tekapo, Nouvelle-Zélande
Create Child Views with ViewBuilder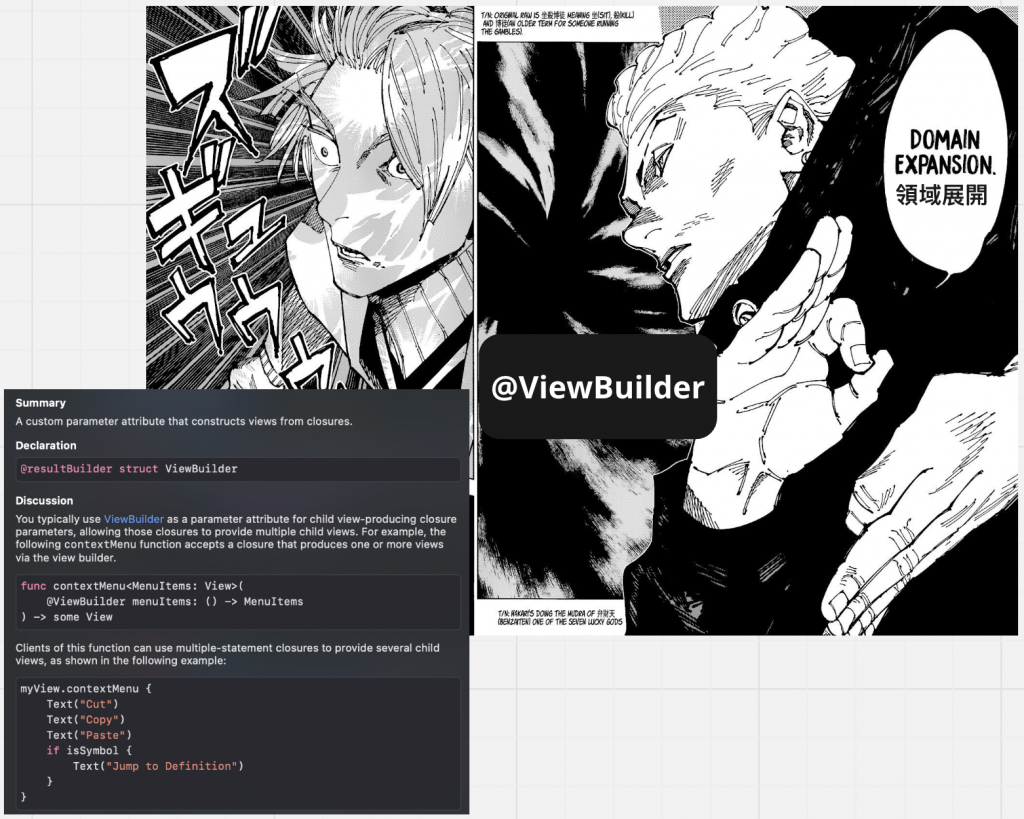
歡迎來到 ViewBuilder [坐殺博徒].🎲
在 Swift 的 SwiftUI 中,@ViewBuilder 是一個特殊的屬性修飾符,用於建立和返回一組可視視圖。它允許我們使用像 if-else 和 for-in 這樣的控制結構來創建複雜的視圖層次結構。你可以把它想像成一個專為視圖設計的閉包。
@ViewBuilder 作用在於它能夠把多個視圖組合成一個視圖。例如,你可能有這樣的需求:根據某些條件顯示或隱藏某個視圖。傳統的做法是使用多個 if 判斷,但這會導致代碼變得繁瑣。有了 @ViewBuilder,你可以簡單地在一個閉包中描述視圖的組成,而不需要擔心如何組合它們。
舉個例子:
struct MyView: View {
    var showText: Bool

    var body: some View {
        content
    }

    @ViewBuilder
    var content: some View {
        if showText {
            Text("Hello, World!")
        }
        Text("Always visible.")
    }
}
一句話解釋:「@ViewBuilder View 版 closure」
什麼!叫我用 ViewBuilder 刻這UI?!
Figma 先有設計稿在說 ( 逃

struct FeedbackRatingView<Content: View>: View {
    let content: () -> Content

    init(@ViewBuilder content: @escaping () -> Content) {
        self.content = content
    }

    var body: some View {
        content()
            .padding(.horizontal, 12)
            .padding(16)
    }
}
extension View {
    func feedbackRatingAlert<Content: View>(
        isPresented: Binding<Bool>,
        message: Binding<String>,
        textStyle: Binding<UIFont.TextStyle>,
        placeholderText: Binding<String>,
        rating: Binding<Int>,
        isLoading: Binding<Bool>,
        @ViewBuilder content: () -> Content
    ) -> some View {
        self.overlay(
            ZStack(alignment: .center) {

                if isPresented.wrappedValue {
                    FeedbackRatingView {
										/.../
                    }
                }
            }
        )
    }
}
.feedbackRatingAlert(isPresented: $showingFeedback,
                             message: $message,
                             textStyle: $textStyle,
                             placeholderText: $placeholderText,
                             rating: $rating,
                             isLoading: $isLoading) {

        }
這一段 Swift 代碼主要定義了一個 SwiftUI 的自定義組件和一個擴展(extension)。我會逐一地解釋這些部分和它們之間的關係:
FeedbackRatingView:
這是一個通用組件,它接受一個返回 Content 類型的 closure。這意味著你可以將任何 View 作為其內容插入。
let content: () -> Content: 這是存儲你提供的 closure 的屬性。init(@ViewBuilder content: @escaping () -> Content): 這是一個特殊的初始化函數,利用 @ViewBuilder 屬性包裝器來接受一個或多個 view 並將其包裝成一個單一的 view。body: 定義了組件的主體。它將你提供的內容加上了一些內外間距。View 的擴展(extension):
這個擴展為任何 SwiftUI 的 View 添加了一個名為 feedbackRatingAlert 的方法。該方法允許你在主 view 上方顯示一個自定義的叠加層,當某個條件(isPresented)為 true 時。
Binding),這允許父 view 和叠加層共享和互動這些變數。@ViewBuilder closure,你可以在這裡定義當叠加層顯示時你想要的內容。overlay 中,它檢查 isPresented.wrappedValue。如果為 true,它會顯示 FeedbackRatingView 並提供自定義的內容。使用方法:
最後,示例中使用了 .feedbackRatingAlert 方法。你將所有需要的綁定變數傳入,並在方法的主體中提供叠加層的內容。在這裡,你還沒有為其提供具體內容,只是開啟了這個叠加層。
總之,這些代碼讓你能夠在任何 SwiftUI view 上方輕鬆地添加一個自定義叠加層。當 isPresented 的值為 true 時,叠加層將顯示,並具有你在 FeedbackRatingView 中定義的樣式。
Refer:
利用 SwiftUI 的ViewBuilder 輕鬆創建複雜佈局和視圖層次結構
@ViewBuilder usage explained with code examples
Custom containers - a free Hacking with iOS: SwiftUI Edition tutorial


 iThome鐵人賽