redis-py 架構初探本次的程式碼與目錄結構可以參考 FastAPI Tutorial : Day24 branch
在前面的章節中,我們已經完成了一個基本的 FastAPI 專案,並且透過 Docker Compose 來部署 Backend 與 DB
在接下來的文章
我們將會透過 Redis 來實作一個 Server Cache
並且將 Cache 與 CRUD 進行整合,讓我們的 API 更加的快速
今天會先寫一些 redis-py 的基本用法測試
讓我們知道可以如何透過 redis-py 來實作我們的 Cache
Redis 是一個開源的 in-memory 資料庫
它支援多種資料結構,例如 string , hash , list , set , sorted set 等等
可以用來當作 cache , message broker , queue ...
要在 Python 中使用 Redis ,我們可以透過 redis-py 來實作
poetry add redis
如果要使用 async 版本的 redis
只需要從 redis.asyncio 中 import Redis 即可
from redis.asyncio import Redis
原本有
aioredis這個套件,但是在v4.2.0+後已經被整合到redis-py中
可以直接以redis.asyncio來使用
先用 Docker 來啟動一個 Redis Server
並設定密碼為 fastapi_redis_password
docker run --name fastapi_redis_dev -p 6379:6379 -d redis:7.2.1 --requirepass "fastapi_redis_password"
可以再額外安裝 redis Insight 來檢視我們的 Redis Server

( Redis Insight 首頁 )

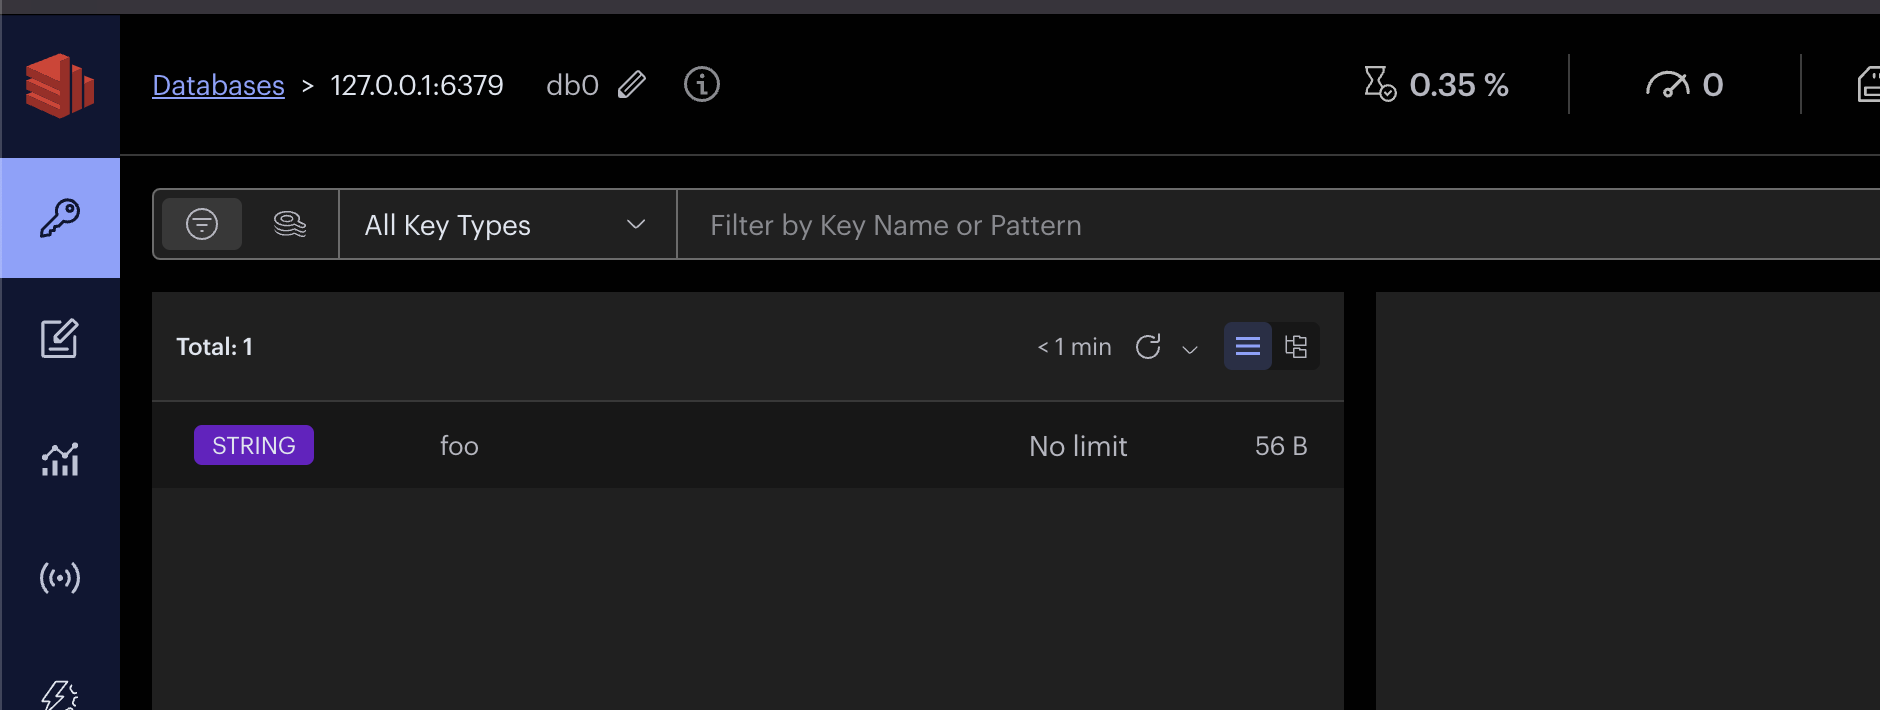
( Redis Insight 中的 Key List )

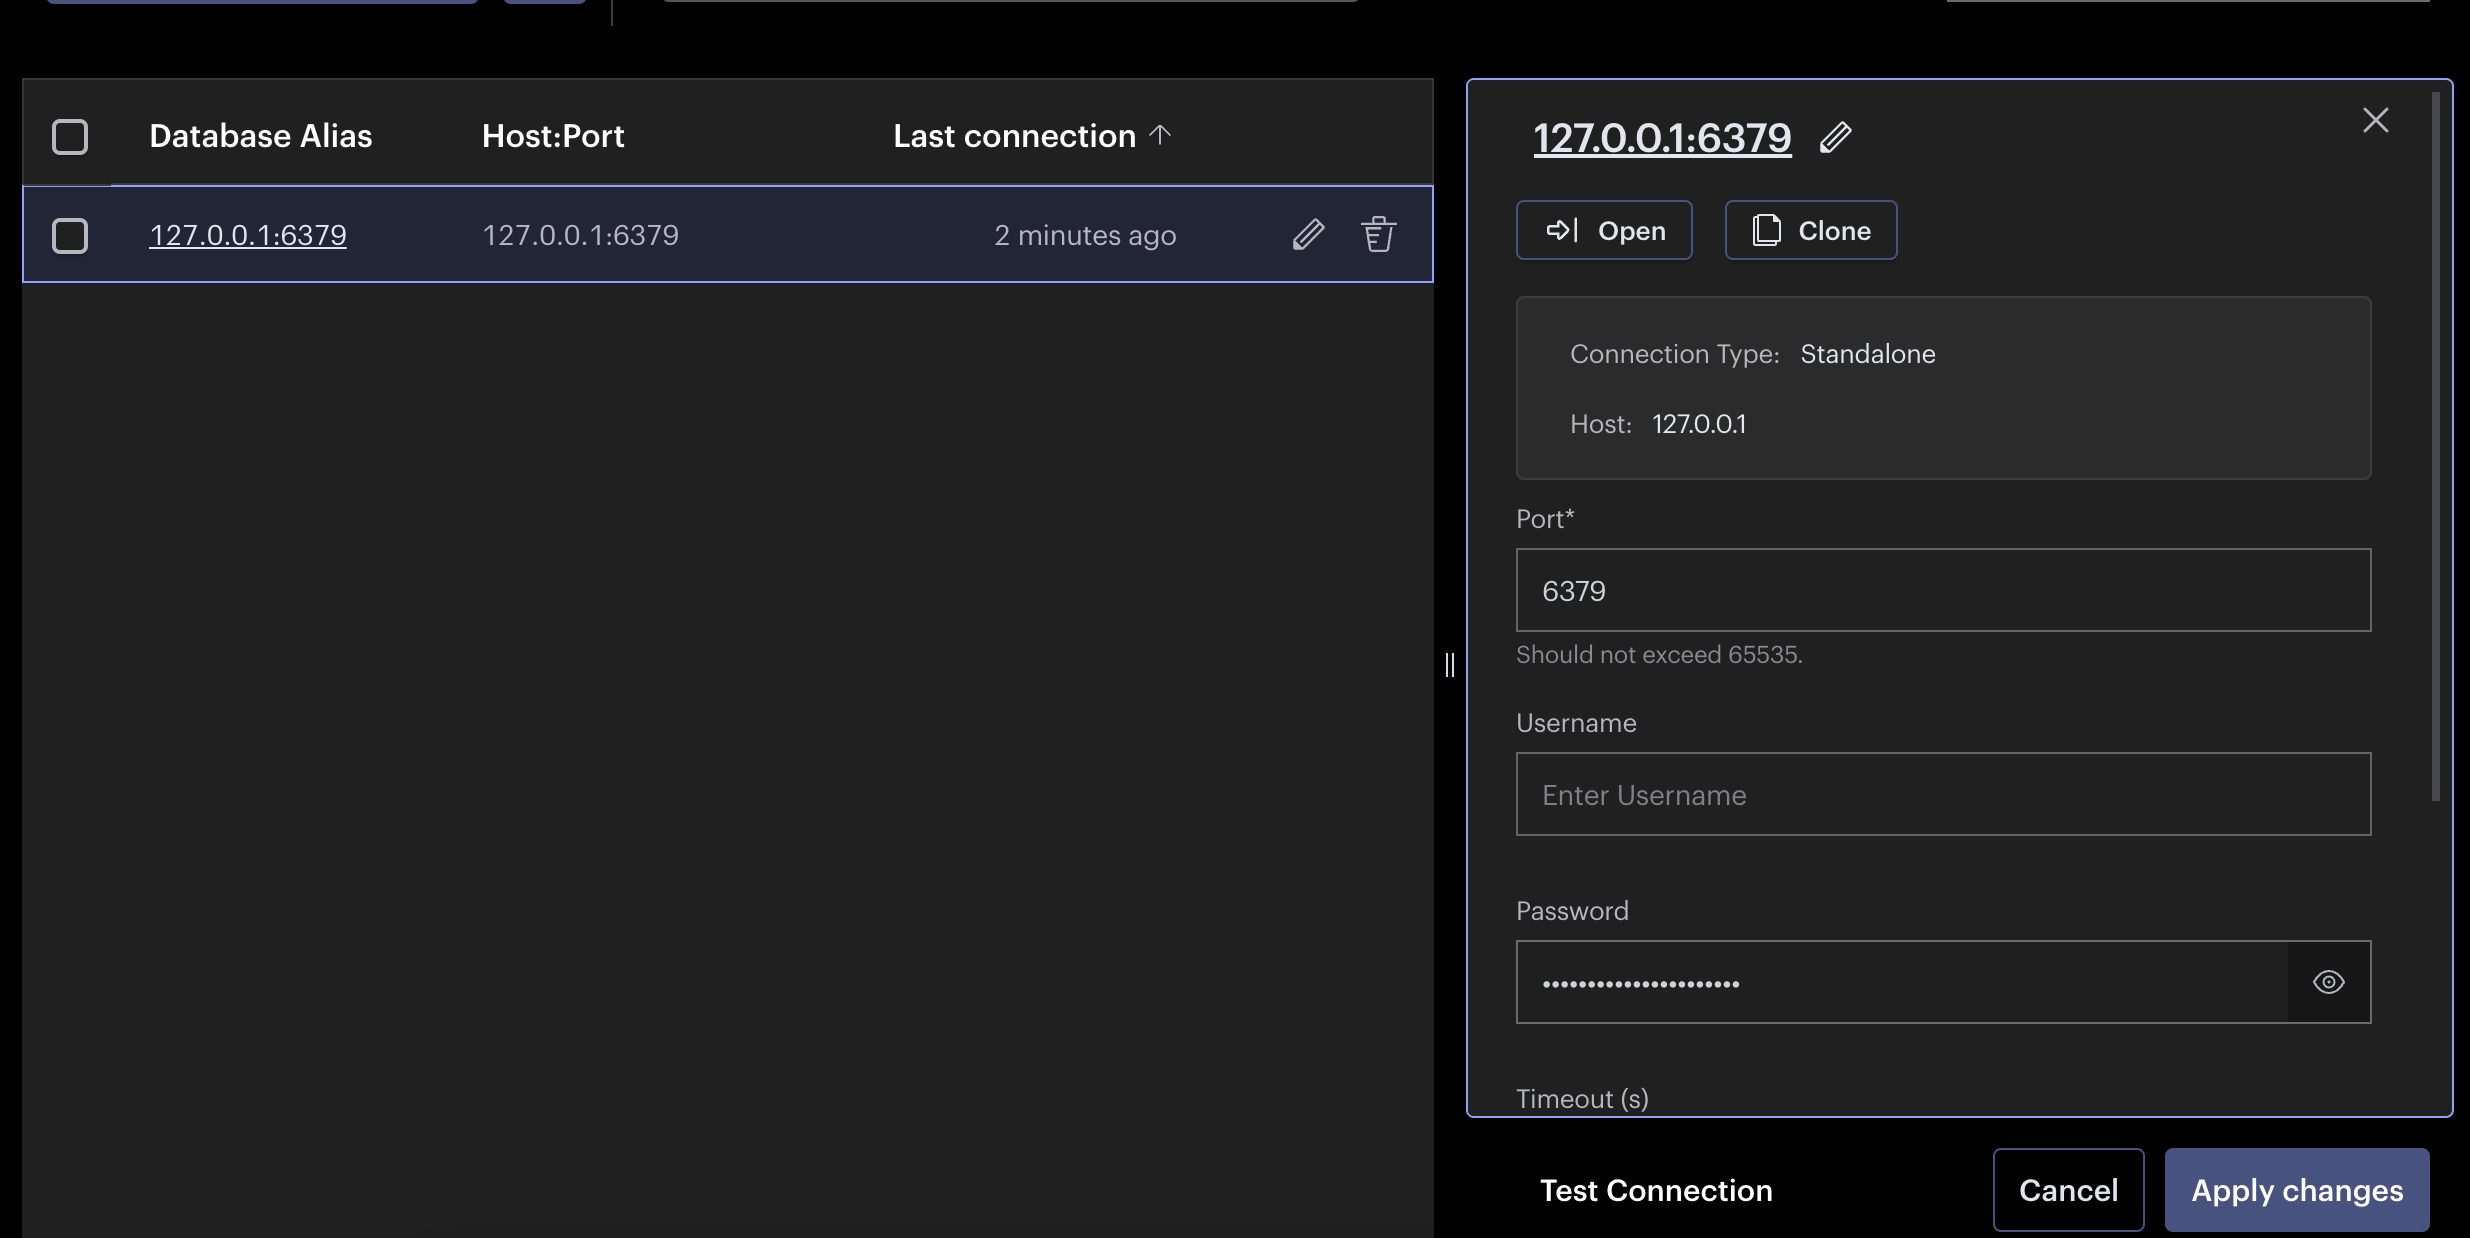
( 第一次連的時候要記得在右側設定密碼 )
可以將接下來的測試程式碼寫在 tests/test_redis.py 中
而我們的 REDIS_URL 會是 redis://:fastapi_redis_password@localhost:6379
touch tests/test_redis.py
touch tests/test_redis_async.py
touch tests/test_redis_om.py
tests/test_redis.py
import redis

REDIS_URL = "redis://:fastapi_redis_password@localhost:6379"
而 redis-py 的連線方式有兩種:
Redis 類別來建立連線tests/test_redis.py def test_redis_connection():
redis_connection = redis.Redis.from_url(REDIS_URL)
value = 'bar'
redis_connection.set('foo', value )
result = redis_connection.get('foo')
redis_connection.close()
assert result.decode() == value
這種方式會在每次操作完後自動關閉連線
tests/test_redis.py # ...
connection_pool = redis.ConnectionPool.from_url(REDIS_URL)
# ...
def test_redis_connection_pool():
redis_connection = redis.Redis(connection_pool=connection_pool)
value = 'bar2'
redis_connection.set('foo2', value )
result = redis_connection.get('foo2')
redis_connection.close()
assert result.decode() == value
這種方式則是透過 ConnectionPool 來管理連線
可以在每次操作完後,不用關閉連線,而是將連線放回 ConnectionPool 中
接著可以透過 pytest 來測試 redis 連線
poetry run pytest tests/test_redis.py

( 可以看到測試通過 )
可以看到測試通過
也可以在 redis insight 中看到我們剛剛新增的 foo 與 foo2 
( 可以看到剛剛設定的 foo:bar 和 foo2:bar2 )
async 版本的 redis 連線方式與 sync 版本的方式相同
一樣由 Redis 類別與 ConnectionPool 來管理連線
差別是 redis.asyncio 中的 Redis 的操作都是 async 的
所以要使用 await 來取得結果
tests/test_redis_async.py
import pytest
import redis.asyncio as redis # <--- 注意這邊是使用 redis.asyncio

REDIS_URL = "redis://:fastapi_redis_password@localhost:6379"

@pytest.mark.asyncio
async def test_redis_connection():
    redis_connection = redis.Redis.from_url(REDIS_URL)
    value = 'bar_async'
    await redis_connection.set('foo_async', value )
    result = await redis_connection.get('foo_async') # <--- 要使用 await 來取得結果
    redis_connection.close()

    assert result.decode() == value
透過 Connection Pool 來管理連線的方式也是一樣的
tests/test_redis_async.py
# ...

connection_pool = redis.ConnectionPool.from_url(REDIS_URL)

# ...
@pytest.mark.asyncio
async def test_redis_connection_pool():
    redis_connection = redis.Redis(connection_pool=connection_pool)

    value = 'bar_async2'
    await redis_connection.set('foo_async2', value)
    value = await redis_connection.get('foo_async2')
    redis_connection.close()

    assert value.decode() == 'bar_async2'
redis-py 也提供了 Object Mapper 的功能
讓我們可以直接將 Object 存入 Redis 中
可以透過 redis-om-py 來實作
poetry add redis-om
redis-om 的操作方式與 SQLAlchemy 類似
都是需要先定義 Data Model
tests/test_redis_om.py
import pytest
from redis_om import get_redis_connection

REDIS_URL = "redis://:fastapi_redis_password@localhost:6379"

redis = get_redis_connection(url=REDIS_URL)
在 redis-om 中,我們需要透過 get_redis_connection 來取得 redis 的連線
接著我們可以定義一個 UserReadCache 的 Data Model
而 redis-om 有提供:
HashModel 來讓我們可以將 Object 存成 Hash JsonModel 來讓我們可以將 Object 存成 JSON tests/test_redis_om.py
# ...
from typing import Optional
from redis_om import HashModel , Field

# ...


class UserReadCache( HashModel ):
    id: int = Field(index=True)
    name : str = Field(index=True)
    email: str = Field(index=True)
    avatar:Optional[str] =  None

    class Meta:
        database = redis
save 、 get 操作如果要透過 Redis Object Mapper 來存取資料
我們必須要透過類似 SQLAlchemy 的方式來操作
使用 Object.save() 來存入資料
跑過 Object.save() 後,會自動產生一個 primary key, 可以透過 Object.pk 來取得
接著可以使用 Object.get( pk ) 來取得資料
tests/test_redis_om.py
def test_create_user():
    new_user = UserReadCache(id=1,name="json_user",email="json_user@email.com",avatar="image_url")
    new_user.save() # <--- 透過 save 來存入資料
    pk = new_user.pk # <--- 取得 primary key
    assert UserReadCache.get(pk) == new_user # <--- 透過 get 來取得資料
redis-om 的find 大坑在 redis-om 的 doc 中有提到,我們可以透過 Object.find() 來查詢資料
但是需要先透過 Migrator 來建立 index
tests/test_redis_om.py
from redis_om import Migrator

# ...

Migration().run() # <--- 透過 Migrator 來建立 index

# ...

def test_find_user_hash():
    user_be_found = UserReadCache(id=1,name="json_user",email="json_user@email.com",avatar="image_url")
    result = UserReadCache.find( UserReadCache.id==1 ).first() # <--- 透過 find 來查詢資料
    assert result.id == user_be_found.id
    assert result.name == user_be_found.name
但是會一直跳出 TypeError: 'NoneType' object is not subscriptable 的錯誤
redis-stack Image在查了很久後才發現:
如果要使用 redis-om 的 find 功能,必須要使用 redis/redis-stack 來建立 Redis Server!
ref :
OM for Python : Flask and a simple domain model
https://github.com/redis/redis-om-python/issues/532
所以把原本的 redis:7.2.1 改成 redis/redis-stack:latest
docker run --name fastapi_redis_dev -p 6379:6379 -d redis/redis-stack:latest
但是
redis/redis-stack沒辦法在 Container 中使用requirepass來設定密碼
再將 tests/test_redis_om.py 中的 REDIS_URL 改成 redis://localhost:6379
REDIS_URL = "redis://localhost:6379"
這樣不論是使用 HashModel 或是 JsonModel 都可以正常運作

( 可以看到測試通過 )

( 可以看到剛剛設定的 foo:bar 和 foo2:bar2 )
今天我們透過 redis-py 連接 Redis Server
透過 Redis 或 ConnectionPool 來管理連線
以 sync 與 async 的方式來操作 get 與 set operations
async版本的redis需要使用await來取得結果
以及使用 redis-om 來實作 Redis Object Mapper
但是
redis-om使用find
Image 需要使用redis/redis-stack才能正常運作
在下一篇文章中
我們就可以正式開始實作 Redis Cache 了
