iT邦幫忙

2023 iThome 鐵人賽

DAY 25
0

今天來透過 OpenMediaVault(OMV) 來建立給 Navidrome 使用的 NFS 網路儲存
至於為何使用 OMV 的原因很簡單 因為他是 Debian-based NAS OS 哈哈
這樣整個環境都是 Debian 了:D

Install OMV

安裝 OMV 是跟 DAY5 安裝 Debian 一樣的過程
但是介面配色變成藍黑為主體 非常快 10秒16G的安裝速度
安裝完就可以透過網頁登入了 預設的帳號密碼是 admin / openmediavault
https://ithelp.ithome.com.tw/upload/images/20231010/20162773QPOgOCNyex.png
進來後先到右上角改 admin 的密碼
https://ithelp.ithome.com.tw/upload/images/20231010/20162773HyFr3wJ2oy.png
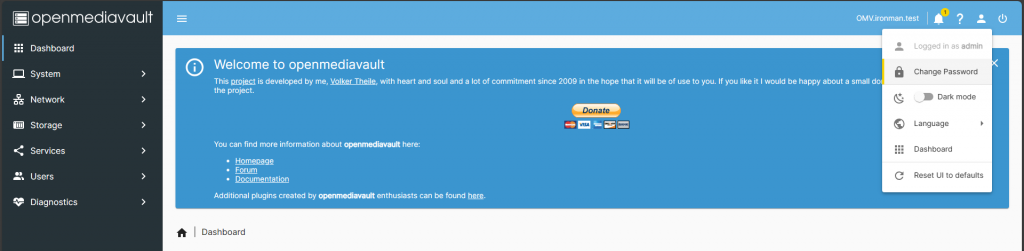
接著來設定 Navidrome 使用的 User
左側選單打開 Users -> Users
https://ithelp.ithome.com.tw/upload/images/20231010/20162773KfFRPec2cs.png
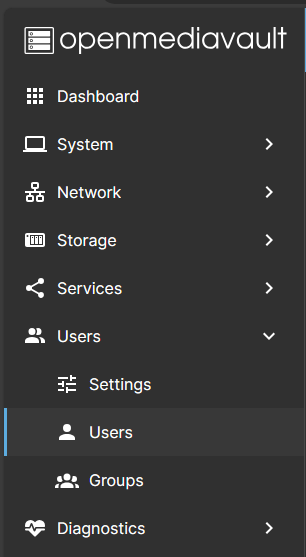
接著建立 Navidrome 的帳密還有 Group 方便管理
https://ithelp.ithome.com.tw/upload/images/20231010/20162773JHLXhbG9zb.png
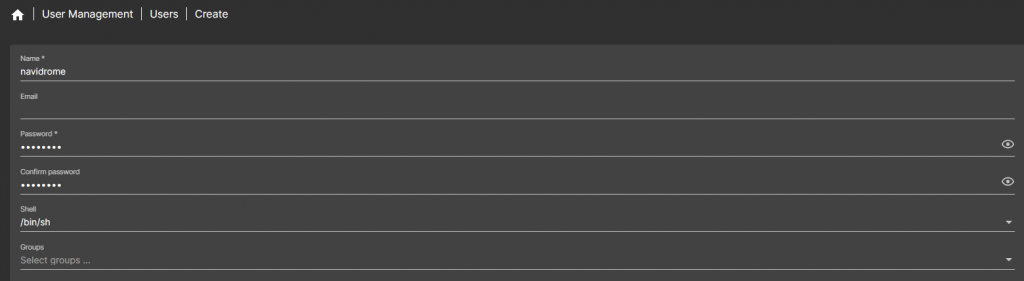
來建立 NFS Share 但在那之前先來 Format Disk
左側選單 Storage -> File Systems
https://ithelp.ithome.com.tw/upload/images/20231010/20162773ZcWvbcpTEL.png
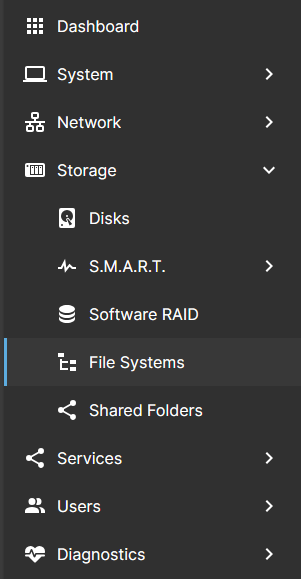
接著案下 Create file system
選擇要 Format 的格式 這邊我選擇 XFS 再選擇要 Format 的 Disk
https://ithelp.ithome.com.tw/upload/images/20231010/20162773Z0O3UFJF8v.png
按下 Save 後就會開始 Format 並且有一個小視窗給你看進度和結果
https://ithelp.ithome.com.tw/upload/images/20231010/201627738qOeCv5WmM.png
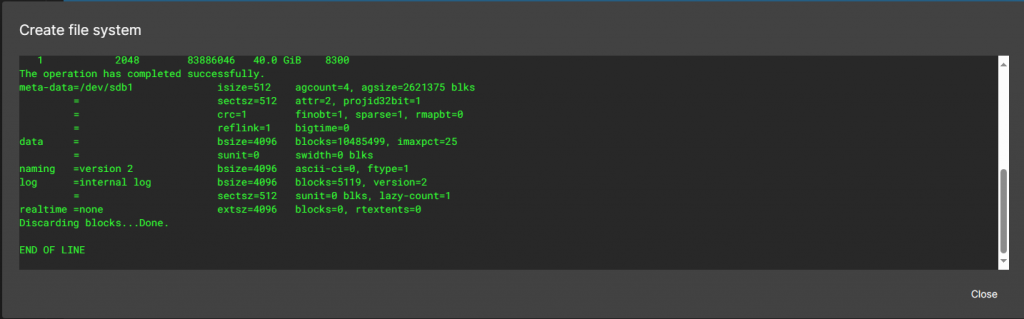
接著再把它 Mount 到系統上就搞定儲存空間了
https://ithelp.ithome.com.tw/upload/images/20231010/20162773AdEP5TIeDO.png
Mount 上來後記得要 Apply 要不然不會存到設定喔
https://ithelp.ithome.com.tw/upload/images/20231010/20162773Ei2RbfpkPI.png
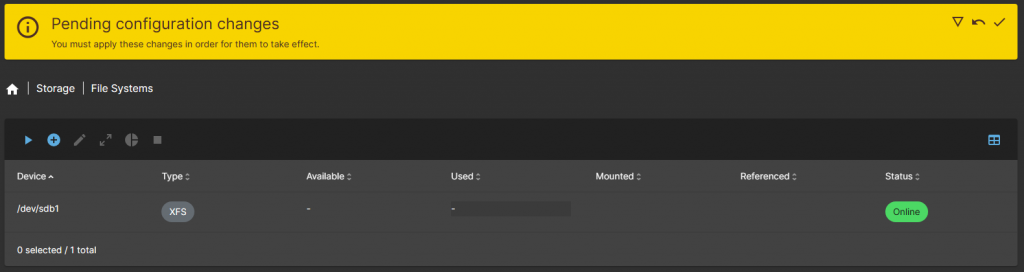
接著到 Storage -> shared-folders 裡面建立 Shared Folder
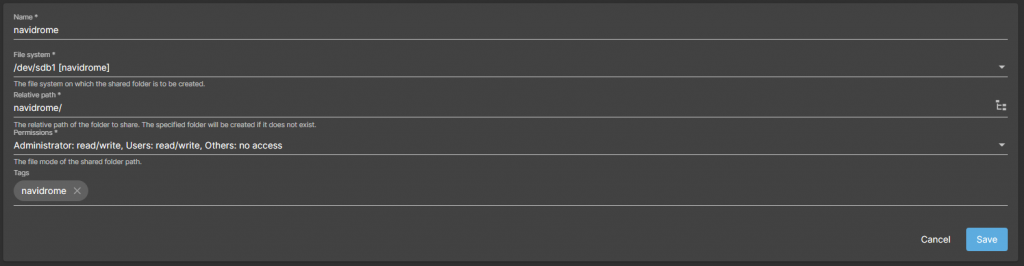
https://ithelp.ithome.com.tw/upload/images/20231010/201627733Arln8jqE1.png
https://ithelp.ithome.com.tw/upload/images/20231010/2016277332ZNxjq5fu.png
設定路徑和權限後就可以按 Save
然後再把 ACL 建起來 案到上面工具列裡面有一個 ACL
https://ithelp.ithome.com.tw/upload/images/20231010/20162773fFWBrGaChS.png
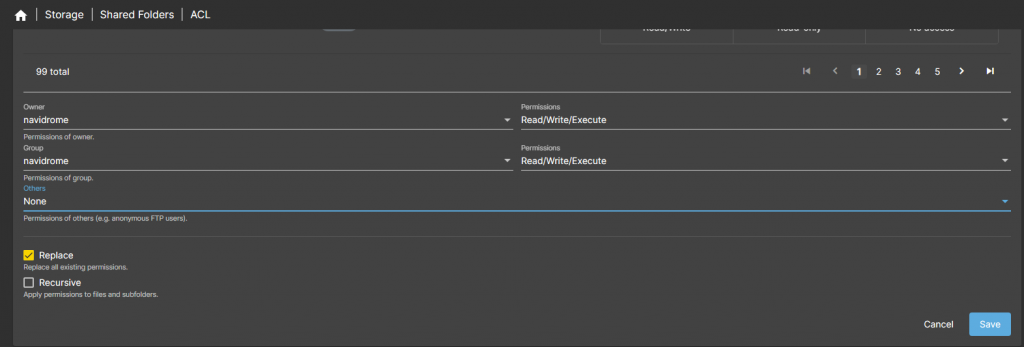
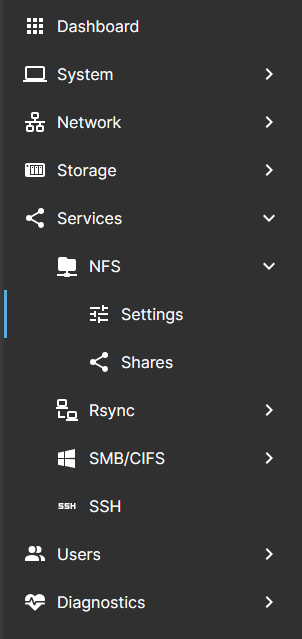
接下來開始設定 NFS 先到左側選單 Service -> NFS -> Settings
把 NFS 打開並選擇要使用的版本 我這邊使用預設設定
https://ithelp.ithome.com.tw/upload/images/20231010/20162773x75mn8BCNF.png
接著到 Shared 來建立 NFS Share 選剛剛建出來的 Share Folder 並限制只有 Navidrome 的 IP 能連線
https://ithelp.ithome.com.tw/upload/images/20231010/20162773pxdEkkXCx1.png
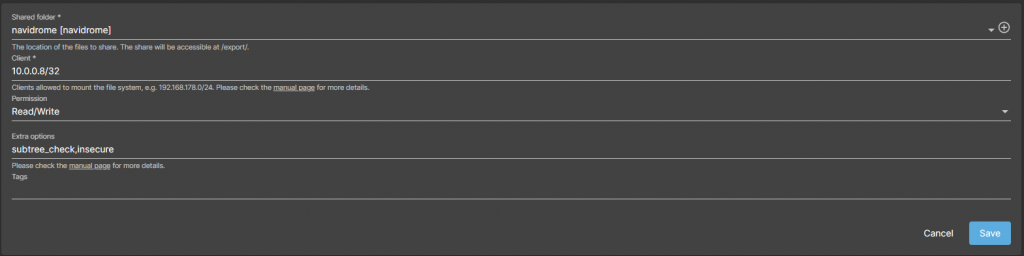
這樣子 OMV 的設定基本上是做好了 接下來到 Navidrome 上掛載

NFS Mount

到 Navidrome 後先來安裝 NFS 套件

apt-get update
apt-get install nfs-common -y

接著來嘗試掛載看看

mount -t nfs 10.0.0.9:/navidrome /stream/music

接著用 df -h 檢查看看掛載點正不正常
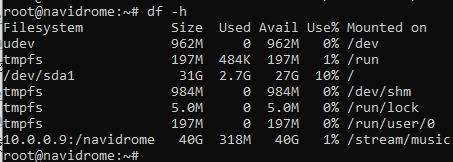
https://ithelp.ithome.com.tw/upload/images/20231010/20162773K5g884AoL4.png
看起來很正常 接著來設定自動掛載
/etc/fstab 設定掛載資訊上去

10.0.0.9:/navidrome /stream/music nfs defaults 0 0

這樣子就搞定儲存的部分了 明天來處理檔案上傳的部分


上一篇
Day24 Navidrome 在監控環境有無損串流也是合理的?
下一篇
Day26 SFTPGO 上傳檔案的好朋友 上雲下地都靠他
系列文
地端建置大雜燴-下從網路線上到Grafana的建置之路30
圖片
  直播研討會
圖片
{{ item.channelVendor }} {{ item.webinarstarted }} |
{{ formatDate(item.duration) }}
直播中

尚未有邦友留言

立即登入留言