
在今晚的學習中,我們將實現 Face recognition的訓練以及用於人臉識別的損失函數 - Large marginal loss,內含 Sphereface、Cosface、Arcface。Large marginal loss 是一種針對人臉識別的損失函數,它在人臉識別任務中取得了良好的效果,並且實務上也非常好用,如果大家需要訓練自己的人臉辨識AI真的推薦大家使用這個 loss。另外如果對各個知名 loss以及 softmax loss 演進到 Cosface & Arcface 可以參考昨晚的文章
首先,請確認已經有安裝好 Pytorch &Torchvision :
pip install torch torchvision
在這裡,我們將使用一個簡單的資料集,你可以根據實際情況修改為你的人臉資料集。大家今天僅需要隨意收集幾個人,每個人幾張照片就可以來試試囉~明天會跟大家說收集資料的一些方法!
那有了資料之後我們只要將資料集把張照片放進自己 ID 的資料夾下面即可,像下面這樣排列即可:
datasets/
   |--imges/
        |--0/
        | |--0.jpg
        | |--1.jpg
        | |...
        |
        |--1/
        |--2/
        |--3/
上面圖片中的 0/ 代表 ID =0 的照片的資料夾,內含 '0.jpg、1.jpg、...'。
資料夾如下圖範例: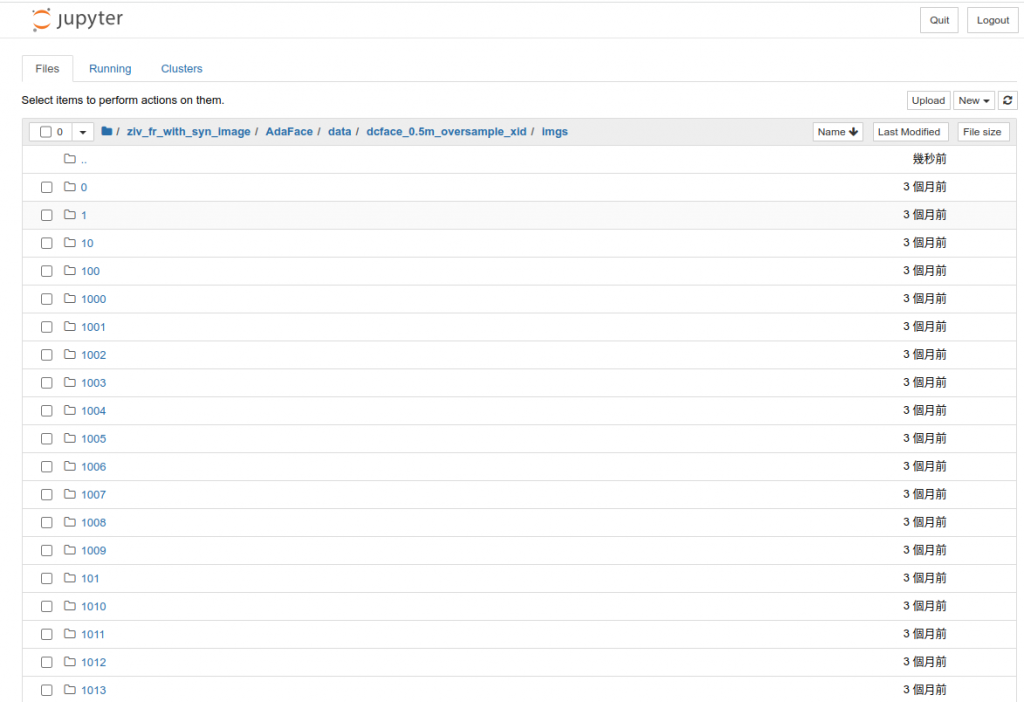
資料夾內容如下圖範例: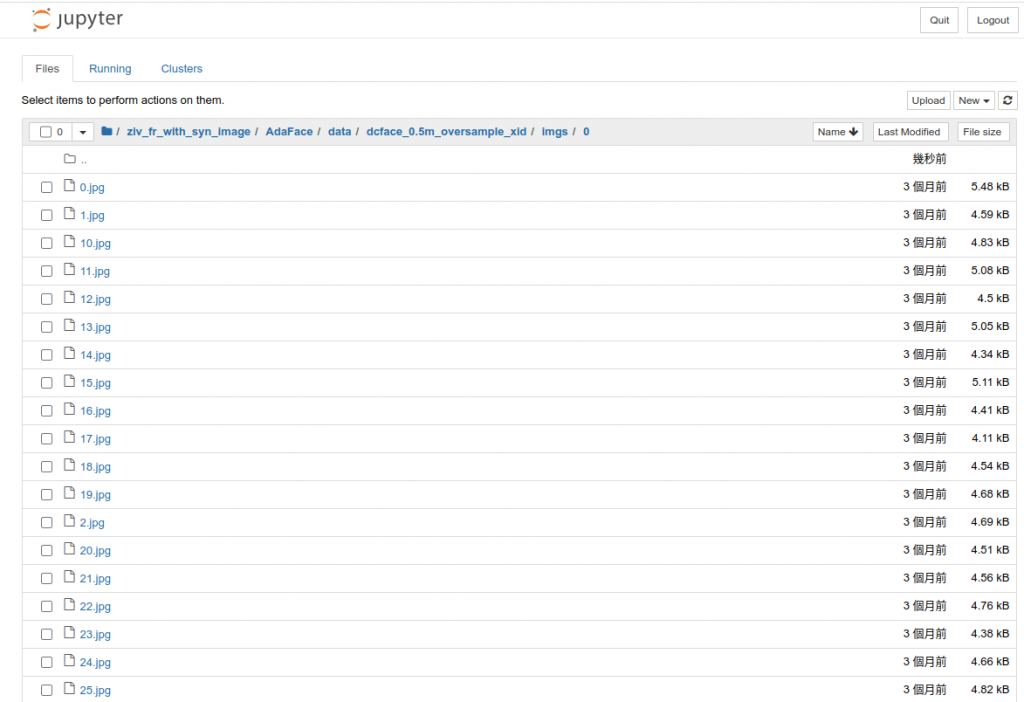
這裡使用 PyTorch 內置的 torchvision 库來簡化資料讀取。
import torch
from torchvision import datasets, transforms

# TODO: 修改為你的資料集路徑
data_path = "/path/to/your/dataset"

transform = transforms.Compose([transforms.ToTensor(), transforms.Normalize((0.5,), (0.5,))])

train_dataset = datasets.ImageFolder(root=data_path, transform=transform)
train_loader = torch.utils.data.DataLoader(train_dataset, batch_size=64, shuffle=True)
Large marginal loss 建構我們訓練模型可以分成兩個部份, backbone & Large marginal head。這兩個部份簡單來講:
Backbone : 用以將照片壓成 feature 的CNN 結構,常見為 Resnet or MobileNet
Large marginal head : 簡單來講為最後一層 Fully connected layer 用以分類,並且根據前一晚的 Large marginal loss 的介紹來針對 Fully connected layer 輸出的 logits 來加上各式 margin最後在訓練時經過 softmax loss 得到最後的 (modefied) probabilty 可用於 loss 計算來得到 gradient,相細說明可看昨天說明
Backbone模型建構接下來,我們將建構一個基本的人臉辨識 backbone 模型。這裡使用一個簡單的卷積神經網絡(CNN)模型。
import torch
import torch.nn as nn

class FaceRecognitionModel(nn.Module):
    def __init__(self, num_classes):
        super(FaceRecognitionModel, self).__init__()
        self.conv1 = nn.Conv2d(3, 64, kernel_size=3, stride=1, padding=1)
        self.conv2 = nn.Conv2d(64, 128, kernel_size=3, stride=1, padding=1)
        self.pool = nn.MaxPool2d(kernel_size=2, stride=2, padding=0)
        self.fc1 = nn.Linear(128 * 16 * 16, 512)
        self.fc2 = nn.Linear(512, num_classes)

    def forward(self, x):
        x = self.pool(F.relu(self.conv1(x)))
        x = self.pool(F.relu(self.conv2(x)))
        x = x.view(-1, 128 * 16 * 16)
        x = F.relu(self.fc1(x))
        x = self.fc2(x)
        return x

# TODO: 創建模型實例
num_classes = len(train_dataset.classes)
model = FaceRecognitionModel(num_classes=num_classes)
Sphereface 層定義定義 Sphereface 損失函數:
class SpherefaceLayer(nn.Module):
    def __init__(self, in_features, out_features, m=4):
        super(SpherefaceLayer, self).__init__()
        self.in_features = in_features
        self.out_features = out_features
        self.m = m
        # 記得沒有 bias !只有 weight
        self.weight = nn.Parameter(torch.FloatTensor(out_features, in_features))
        nn.init.xavier_uniform_(self.weight)

    def forward(self, x, labels):
        # 此處實現 Sphereface 的前向傳播邏輯
        # feature & weight 都 normalize
        x_norm = F.normalize(x, p=2, dim=1)
        w_norm = F.normalize(self.weight, p=2, dim=1)
        # 計算出 x_norm, w_norm 的 inner product
        cos_theta = F.linear(x_norm, w_norm)
        # 推出角度並且加上 margin
        theta = torch.acos(cos_theta)
        k = (self.m * theta / 3.14159265).floor()
        phi_theta = ((-1.0) ** k) * cos_theta - 2 * k
        labels_onehot = torch.zeros_like(cos_theta)
        labels_onehot.scatter_(1, labels.view(-1, 1), 1)
        output = (cos_theta - labels_onehot * (phi_theta + 1)) * 1.0

        return output

# TODO: 在你的模型中使用 SpherefaceLayer
sphereface_layer = SpherefaceLayer(in_features=512, out_features=num_classes)
Cosface 層定義在 Sphereface 的基礎上,我們將定義 Cosface 損失函數:
class CosfaceLayer(nn.Module):
    def __init__(self, in_features, out_features, s=30.0, m=0.35):
        super(CosfaceLayer, self).__init__()
        self.in_features = in_features
        self.out_features = out_features
        self.s = s
        self.m = m
        self.weight = nn.Parameter(torch.FloatTensor(out_features, in_features))
        nn.init.xavier_uniform_(self.weight)

    def forward(self, x, labels):
        # 此處實現 Cosface 的前向傳播邏輯
        x_norm = F.normalize(x, p=2, dim=1)
        w_norm = F.normalize(self.weight, p=2, dim=1)
        cosine_theta = F.linear(x_norm, w_norm)
        phi_theta = cosine_theta - self.m
        labels_onehot = torch.zeros_like(cosine_theta)
        labels_onehot.scatter_(1, labels.view(-1, 1), 1)
        output = cosine_theta - labels_onehot * phi_theta
        output *= self.s

        return output

# TODO: 在你的模型中使用 CosfaceLayer
cosface_layer = CosfaceLayer(in_features=512, out_features=num_classes)
Arcface 層定義在前兩者的定義上我們定義 Arcface 損失函數:
class ArcfaceLayer(nn.Module):
    def __init__(self, in_features, out_features, s=30.0, m=0.5):
        super(ArcfaceLayer, self).__init__()
        self.in_features = in_features
        self.out_features = out_features
        self.s = s
        self.m = m
        self.weight = nn.Parameter(torch.FloatTensor(out_features, in_features))
        nn.init.xavier_uniform_(self.weight)

    def forward(self, x, labels):
        # 此處實現 Arcface 的前向傳播邏輯
        x_norm = F.normalize(x, p=2, dim=1)
        w_norm = F.normalize(self.weight, p=2, dim=1)
        cosine_theta = F.linear(x_norm, w_norm)
        phi_theta = cosine_theta - self.m
        labels_onehot = torch.zeros_like(cosine_theta)
        labels_onehot.scatter_(1, labels.view(-1, 1), 1)
        output = cosine_theta - labels_onehot * phi_theta
        output *= self.s

        return output

# TODO: 在你的模型中使用 ArcfaceLayer
arcface_layer = ArcfaceLayer(in_features=512, out_features=num_classes)
記得我們只要創造出一個
backbone就好,然後在上面三個head中選一個即可,下面會假設使用Cosface
最後,我們需要設置訓練過程。這包括數據加載、模型訓練和測試。
import torch.optim as optim
import torch.nn.functional as F

# TODO: 定義優化器和損失函數
optimizer = optim.Adam(model.parameters(), lr=0.001)
cosface_criterion = CosfaceLayer(in_features=512, out_features=num_classes)

# TODO: 訓練過程
num_epochs = 10
for epoch in range(num_epochs):
    model.train()
    for data, labels in train_loader:
        optimizer.zero_grad()
        outputs = model(data)
        cosface_outputs = cosface_layer(outputs, labels)
        # TODO: 計算總損失,反向傳播,優化參數
        loss.backward()
        optimizer.step()
測試時可以簡單使用成下列:
# TODO: 測試過程
model.eval()
# TODO: 測試的程式碼,假設有兩張照片要比較相似度,相似度超過 0.5 為判段同一個 ID
image1_feature = model(image1)
image2_feature = model(image2)

# 計算相似度,記得 shape 要對得上
similarity = np.dot(image1_feature, image2_feature.T)

#判斷 similarity 超過 0.5 為同一個 ID,反之則不同:
if similarity > 0.5:
   print("same person")
else:
   print("different person)
我們今天介紹了 Face recognition 的訓練並且包括了 Large marginal loss的實做,其中包含 Sphereface,Cosface以及 Arcface。歡迎有興趣的人可以準備一些簡單的資料自己也試試看!歡迎大家明晚再次回來!
