已經了解到SwiftData的一個基本建置,接下來直接來討論如何新增、刪除、修改等三個基本的資料庫操作。
這裡一樣新增SwiftData的基本欄位,例如:
import SwiftData

@Model
final class User {
    var name: String
    var email: String

    init(name: String, email: String) {
        self.name = name
        self.email = email
    }
}
一樣初始化到專案內:
import SwiftData

@main
struct TestSwiftDataApp: App {
    var body: some Scene {
        WindowGroup {
            ContentView()
                .modelContainer(for: User.self)
        }
    }
}
加入一個按鈕元件,這個按鈕是用來新增資料:
var body: some View {
    Button(action: {

    }, label: {
        Text("新增")
    })
}
因為資料表有兩個欄位name與email,所以必須要有一個地方可以方便輸入這兩個內容,所以先新增一個View,然後使用Form元件來放入輸入的元件,並且綁定到兩個變數:
struct NewDataView: View {

    @State private var name = ""
    @State private var email = ""

    var body: some View {
        Form(content: {
            TextField("Name", text: $name)
            TextField("Email", text: $email)
        })

        Button(action: {
        }, label: {
            Text("儲存")
        })
    }
}
回到原本的頁面,宣告User陣列來存放資料,然後使用一個變數isShowNewDataView用來切換是否跳轉到剛剛新增的NewDataView頁面:
@Query private var users: [User] = []
@State private var isShowNewDataView = false

var body: some View {
    List(users) { user in
        HStack {
            Text(user.name)
            Text(user.email)
        }
    }
    .fullScreenCover(isPresented: $isShowNewDataView, content: {
        NewDataView()
    })

    Button(action: {
        isShowNewDataView = true
    }, label: {
        Text("新增")
    })
}
所以當按鈕按下時,會將變數isShowNewDataView設定為true,而當isShowNewDataView為true時,就會自動跳轉,因為這裡跳轉使用fullScreenCover並且綁定到變數isShowNewDataView。
接下來在NewDataView頁面加入回到上一頁的按鈕,可以跳轉回原本的頁面:
struct NewDataView: View {

    @Binding var isShowNewDataView: Bool

    @State private var name = ""
    @State private var email = ""

    var body: some View {
        HStack {
            Button(action: {
                isShowNewDataView = false
            }, label: {
                Text("Back")
            })
            Spacer()
        }
        .padding()

        Form(content: {
            TextField("Name", text: $name)
            TextField("Email", text: $email)
        })

        Button(action: {
            isShowNewDataView = false
        }, label: {
            Text("儲存")
        })
    }
}
宣個一個isShowNewDataView變數為Binding狀態,表示與第一頁的isShowNewDataView變數相通且同步。
目前為止,在首頁的下方有一個新增資料的按鈕,如圖

按下之後,會跳轉到第二頁,可以新增資料,如圖
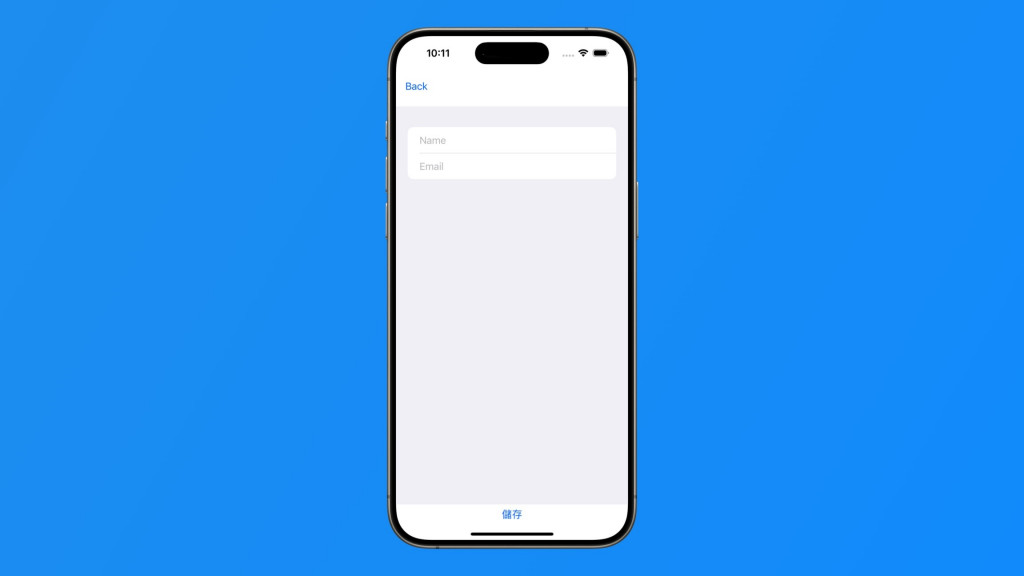
然後在儲存按鈕加入新增資料到SwiftData:
struct NewDataView: View {

    @Binding var isShowNewDataView: Bool

    @Environment(\.modelContext) private var modelContext
    @State private var name = ""
    @State private var email = ""

    var body: some View {
        HStack {
            Button(action: {
                isShowNewDataView = false
            }, label: {
                Text("Back")
            })
            Spacer()
        }
        .padding()

        Form(content: {
            TextField("Name", text: $name)
            TextField("Email", text: $email)
        })

        Button(action: {
            let newUser = User(name: name, email: email)
            modelContext.insert(newUser)

            isShowNewDataView = false
        }, label: {
            Text("儲存")
        })
    }
}
所以新增資料的流程就完成了。
在第二頁新增資料,如圖:
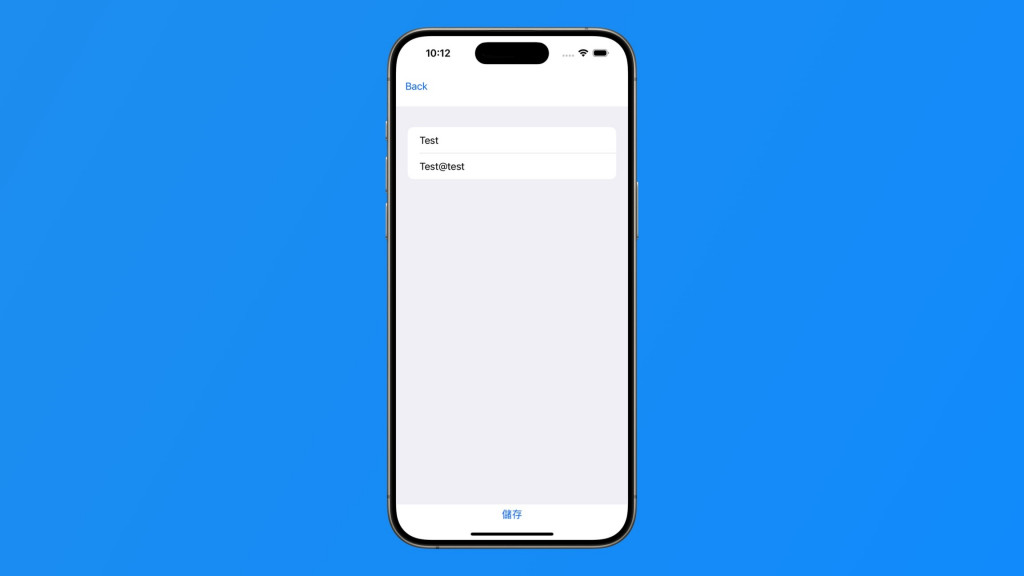
回到首頁,就會出現一筆剛剛新增的資料,如圖: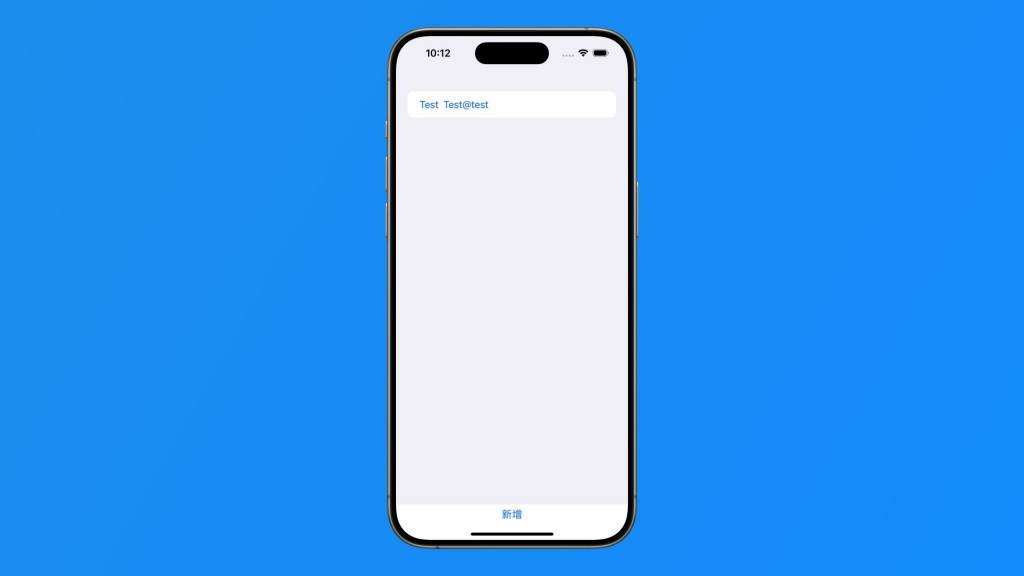
接下來加入修改資料的流程,宣告一個變數User且為Binding狀態,表示要將User資料從第一頁來傳入,用以修改:
struct NewDataView: View {

    @Binding var isShowNewDataView: Bool
    @Binding var user: User?

    @Environment(\.modelContext) private var modelContext
    @State private var name = ""
    @State private var email = ""

    var body: some View {
        HStack {
            Button(action: {
                isShowNewDataView = false
            }, label: {
                Text("Back")
            })
            Spacer()
        }
        .padding()

        Form(content: {
            TextField("Name", text: $name)
            TextField("Email", text: $email)
        })

        Button(action: {
            if user == nil {
                let newUser = User(name: name, email: email)
                modelContext.insert(newUser)
            }
            else {
                user?.name = name
                user?.email = email
            }
            isShowNewDataView = false
        }, label: {
            Text("儲存")
        })
    }
}
修改儲存按鈕的流程,如果第一頁傳入的user資料為空,就表示是新增狀態,否則的話,就是修改狀態。而要修改User資料,直接將user的name與email取代掉新的值即可。
struct ContentView: View {

    @Environment(\.modelContext) private var modelContext
    @Query private var users: [User] = []

    @State private var isShowNewDataView = false
    @State private var user: User?

    var body: some View {
        List(users) { user in
            Button(action: {
                self.user = user
                isShowNewDataView = true
            }, label: {
                HStack {
                    Text(user.name)
                    Text(user.email)
                }
            })
        }
        .fullScreenCover(isPresented: $isShowNewDataView, content: {
            NewDataView(isShowNewDataView: $isShowNewDataView, user: $user)
        })

        Button(action: {
            self.user = nil
            isShowNewDataView = true
        }, label: {
            Text("新增")
        })
    }
}
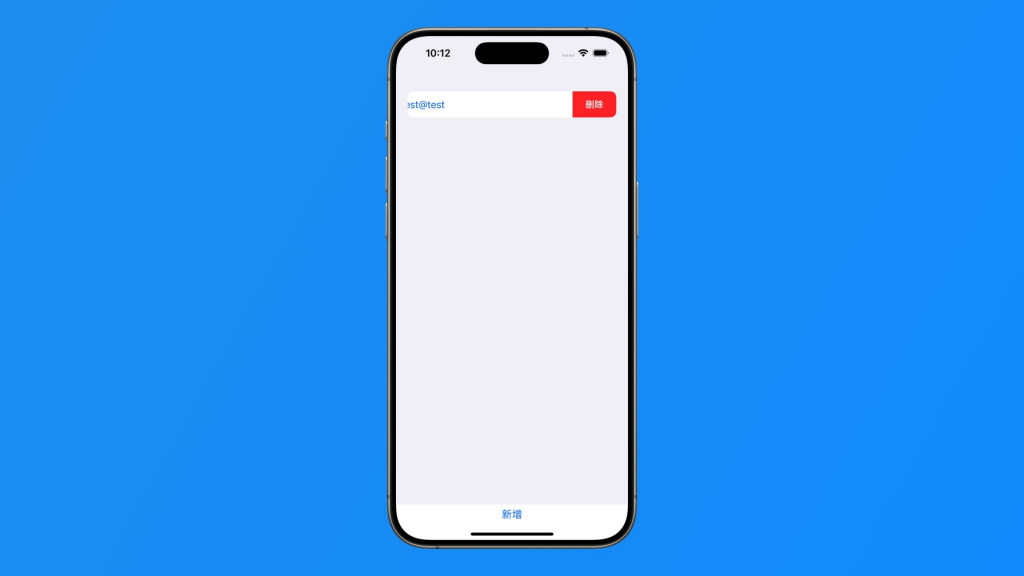
最後刪除流程,可以在原本的List內容加入按鈕,然後使用swipeActions屬性,加入向左滑動的效果:
Button(action: {
    self.user = user
    isShowNewDataView = true
}, label: {
    HStack {
        Text(user.name)
        Text(user.email)
    }
})
.swipeActions(edge: .trailing) {
    Button(role: .destructive) {
        modelContext.delete(user)

    } label: {
        Text("删除")
    }
}
modelContext.delete為刪除指令,將要刪除的User資料傳入。
刪除的功能如圖:
從 SwiftUI 到 Apple Vision Pro - SwiftUI 從零開始 Day20 [完]
