各種新東西都測過了,今天就來嘗試建立一個聊天機器人。
Day 1 有測試了一個 LLM 模型,就用它來跟 Line Bot 結合起來試試。
首先先到 LINE Developers 來建立一個 Providers。
https://developers.line.biz/console/
開啟連結,登入後,按下 Providers 頁面中的 Create。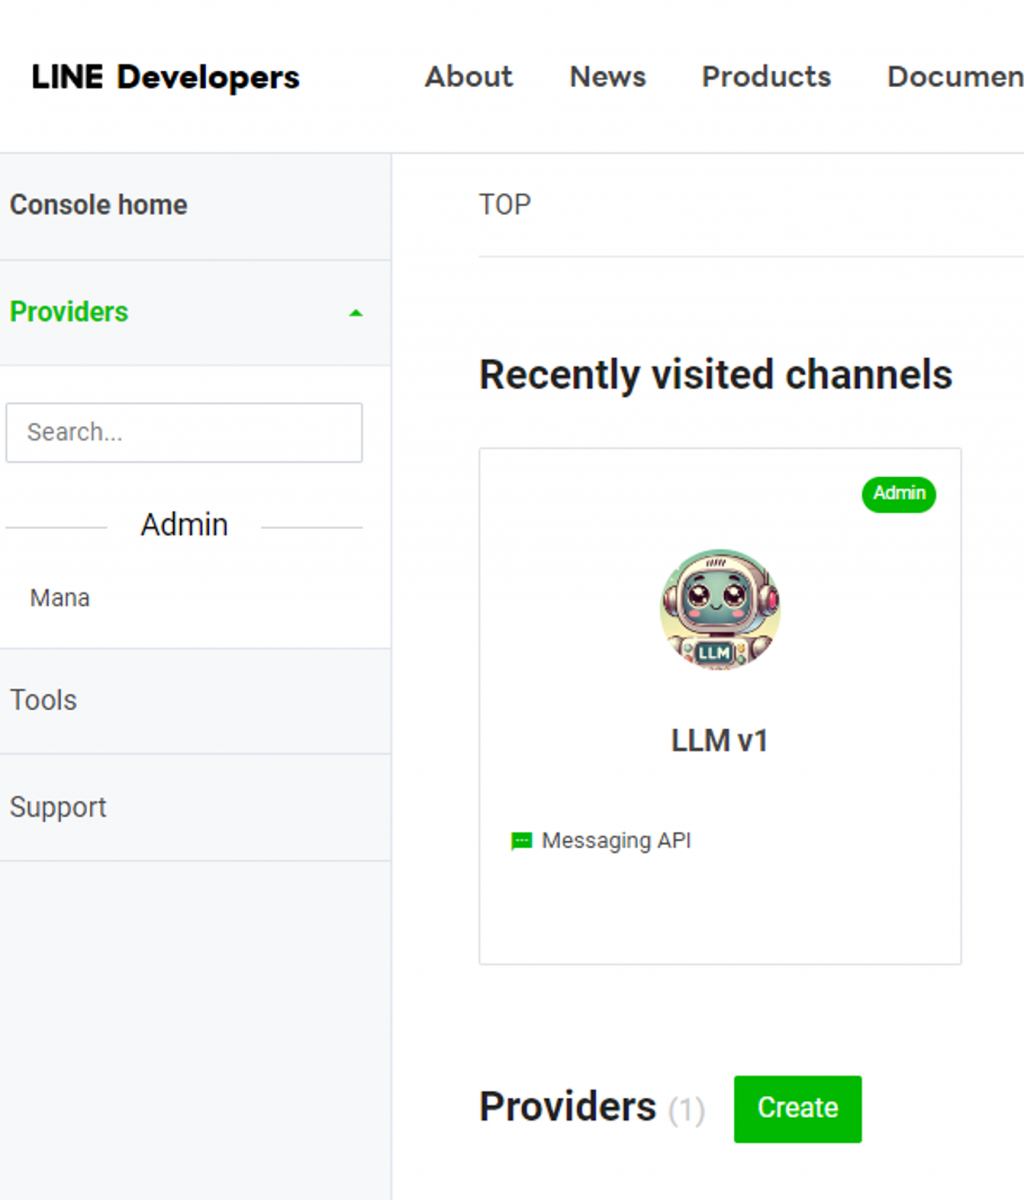
依照要求輸入名稱。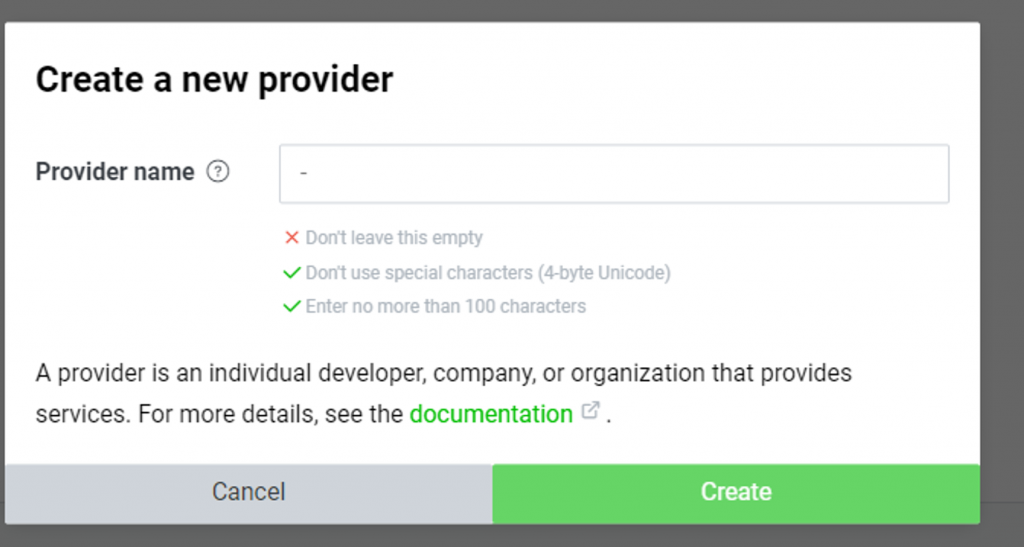
接著創建一個 Channel。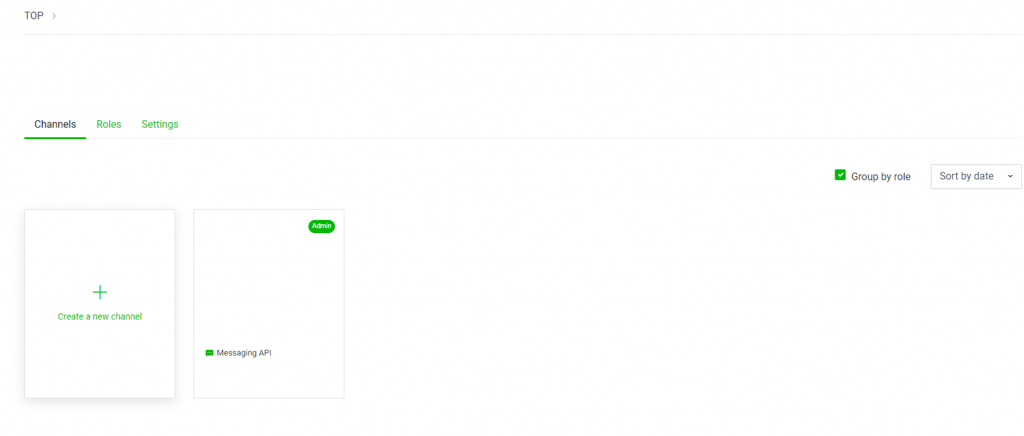
選擇 Messaging API,接著照要求填入資訊即可,隨意填。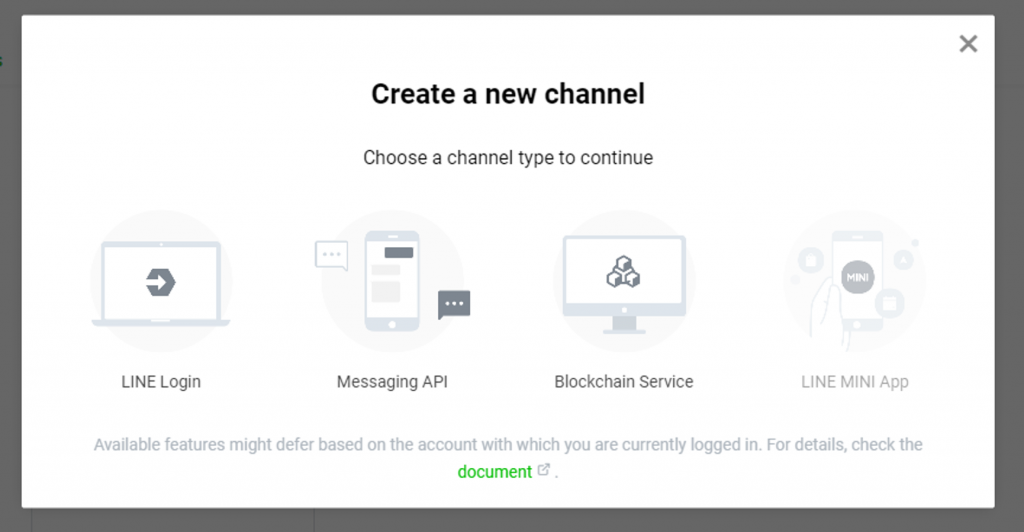
創建好後就可以看到 QR CODE 跟基本資訊了。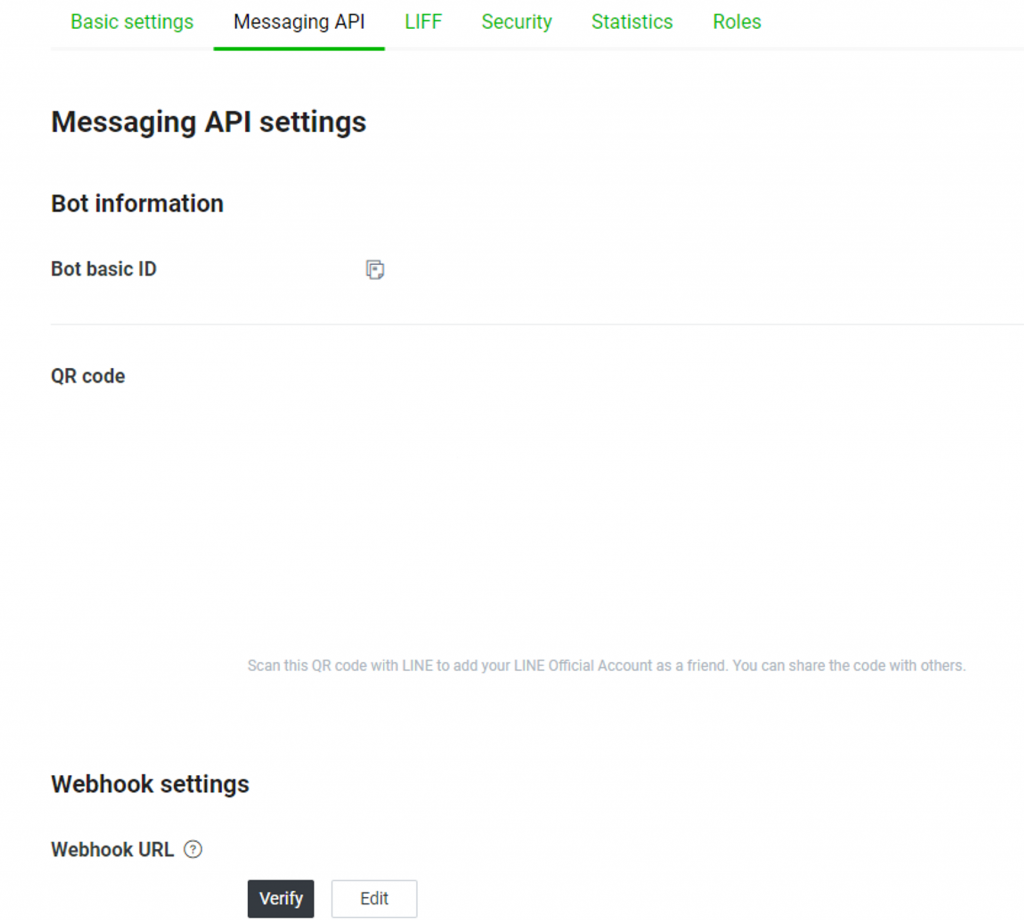
接著來把 API 架起來。我們會需要 Basuc setting 分頁下的 Channel secret,還有 Messaging API 分頁下的 Channel access token,先把他記下來,稍後會用到。
參考官方文件,安裝 python sdk。
https://developers.line.biz/en/docs/messaging-api/line-bot-sdk/#official-sdks
https://github.com/line/line-bot-sdk-python
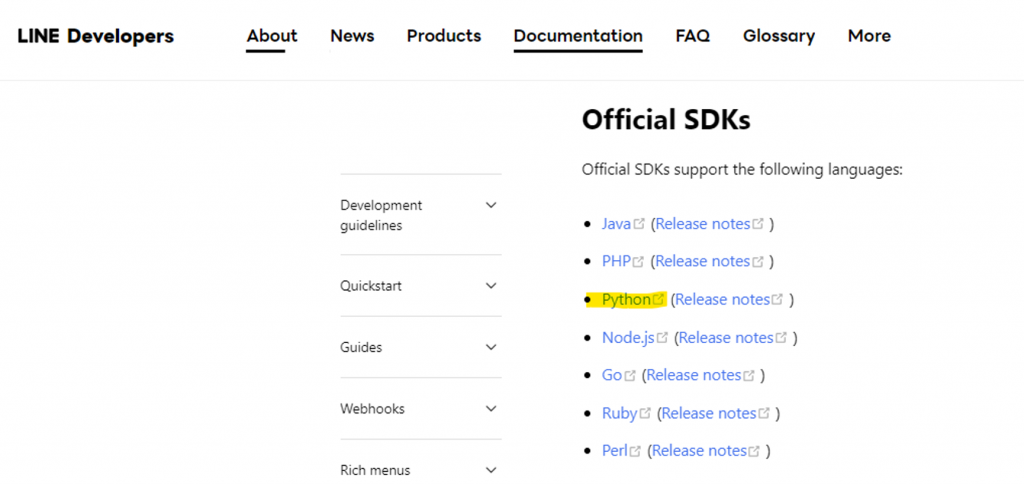

$ pip install line-bot-sdk
照著 README 提供的範例,即可完成簡易的 API。
程式中的 YOUR_CHANNEL_ACCESS_TOKEN、YOUR_CHANNEL_SECRET 就是剛剛在 LINE Developers 頁面中存下來兩個字串,填入即可。
from flask import Flask, request, abort

from linebot.v3 import (
    WebhookHandler
)
from linebot.v3.exceptions import (
    InvalidSignatureError
)
from linebot.v3.messaging import (
    Configuration,
    ApiClient,
    MessagingApi,
    ReplyMessageRequest,
    TextMessage
)
from linebot.v3.webhooks import (
    MessageEvent,
    TextMessageContent
)

app = Flask(__name__)

configuration = Configuration(access_token='YOUR_CHANNEL_ACCESS_TOKEN')
handler = WebhookHandler('YOUR_CHANNEL_SECRET')

@app.route("/callback", methods=['POST'])
def callback():
    # get X-Line-Signature header value
    signature = request.headers['X-Line-Signature']

    # get request body as text
    body = request.get_data(as_text=True)
    app.logger.info("Request body: " + body)

    # handle webhook body
    try:
        handler.handle(body, signature)
    except InvalidSignatureError:
        app.logger.info("Invalid signature. Please check your channel access token/channel secret.")
        abort(400)

    return 'OK'

@handler.add(MessageEvent, message=TextMessageContent)
def handle_message(event):
    with ApiClient(configuration) as api_client:
        line_bot_api = MessagingApi(api_client)
        line_bot_api.reply_message_with_http_info(
            ReplyMessageRequest(
                reply_token=event.reply_token,
                messages=[TextMessage(text=event.message.text)]
            )
        )

if __name__ == "__main__":
    app.run()
程式運行起來後,回到 LINE Developers 中的 Messaging API 頁面,把 API 的網址填上。
如果是上述範例,那麼 URL 應該長得像這樣:
https://yourapi/callback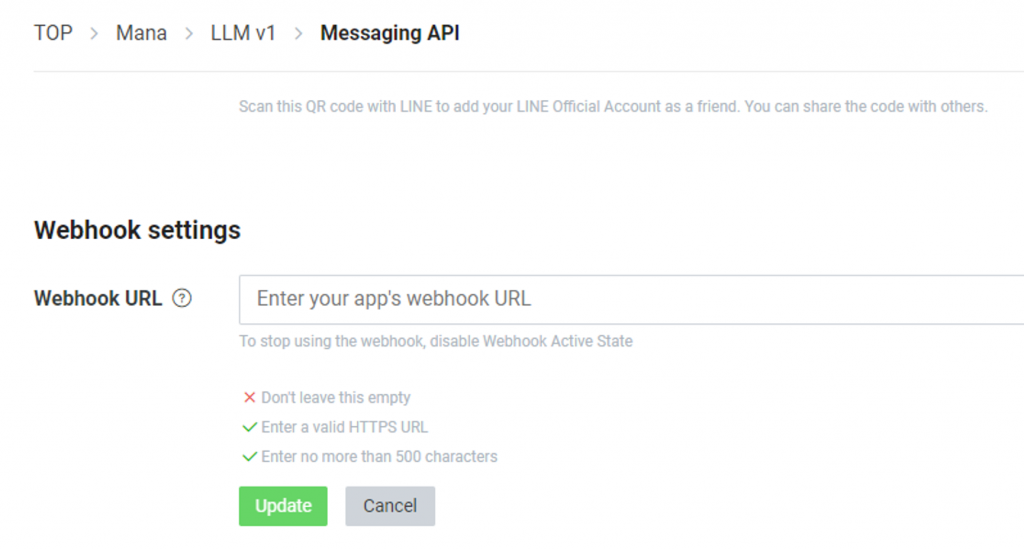
到這邊就完成了,可以用 Messaging API 分頁下的 QR code 加入好友,嘗試看看是不是有反應,如範例程式運作順利,這會是一個 ECHO 機器人。
接著我們就可以嘗試把他跟 Day 1 做的 LLM 組合一下,變成這樣:
from flask import Flask, request, abort

from linebot.v3 import (
    WebhookHandler
)
from linebot.v3.exceptions import (
    InvalidSignatureError
)
from linebot.v3.messaging import (
    Configuration,
    ApiClient,
    MessagingApi,
    ReplyMessageRequest,
    TextMessage
)
from linebot.v3.webhooks import (
    MessageEvent,
    TextMessageContent
)

from transformers import AutoTokenizer, AutoModel
import torch

tokenizer = AutoTokenizer.from_pretrained(r"G:\LLM\chatglm-6b", trust_remote_code=True)

model = AutoModel.from_pretrained(r"G:\LLM\chatglm-6b", trust_remote_code=True).half().cuda()
model = model.eval()

history = []

app = Flask(__name__)

configuration = Configuration(access_token='YOUR_CHANNEL_ACCESS_TOKEN')
handler = WebhookHandler('YOUR_CHANNEL_SECRET')

@app.route("/callback", methods=['POST'])
def callback():
    # get X-Line-Signature header value
    signature = request.headers['X-Line-Signature']

    # get request body as text
    body = request.get_data(as_text=True)
    app.logger.info("Request body: " + body)

    # handle webhook body
    try:
        handler.handle(body, signature)
    except InvalidSignatureError:
        app.logger.info("Invalid signature. Please check your channel access token/channel secret.")
        abort(400)

    return 'OK'

@handler.add(MessageEvent, message=TextMessageContent)
def handle_message(event):
    global history
    with ApiClient(configuration) as api_client:
        response="FAIL"
        print(event.message.text)
        response, history = model.chat(tokenizer, event.message.text, history=history)
        print(response)
        line_bot_api = MessagingApi(api_client)
        line_bot_api.reply_message_with_http_info(
            ReplyMessageRequest(
                reply_token=event.reply_token,
                messages=[TextMessage(text=response)]#event.message.text
            )
        )

if __name__ == "__main__":
    app.run(debug=False,host='localhost',port=80)
運行起來後,屬於你的 LLM 機器人就完成了。
嘗試跟他對話看看,結果如下,當然回復速度就取決於你的設備效能。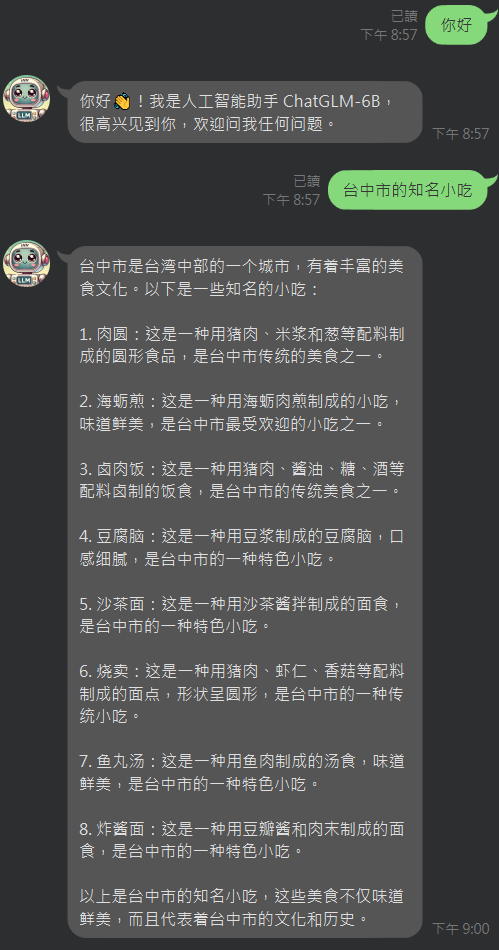

 iThome鐵人賽