因為最後還是想要接看看多模態模型的輸出,所以也需要回傳圖片。
我先拿原本簡單的 echo 範例改。
先從 linebot.v3.messaging 中在 import 一個 ImageMessage。
from linebot.v3.messaging import (
    Configuration,
    ApiClient,
    MessagingApi,
    ReplyMessageRequest,
    TextMessage,
    ImageMessage
)
把原本 handle_message 中的 TextMessage 替換成 ImageMessage。
給這個 Function 預覽圖連結跟影像連結,就完成了。
@handler.add(MessageEvent, message=TextMessageContent)
def handle_message(event):
    with ApiClient(configuration) as api_client:
        line_bot_api = MessagingApi(api_client)
        line_bot_api.reply_message_with_http_info(
            ReplyMessageRequest(
                reply_token=event.reply_token,
                messages=[ImageMessage(
                    original_content_url = "your img link",
                    preview_image_url = "your img link"
                )]
            )
        )
測試看看。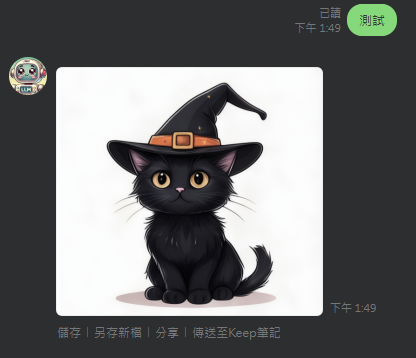
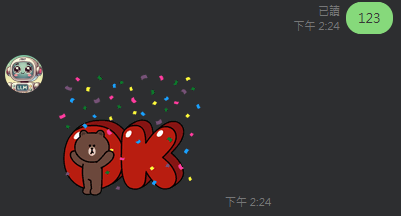
另外也可以回傳貼圖,import 一個 StickerMessage,
from linebot.v3.messaging import (
    Configuration,
    ApiClient,
    MessagingApi,
    ReplyMessageRequest,
    TextMessage,
    StickerMessage
)
handle_message 中的 TextMessage 替換成 StickerMessage。
這個 Function 要的 package_id、sticker_id 參考這個連結:
https://developers.line.biz/en/docs/messaging-api/sticker-list/
然後我目前使用的版本 line-bot-sdk 3.10.2,package_id、sticker_id 要給字串。
@handler.add(MessageEvent, message=TextMessageContent)
def handle_message(event):
    with ApiClient(configuration) as api_client:
        line_bot_api = MessagingApi(api_client)
        line_bot_api.reply_message_with_http_info(
            ReplyMessageRequest(
                reply_token=event.reply_token,
                messages=[StickerMessage(
                    package_id='6325',
                    sticker_id='10979904'
                )]
            )
        )
code(影像的):
from flask import Flask, request, abort

from linebot.v3 import (
    WebhookHandler
)
from linebot.v3.exceptions import (
    InvalidSignatureError
)
from linebot.v3.messaging import (
    Configuration,
    ApiClient,
    MessagingApi,
    ReplyMessageRequest,
    TextMessage,
    ImageMessage
)
from linebot.v3.webhooks import (
    MessageEvent,
    TextMessageContent
)

app = Flask(__name__)

configuration = Configuration(access_token='YOUR_CHANNEL_ACCESS_TOKEN')
handler = WebhookHandler('YOUR_CHANNEL_SECRET')

@app.route("/callback", methods=['POST'])
def callback():
    # get X-Line-Signature header value
    signature = request.headers['X-Line-Signature']

    # get request body as text
    body = request.get_data(as_text=True)
    app.logger.info("Request body: " + body)

    # handle webhook body
    try:
        handler.handle(body, signature)
    except InvalidSignatureError:
        app.logger.info("Invalid signature. Please check your channel access token/channel secret.")
        abort(400)

    return 'OK'

@handler.add(MessageEvent, message=TextMessageContent)
def handle_message(event):
    with ApiClient(configuration) as api_client:
        line_bot_api = MessagingApi(api_client)
        line_bot_api.reply_message_with_http_info(
            ReplyMessageRequest(
                reply_token=event.reply_token,
                messages=[ImageMessage(
                    original_content_url = "your img link",
                    preview_image_url = "your img link"
                )]
            )
        )

if __name__ == "__main__":
    app.run()
line-bot-sdk 中還有很多其他用法,還可以回傳貼圖之類的,git 裡有給各種 document 連結。
不過我覺得看他給的範例比較快,可以參考這隻:
https://github.com/line/line-bot-sdk-python/blob/master/examples/flask-kitchensink/app.py
另外是,如果沒有固定 IP,可以透過 ngrok 來取得一個可以連到你服務的網址。
https://ngrok.com/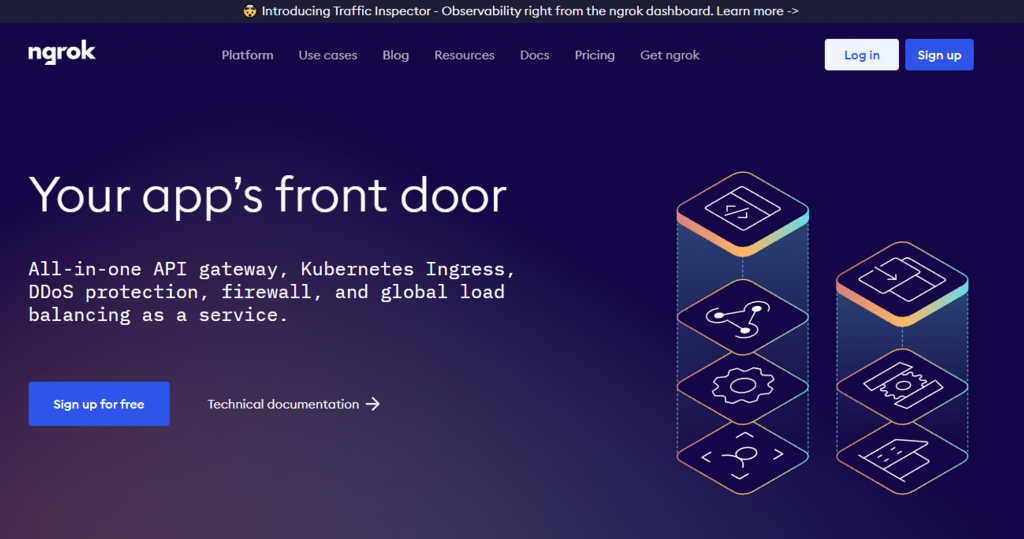
我們先註冊一個帳號。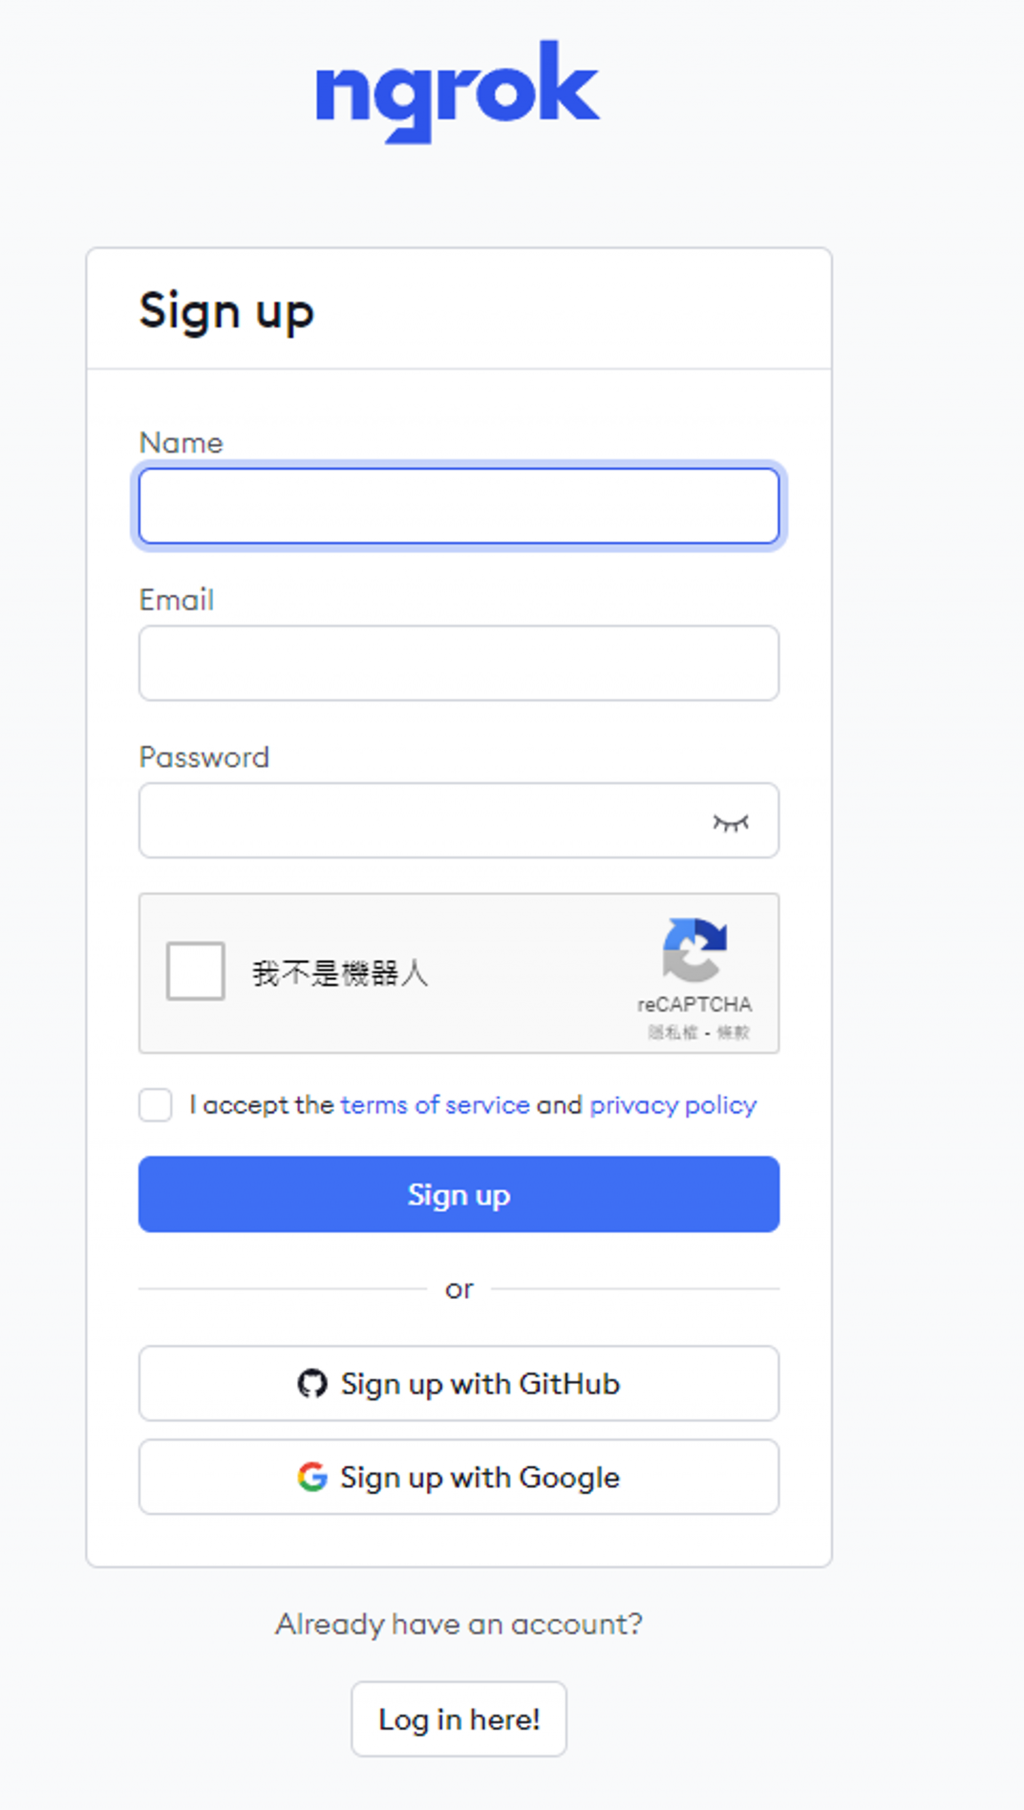
選擇適合你的方式下載下來,執行起來會是一個 SHELL,依照下載頁面中的教學,執行以下command,輸入你的token。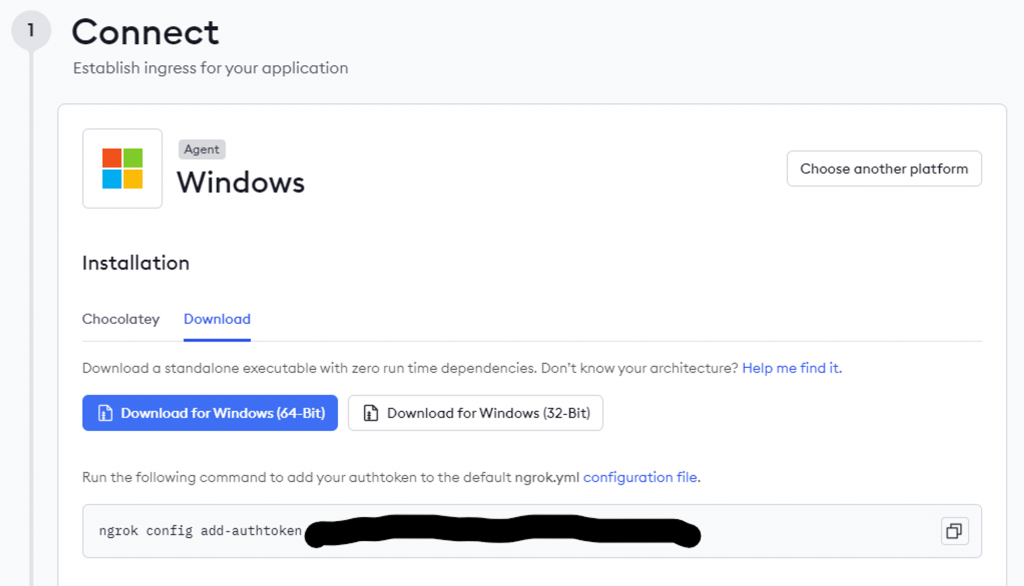
ngrok config add-authtoken yourtoken
依照說明,接著輸入以下指令,他就會給你一串可以連到你 localhost 8080 port 的網址了。
ngrok http http://localhost:8080
Forwarding 後面會一串 https://xxx.app -> http://localhost:8080 ,這就是我們要的連結了,8080 不是固定的,隨意用一個你可以用的 port 都行。
如果是用上面的範例架的 API,那在 LINE Developers 中的 Messaging API 就是要填入:https://xxx.app/callback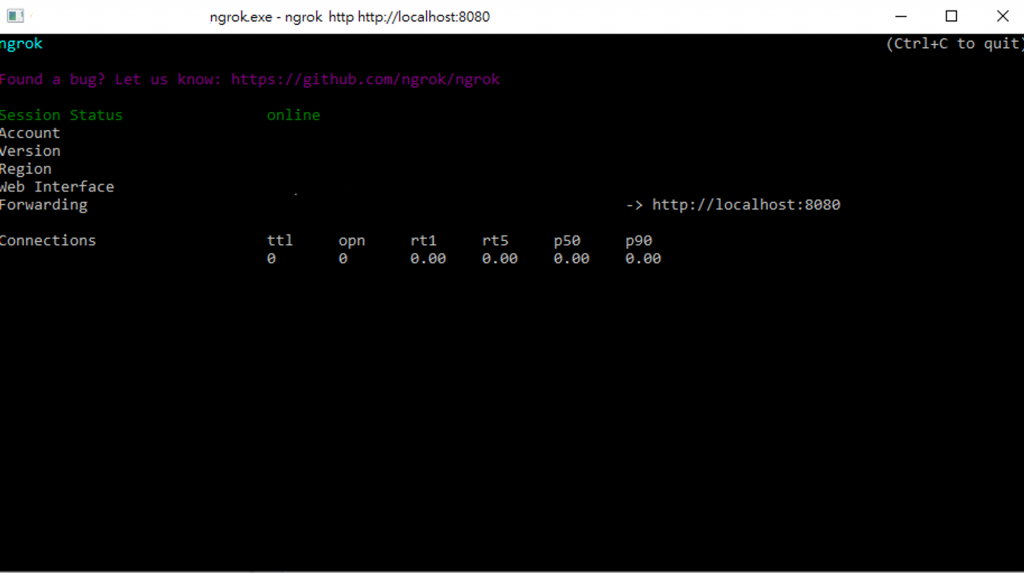

 iThome鐵人賽