接著來嘗試串 Discord bot。
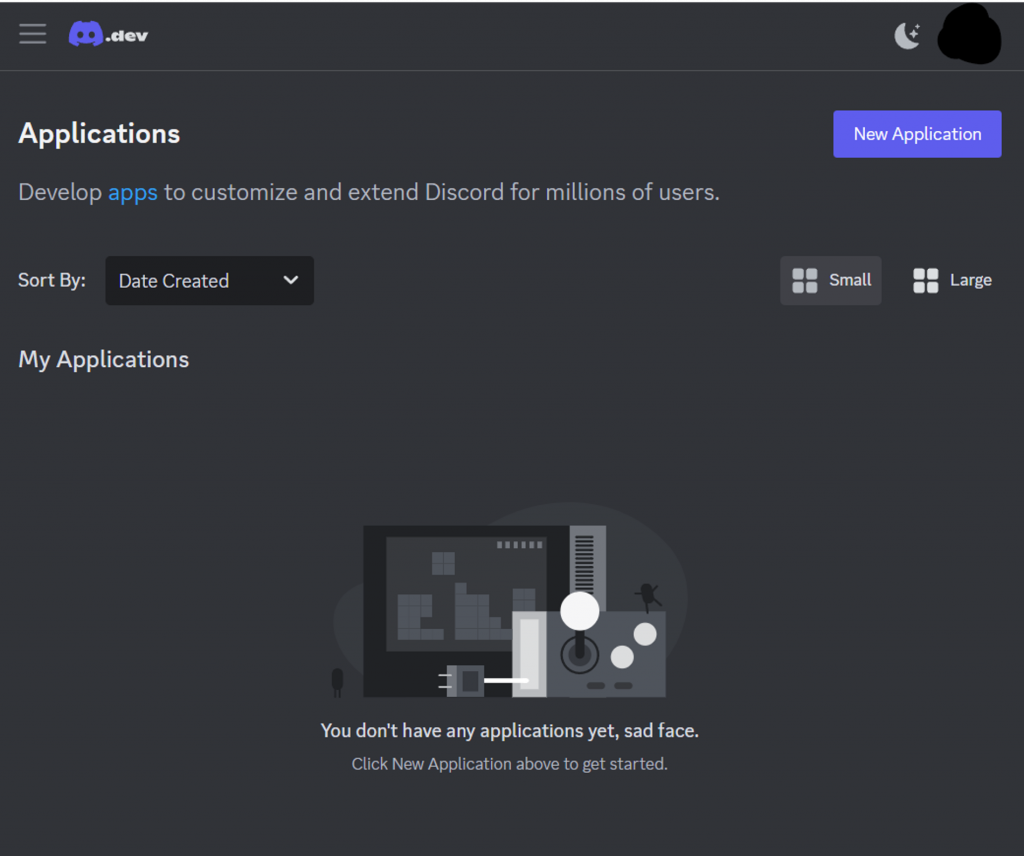
首先前往 Discord Developer Portal,建一個新 Applications,創建時會有個 token,記得要把它記下來。
https://discord.com/developers/applications
不過建好後如果忘了 token,可以進入 Bot 分頁,找到 reset token,可重新創建。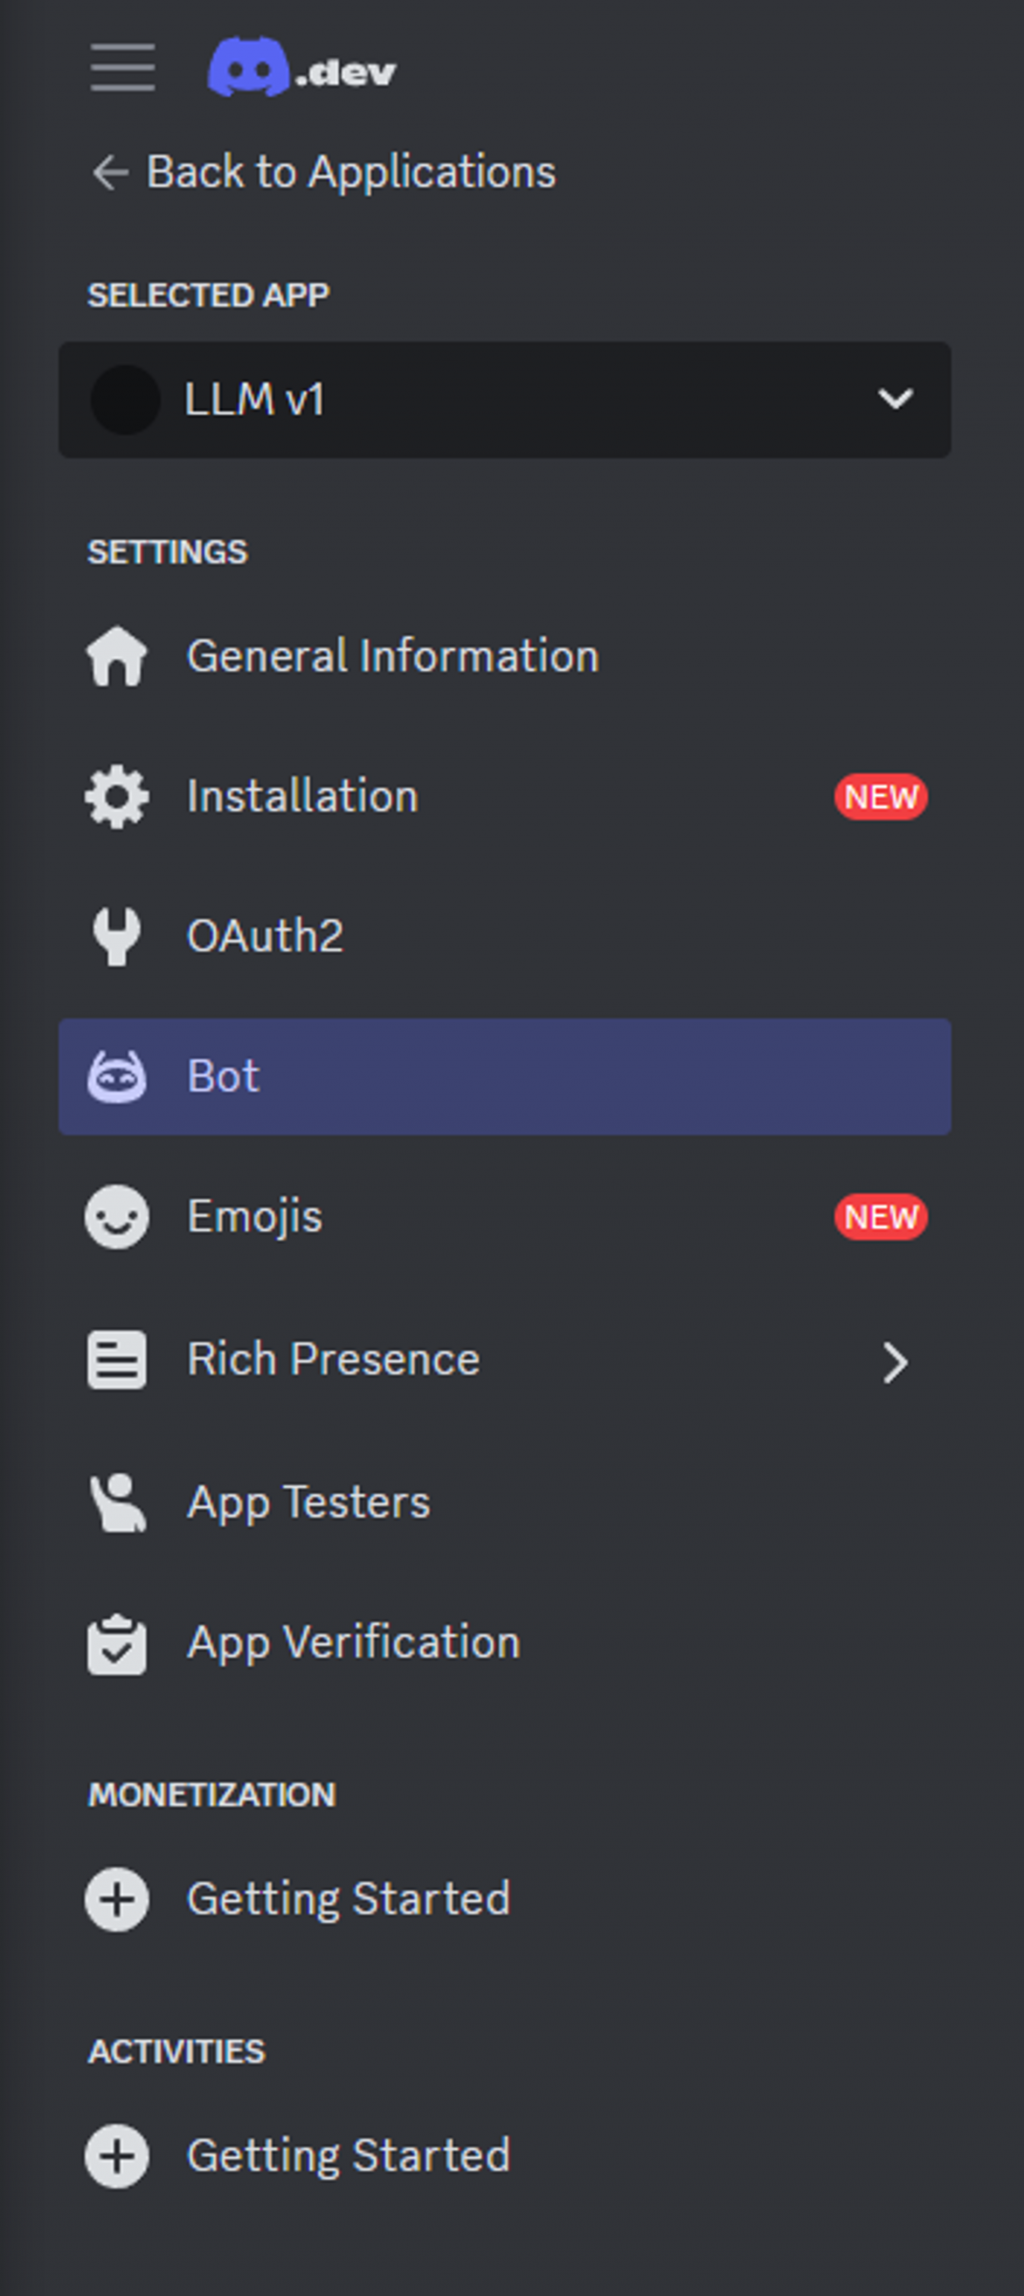

接著我們進入 OAuth2 分頁,往下拉,要創造一個邀請連結,把機器人邀進自己的群組。
選擇Bot,下面權限先給 Adminstrator,這樣最下方就會出現邀請連結,開啟連結邀請機器人。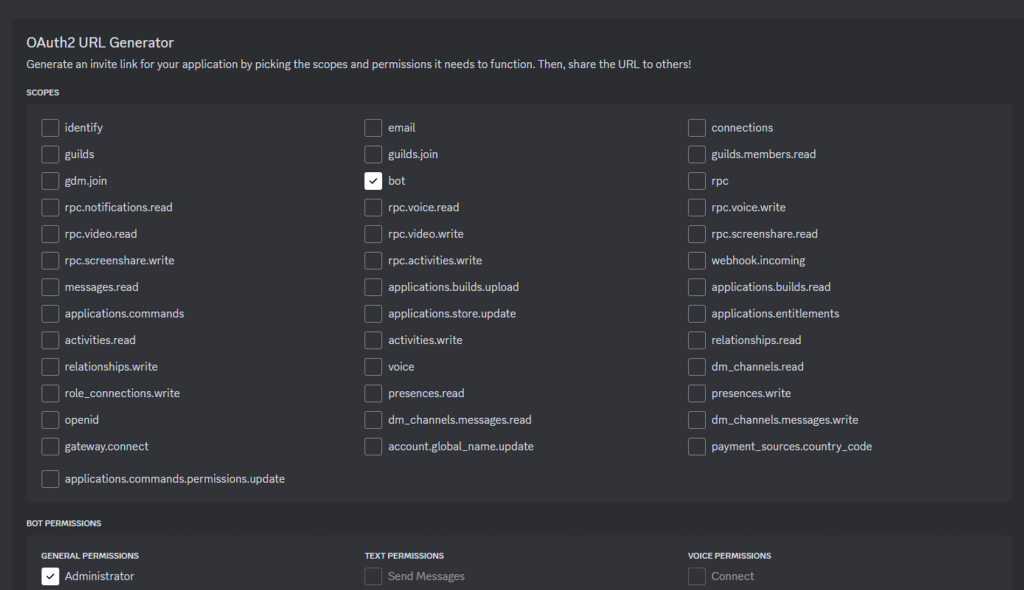

接著我們到到 Bot 分頁,把 Privileged Gateway Intents 中的 MESSAGE CONTENT INTENT選項打開,才可以讓機器人接收訊息。
更多說明可以參考:
https://discord.com/developers/docs/topics/gateway#gateway-intents
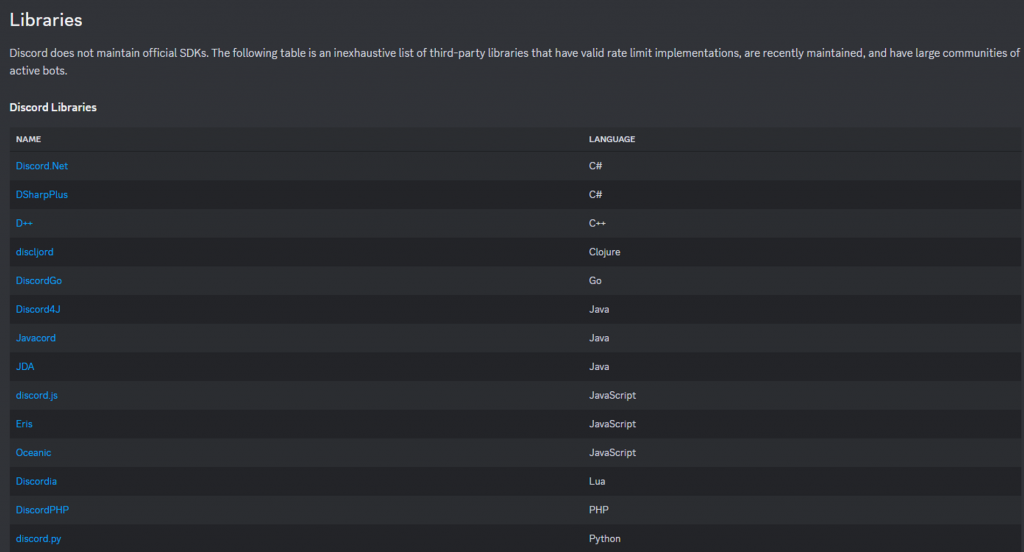
接下來開始寫程式,從官方列出的眾多 Library 中,選一個網路上有教學的 discord.py 來用。
https://discord.com/developers/docs/topics/community-resources#interactions
依照 readme 的說明,安裝 discord.py。
https://github.com/Rapptz/discord.py
python3 -m pip install -U discord.py
接著照著 readme 中的 Bot Example,創建、執行程式,裏頭的 token 改成稍早複製下來的。
完成後這就是一個簡單的回覆機器人
import discord
from discord.ext import commands

intents = discord.Intents.default()
intents.message_content = True
bot = commands.Bot(command_prefix='>', intents=intents)

@bot.command()
async def ping(ctx):
    await ctx.send('pong')

bot.run('your discord token')
執行成功會發現你的群組中多了一個機器人。
接下來就可以很簡單地把 llm 串近來。
from transformers import AutoTokenizer, AutoModel
import torch

tokenizer = AutoTokenizer.from_pretrained(r"G:\LLM\chatglm-6b", trust_remote_code=True)

model = AutoModel.from_pretrained(r"G:\LLM\chatglm-6b", trust_remote_code=True).half().cuda()
model = model.eval()

history = []

import discord
from discord.ext import commands

intents = discord.Intents.default()
intents.message_content = True

bot = commands.Bot(command_prefix = "%", intents = intents)

@bot.event
async def on_ready():
    print(f"目前登入身份 --> {bot.user}")

@bot.command()
async def llm(ctx, arg):
    global history
    response, history = model.chat(tokenizer, arg, history)
    await ctx.send(response)

bot.run("your discord token")
執行看看。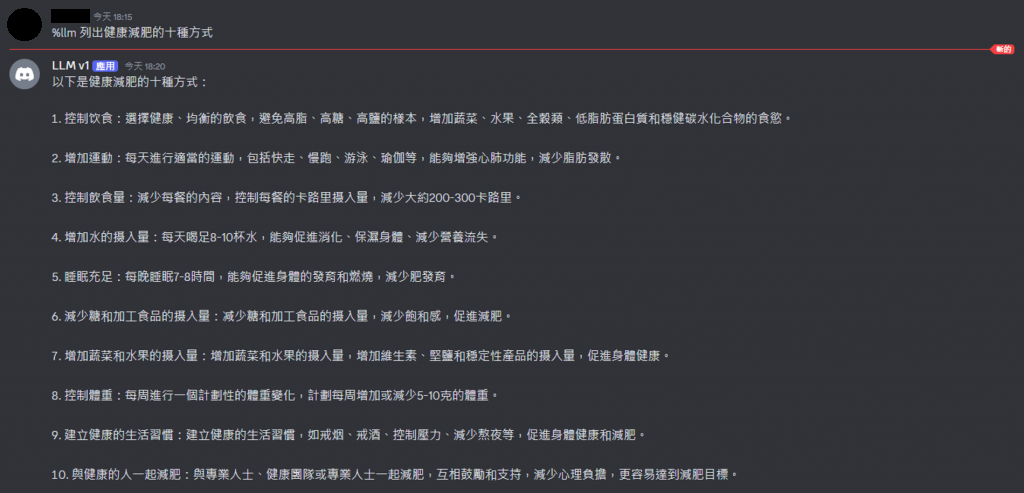
https://discordpy.readthedocs.io/en/stable/ext/commands/commands.html
