接下來來嘗試串 Telegram 的機器人。
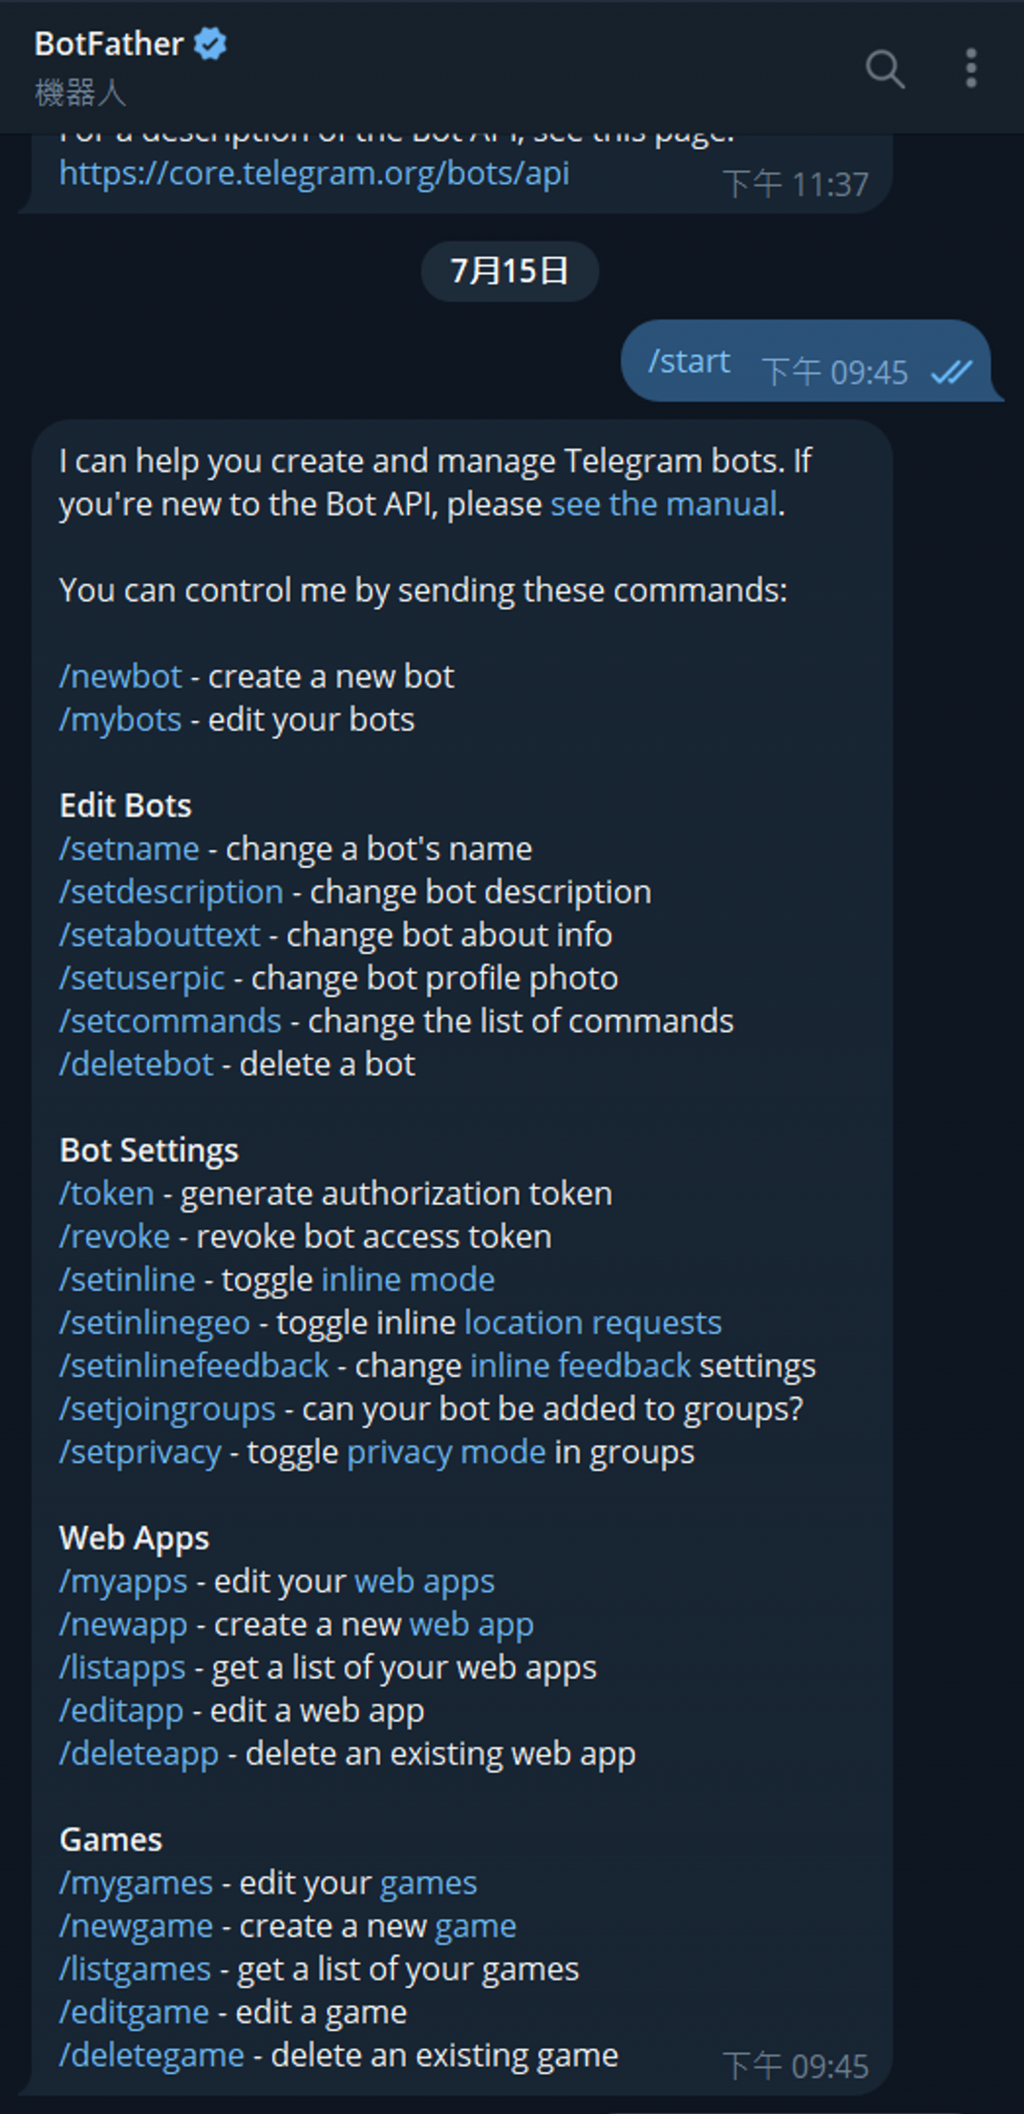
首先依據官方的說明,將 BotFather 加為好友。
https://core.telegram.org/bots/features#creating-a-new-bot
依照說明設定機器人名稱,並取得token,也可參考下圖
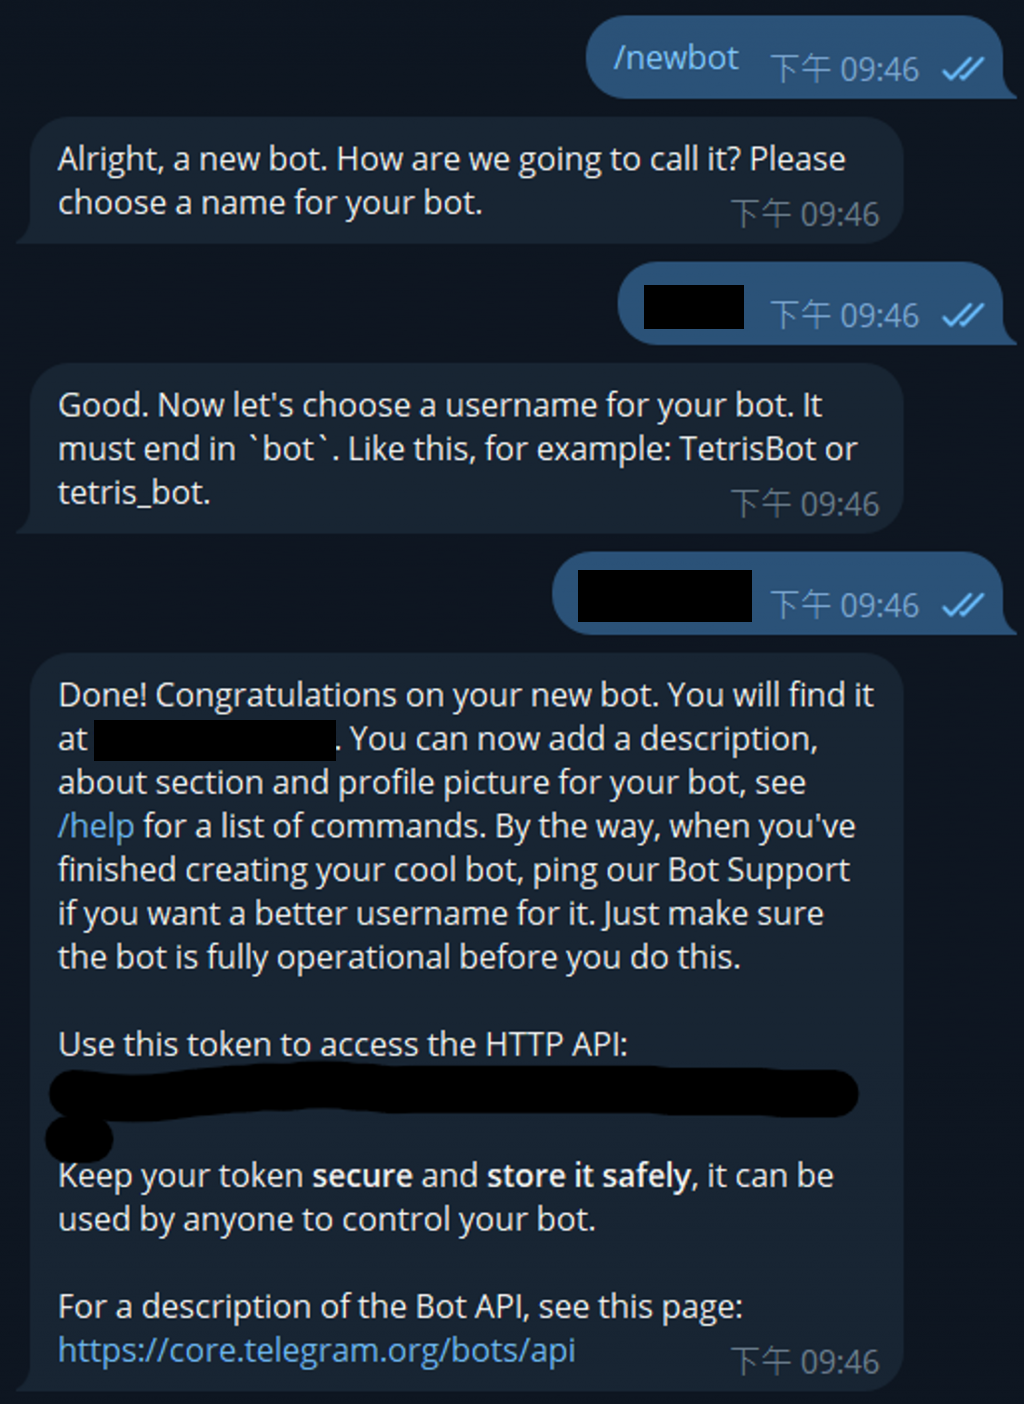
可取得機器人的連結,可以先加入好友,等稍後測試。
接著我們從官方建議的 TG 社群開發的 library 中選一個 python 的,這邊選很多教學的 python-telegram-bot。
https://core.telegram.org/bots/samples
https://github.com/python-telegram-bot/python-telegram-bot
依照 Readme 的步驟,安裝 python-telegram-bot
$ pip install python-telegram-bot --upgrade
接著參考 python-telegram-bot 的 wiki,建立程式,將稍早獲得的 token 填入其中,運行程式即可。
https://github.com/python-telegram-bot/python-telegram-bot/wiki/Extensions---Your-first-Bot
https://github.com/python-telegram-bot/python-telegram-bot/blob/master/examples/echobot.py
import logging
from telegram import Update
from telegram.ext import ApplicationBuilder, ContextTypes, CommandHandler

logging.basicConfig(
    format='%(asctime)s - %(name)s - %(levelname)s - %(message)s',
    level=logging.INFO
)

async def start(update: Update, context: ContextTypes.DEFAULT_TYPE):
    await context.bot.send_message(chat_id=update.effective_chat.id, text="I'm a bot, please talk to me!")

token = 'your tg token'

if __name__ == '__main__':
    application = ApplicationBuilder().token(token).build()

    start_handler = CommandHandler('start', start)
    application.add_handler(start_handler)

    application.run_polling()
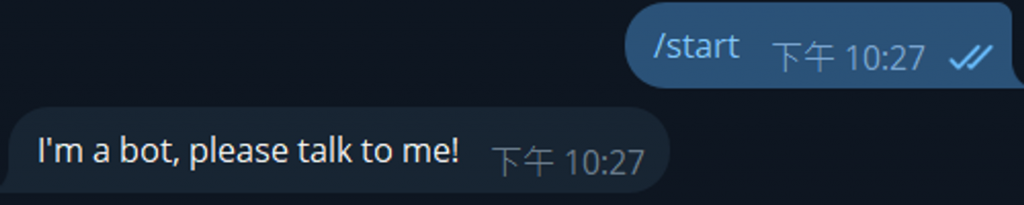
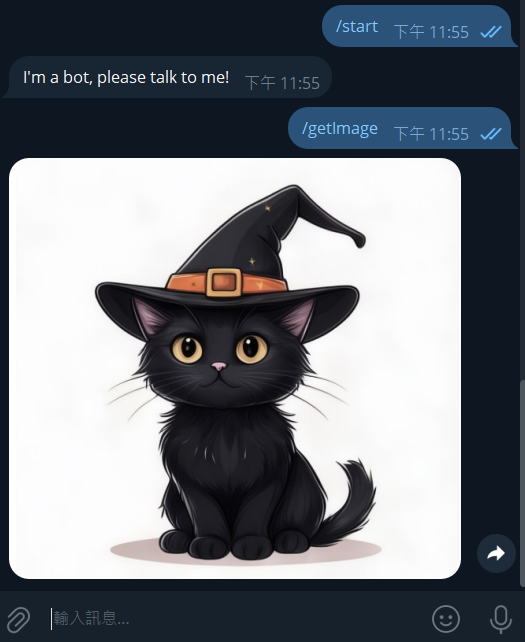
到機器人聊天室窗測試,可看到以下結果。
接著我們可以很簡單的跟 LLM 結合。
from transformers import AutoTokenizer, AutoModel
import torch

tokenizer = AutoTokenizer.from_pretrained(r"G:\LLM\chatglm-6b", trust_remote_code=True)

model = AutoModel.from_pretrained(r"G:\LLM\chatglm-6b", trust_remote_code=True).half().cuda()
model = model.eval()

history = []

token = 'your tg token'

import logging
from telegram import Update
from telegram.ext import ApplicationBuilder, ContextTypes, CommandHandler

logging.basicConfig(
    format='%(asctime)s - %(name)s - %(levelname)s - %(message)s',
    level=logging.INFO
)

async def start(update: Update, context: ContextTypes.DEFAULT_TYPE):
    await context.bot.send_message(chat_id=update.effective_chat.id, text="I'm a bot, please talk to me!")

async def llm(update: Update, context: ContextTypes.DEFAULT_TYPE):

    print(update.message.text)
    global history
    response, history = model.chat(tokenizer, update.message.text, history)
    print(response)
    await context.bot.send_message(chat_id=update.effective_chat.id, text=response)

if __name__ == '__main__':
    application = ApplicationBuilder().token(token).build()

    start_handler = CommandHandler('start', start)
    llm_handler = CommandHandler('llm', llm)

    application.add_handler(start_handler)
    application.add_handler(llm_handler)

    application.run_polling()
運行就可以使用了。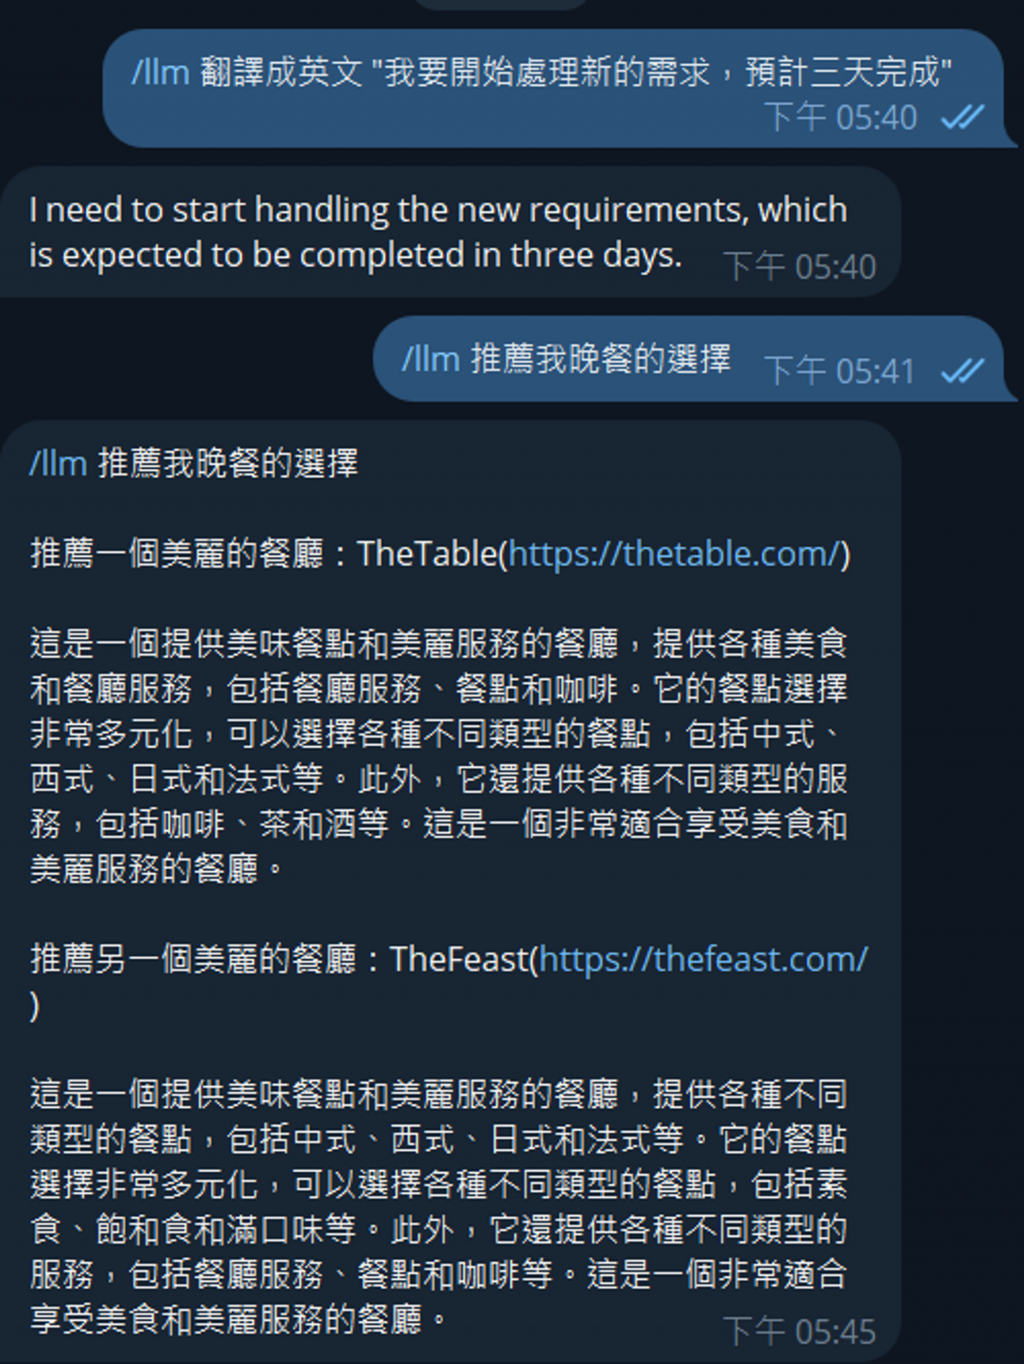
接下來要能接收、回復影像。這是可以用來參考的文件們:
https://docs.python-telegram-bot.org/en/stable/telegram.bot.html#telegram.Bot.send_photo
https://github.com/python-telegram-bot/python-telegram-bot/wiki/Working-with-Files-and-Media#downloading-a-file
https://docs.python-telegram-bot.org/en/stable/telegram.ext.messagehandler.html
https://docs.python-telegram-bot.org/en/stable/telegram.ext.filters.html#telegram.ext.filters.CAPTION
我先從第一個只有 start 的範例來改。直接參考下面的程式。
說明:
import logging
from telegram import Update
from telegram.ext import ApplicationBuilder, ContextTypes, CommandHandler, MessageHandler, filters
logging.basicConfig(
format = '%(asctime)s - %(name)s - %(levelname)s - %(message)s',
level = logging.INFO
)
async def start(update: Update, context: ContextTypes.DEFAULT_TYPE):
await context.bot.send_message(
chat_id = update.effective_chat.id,
text = "I'm a bot, please talk to me!"
)
async def getImage(update: Update, context: ContextTypes.DEFAULT_TYPE):
await context.bot.send_photo(
chat_id = update.effective_chat.id,
photo = open('wizardCat.png', 'rb')
)
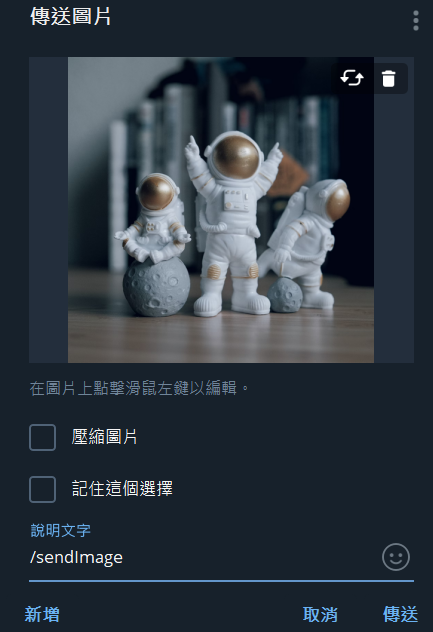
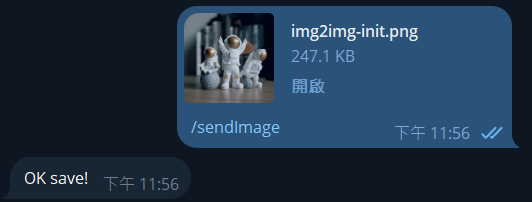
async def sendImage(update: Update, context: ContextTypes.DEFAULT_TYPE):
image = await update.message.effective_attachment.get_file()
await image.download_to_drive('testImage.png')
await context.bot.send_message(
chat_id = update.effective_chat.id,
text = "Done!"
)
if __name__ == '__main__':
token = 'your tg token'
application = ApplicationBuilder().token(token).build()
application.add_handler(
CommandHandler(
'start',
start
)
)
application.add_handler(
CommandHandler(
'getImage',
getImage
)
)
application.add_handler(
MessageHandler(
filters.Caption('/sendImage'),
sendImage
)
)
application.run_polling()
用法還有很多,有需要的話可以參考上面給的文件。
最後這也可以在 colab 上執行,但因為是在 jupyter 上跑,我們需要裝一個 module 。https://github.com/erdewit/nest_asyncio
pip install nest_asyncio
接著執行:
import nest_asyncio
nest_asyncio.apply()
這樣原本的程式就可以原封不動在 colab 上執行了。


 iThome鐵人賽