撰寫Python程式很簡單,因為Python的發明人Guido van Rossum希望撰寫Python程式可以像英文寫作一樣自然,不需要作變數型別宣告、語法簡單有彈性,Guido在Python直譯器暗藏【Python之禪】(The Zen of Python),闡述Python的理念,只要輸入【import this】就可以看到10項訴求,中文翻譯可參照維基百科: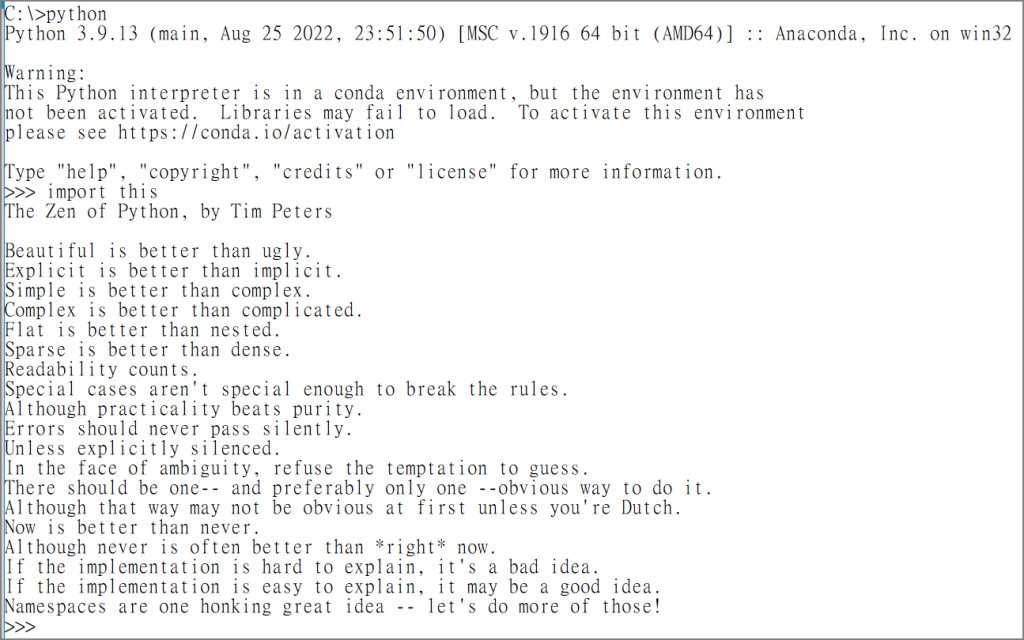
圖一. Python之禪,由Tim Peters提出(PEP20)
但是,要開發一個好的程式,絕對不能很浪漫的coding,否則會造成很嚴重的後遺症,程式不只要能被正確執行,還要考慮上一篇所提到的軟體品質7大指標,因此,就以開發小型計算機程式為例,說明多種設計模式的運用,包括OOP、Functional programming、Lambda function及Closure等。
筆者使用Tkinter開發UI,它是Python內建模組,不需任何安裝,最簡單的程式如下:
from tkinter import *

# 建立 tkinter 物件,自動產生新視窗
app = Tk()

# 監聽訊息
app.mainloop()
執行:python calc0.py
執行結果: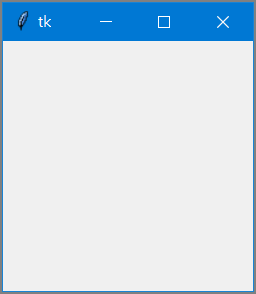
再增加一個按鈕,使用表格(Grid)切版:
from tkinter import *

# create a GUI window
app = Tk()

# 建立按鈕
button1 = Button(app, text=' 1 ', fg='black', bg='lightblue',
                height=1, width=7)
button1.grid(row=0, column=0)

# 監聽訊息
app.mainloop()
執行結果: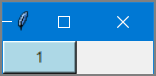
from tkinter import *

# create a GUI window
app = Tk()

# 表達式
equation = StringVar()
expression_field = Entry(app, textvariable=equation)
# 欄寬
expression_field.grid(columnspan=4, ipadx=70)

# 建立按鈕
button1 = Button(app, text=' 1 ', fg='black', bg='lightblue',
                height=1, width=7)
button1.grid(row=2, column=0)

# 監聽訊息
app.mainloop()
執行結果: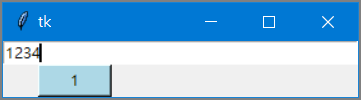
from tkinter import *

# 按鈕事件處理
def press(num):
    global expression
    expression_field.insert(END, str(num))

# create a GUI window
app = Tk()

# 表達式
equation = StringVar()
expression_field = Entry(app, textvariable=equation)
# 欄寬
expression_field.grid(columnspan=4, ipadx=70)

# 建立按鈕
button1 = Button(app, text=' 1 ', fg='black', bg='lightblue',
                command=lambda: press(1), height=1, width=7)
button1.grid(row=2, column=0)

# 監聽訊息
app.mainloop()
筆者初學Python時,透過開發小型計算機程式學習Python,檔名為calc1.py,程式很囉唆,不必細看。
from tkinter import *

# create a GUI window
app = Tk()

# set the configuration of GUI window
app.geometry("280x180")

# 表達式
equation = StringVar()
expression_field = Entry(app, textvariable=equation)
# 欄寬設定
expression_field.grid(columnspan=4, ipadx=70)

# 建立0~9按鈕
button1 = Button(app, text=' 1 ', fg='black', bg='lightblue',
                command=lambda: press(1), height=1, width=7)
button1.grid(row=2, column=0)

button2 = Button(app, text=' 2 ', fg='black', bg='lightblue',
                command=lambda: press(2), height=1, width=7)
button2.grid(row=2, column=1)

button3 = Button(app, text=' 3 ', fg='black', bg='lightblue',
                command=lambda: press(3), height=1, width=7)
button3.grid(row=2, column=2)

button4 = Button(app, text=' 4 ', fg='black', bg='lightblue',
                command=lambda: press(4), height=1, width=7)
button4.grid(row=3, column=0)

button5 = Button(app, text=' 5 ', fg='black', bg='lightblue',
                command=lambda: press(5), height=1, width=7)
button5.grid(row=3, column=1)

button6 = Button(app, text=' 6 ', fg='black', bg='lightblue',
                command=lambda: press(6), height=1, width=7)
button6.grid(row=3, column=2)

button7 = Button(app, text=' 7 ', fg='black', bg='lightblue',
                command=lambda: press(7), height=1, width=7)
button7.grid(row=4, column=0)

button8 = Button(app, text=' 8 ', fg='black', bg='lightblue',
                command=lambda: press(8), height=1, width=7)
button8.grid(row=4, column=1)

button9 = Button(app, text=' 9 ', fg='black', bg='lightblue',
                command=lambda: press(9), height=1, width=7)
button9.grid(row=4, column=2)

button0 = Button(app, text=' 0 ', fg='black', bg='lightblue',
                command=lambda: press(0), height=1, width=7)
button0.grid(row=5, column=0)

plus = Button(app, text=' + ', fg='black', bg='lightblue',
            command=lambda: press("+"), height=1, width=7)
plus.grid(row=2, column=3)

# 建立【+-*/】按鈕
minus = Button(app, text=' - ', fg='black', bg='lightblue',
            command=lambda: press("-"), height=1, width=7)
minus.grid(row=3, column=3)

multiply = Button(app, text=' * ', fg='black', bg='lightblue',
                command=lambda: press("*"), height=1, width=7)
multiply.grid(row=4, column=3)

divide = Button(app, text=' / ', fg='black', bg='lightblue',
                command=lambda: press("/"), height=1, width=7)
divide.grid(row=5, column=3)

equal = Button(app, text=' = ', fg='black', bg='lightblue',
            command=calc, height=1, width=7)
equal.grid(row=5, column=2)

# 建立其他按鈕
clear1 = Button(app, text='Clear', fg='black', bg='lightblue',
            command=clear, height=1, width=7)
clear1.grid(row=5, column='1')

Decimal= Button(app, text='.', fg='black', bg='lightblue',
                command=lambda: press('.'), height=1, width=7)
Decimal.grid(row=6, column=0)


# 監聽訊息
app.mainloop()
# 按鈕事件處理
def press(num):
    global expression
    expression_field.insert(END, str(num))

# 清除輸入列
def clear():
    global expression
    expression = ""
    equation.set("")

# 計算
def calc():
    try:
        global expression
        total = str(eval(equation.get()))
        equation.set(total)
        expression = str(total)
    except:
        equation.set(" error ")
        expression = ""
執行:python calc1.py。
結果如下: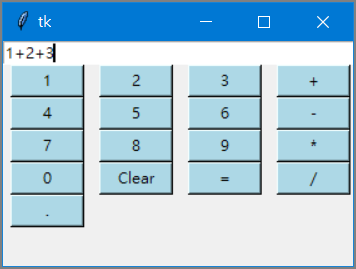
上述程式看起來很OK,但是程式碼又臭又長,很難維護,很像小學生寫作文,平鋪直敘😅。
將程式進行重構(Refactoring),包括:
修改後的檔名為calc_fp.py,重點如下:
class App(tk.Tk):
import tkinter as tk
from tkinter import ttk
from functools import partial

COLUMN_COUNT = 5   # 行數
FONT=('Arial', 16) # 字體
class App(tk.Tk):
    def __init__(self):
        # 呼叫 parent 的 __init__ 函數
        super().__init__()

        # set window size
        self.geometry("")

        # set window title
        self.title('計算機')

        # create label
        self.label1 = tk.Label(self, text='輸入:', font=FONT)
        self.label1.grid(row=0, column=0)

        # create entry field
        self.equation = tk.StringVar()
        self.expression_field = tk.Entry(self, textvariable=self.equation
        , font=FONT, borderwidth = 5)
        self.expression_field.grid(row=0, column=1, columnspan=COLUMN_COUNT-1, ipadx=32)

        # create 0~9 buttons
        button_list = []
        for i in range(10):
            button_list.append(tk.Button(self, text=f' {i} ',
                command=partial(self.button_click,i),
                fg='black', bg='lightblue', height=1, width=8, font=FONT))
            grid_row, grid_column = divmod(i, COLUMN_COUNT)
            button_list[-1].grid(row=grid_row+1, column=grid_column)

        # create '+', '-', '*', '/' buttons
        for j, text in enumerate(list('+-*/()=c')):
            button_list.append(tk.Button(self, text=f' {text} ',
                command=partial(self.button_click,text),
                fg='black', bg='lightgreen', height=1, width=8, font=FONT))
            grid_row2, grid_column = divmod(j, COLUMN_COUNT)
            button_list[-1].grid(row=grid_row+grid_row2+2, column=grid_column)

        # error message
        self.message = tk.StringVar()
        self.label_message = tk.Label(self, text='', textvariable = self.message)
        self.label_message.grid(row=grid_row+grid_row2+3, column=0, columnspan=COLUMN_COUNT)

    # button click event handler
    def button_click(self, num):
        if num == '=':
            # 計算
            try:
                # 顯示答案
                self.equation.set(str(eval(self.equation.get())))
            except Exception as e: # 錯誤處理
                self.message.set(repr(e)[:80])
        elif num == 'c':
            self.equation.set('')
            self.message.set('')
        else:
            self.expression_field.insert(tk.END, str(num))

if __name__ == "__main__":
    app = App()
    app.mainloop()
        for i in range(10):
            button_list.append(tk.Button(self, text=f' {i} ',
                command=partial(self.button_click, i),
                fg='black', bg='lightblue', height=1, width=8, font=FONT))
            grid_row, grid_column = divmod(i, COLUMN_COUNT)
讀者可以依照calc1.py的寫法,將【partial(self.button_click,i)】改為【lambda: self.button_click(i)】試試看,筆者將之另存為calc_error.py,執行結果會發現點擊0~9按鈕都會出現9,這是因為定義command時,只保存函數及參數名稱,並未將i當時的狀態(0~9)保留,會等到點擊0~9按鈕時才去取值,那時迴圈已執行結束,i等於9,因此每個按鈕處理函數都取得9,這就是Closure的重要性,而Python內建的函數partial,可以記錄參數當時的值。
由上面的程式碼可以觀察到,使用Python開發程式真的很簡單,但是要寫的好,真的需要更深入的了解Python才行,例如上述程式就用了繼承(Inheritance)、匿名函數(Lambda expression)、閉包(Closure)等設計理念,Python還有更多的寶藏等待我們去發掘,接下來就請讀者與筆者一起探討Python之美。
以上的程式只是展示各種設計理念的用法,後續我們會詳細介紹各種設計理念。
本系列的程式碼會統一放在GitHub,本篇的程式放在src/2資料夾,歡迎讀者下載測試,如有錯誤或疏漏,請不吝指正。