今天開始就要部屬環境,建置聊天機器人。
首先,先建立前端的畫面,本次我們要使用 Next.js 來建立, Next.js 是一個基於 React、Node.js 的開源框架,用於開發 Web。
1. 安裝 Node.js
確認已經安裝Node.js 18.18 或更新,若尚未安裝可到以下網址安裝
https://nodejs.org/zh-tw
2. 建立Next.js專案
npx create-next-app@latest
# or
yarn create next-app
3. 選擇要使用的內容
√ What is your project named? ... my-app (專案名稱)
√ Would you like to use TypeScript? ... No / Yes (是否要使用 TypeScript )
√ Would you like to use ESLint? ... No / Yes (是否要使用 ESLint )
√ Would you like to use Tailwind CSS? ... No / Yes (是否要使用 Tailwind )
√ Would you like to use `src/` directory? ... No / Yes (是否要讓程式碼 在 src 目錄 )
√ Would you like to use App Router? (recommended) ... No / Yes (是否要使用 App Router )
√ Would you like to customize the default import alias (@/*)? ... No / Yes (是否使用 @ 設置 )
4. 啟動服務
npm run dev 或 yarn dev 來開啟開發伺服器,網址為 http://localhost:3000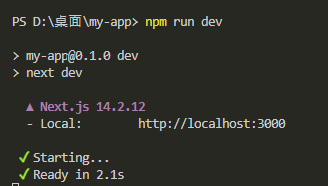
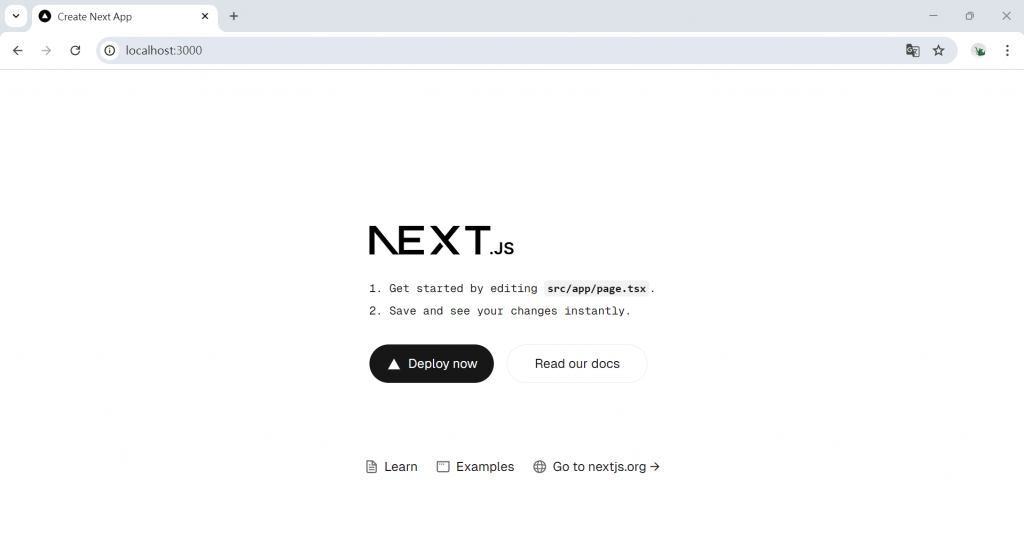
5. App Router 文件結構
使用 app router 時,app 目錄取代了傳統的 pages 目錄,每個資料夾可以作為路由
app/page.tsx 將是應用程式的首頁/
export default function Home() {
  return (
    <div>
      <main>
        <h2>Hello world !!</h2>
      </main>
    </div>
  );
}
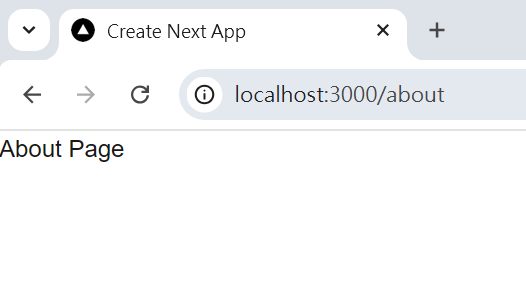
app/about/page.tsx 將對應 /about 路由export default function About() {
return (
<div>
<main>
<h2>About Page</h2>
</main>
</div>
);
}
6. 使用 Layout 來進行布局layout.tsx 在不同頁面可以共享布局
export const metadata: Metadata = {
  title: "Create Next App",
  description: "Generated by create next app",
};

export default function RootLayout({
  children,
}: Readonly<{
  children: React.ReactNode;
}>) {
  return (
    <html lang="zh">
    <body>
      <header>
        <nav>
          <a href="/">首頁</a> | <a href="/about">關於我們</a>
        </nav>
      </header>
      <main>{children}</main>
    </body>
  </html>
  );
}
7. 使用 CSS 或 Tailwind CSS
可以使用 CSS 或 Tailwind CSS 來設計前端樣式
tailwind.config
import type { Config } from "tailwindcss";

const config: Config = {
  content: [
    "./src/pages/**/*.{js,ts,jsx,tsx,mdx}",
    "./src/components/**/*.{js,ts,jsx,tsx,mdx}",
    "./src/app/**/*.{js,ts,jsx,tsx,mdx}",
  ],
  theme: {
    extend: {
      colors: {
        background: "var(--background)",
        foreground: "var(--foreground)",
      },
    },
  },
  plugins: [],
};
export default config;
app/globals.css 中引入 Tailwind@tailwind base;
@tailwind components;
@tailwind utilities;
layout.tsx 全局Headerexport default function RootLayout({
children,
}: Readonly<{
children: React.ReactNode;
}>) {
return (
<html lang="zh">
<body>
<header className="bg-gray-100 p-2 flex justify-end">
<nav >
<a href="/" className="hover:text-cyan-700">首頁</a> | <a href="/about" className="hover:text-cyan-700">關於我們</a>
</nav>
</header>
<main>{children}</main>
</body>
</html>
);
}
page.tsx 首頁樣式
export default function Home() {
  return (
    <div className='text-center m-8'>
      <main className="text-blue-600 p-4 bg-blue-100">
        <h2>Hello world !!</h2>
      </main>
    </div>
  );
}

接下來就可以設計自己想要的內容啦!!


 iThome鐵人賽